To install a wood privacy fence yourself, start by accurately marking property boundaries and planning your layout to guarantee compliance and stability. Gather essential tools like a post hole digger, level, tape measure, and string line, then clear the site of debris. Dig post holes around 30 inches deep with gravel for drainage, set the posts plumb, and secure them with concrete. Attach rails and pickets evenly, and finish with sealing or staining to protect your fence. Continue exploring for detailed guidance to complete your project confidently.
TLDR
- Plan and mark property boundaries accurately, ensuring compliance with zoning laws and proper drainage assessment.
- Gather essential tools and prepare the site by clearing debris and marking fence line with stakes and string.
- Dig post holes 6-8 inches in diameter and 30 inches deep, then set posts plumb with gravel and concrete for stability.
- Attach rails and pickets evenly, ensuring level and secure fastening, and install sturdy hinges and latches for gates.
- Seal and stain the fence every 2-3 years, and perform regular cleaning and maintenance to prolong its lifespan.
Assessing Property Boundaries and Designing Your Fence
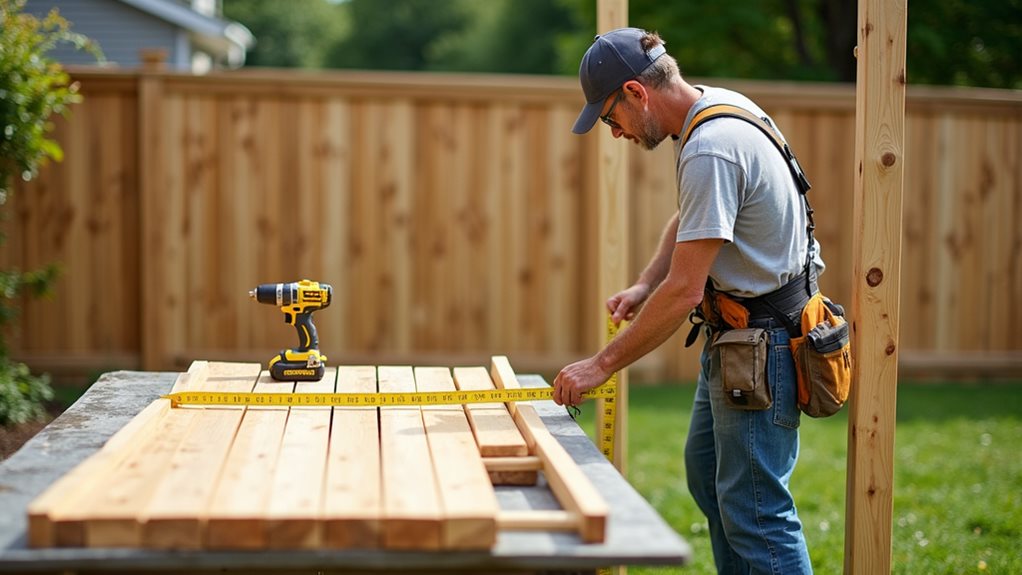
Before beginning your fence project, it’s essential to accurately assess your property boundaries and develop a clear design plan.
Use land surveys or a professional surveyor to identify property lines and property markers, ensuring proper property line marking.
Review zoning laws and property setbacks to confirm your fence layout complies, and place property stakes accordingly for precise placement.
Additionally, consider evaluating drainage capacity to prevent future water issues that could affect your fence installation and property stability.
Gathering Tools and Preparing Your Site
Gathering the right tools and preparing your site are essential steps that set the foundation for a successful fence installation. Use tools like a post hole digger, level, tape measure, and string line to measure and mark accurately. Clear debris and obstacles, mark property boundaries with stakes and string, and plan for proper post spacing and terrain conditions to guarantee stability. Additionally, considering cut and puncture protection in your gloves can help keep your hands safe during digging and handling sharp materials.
Digging Post Holes and Installing Fence Posts
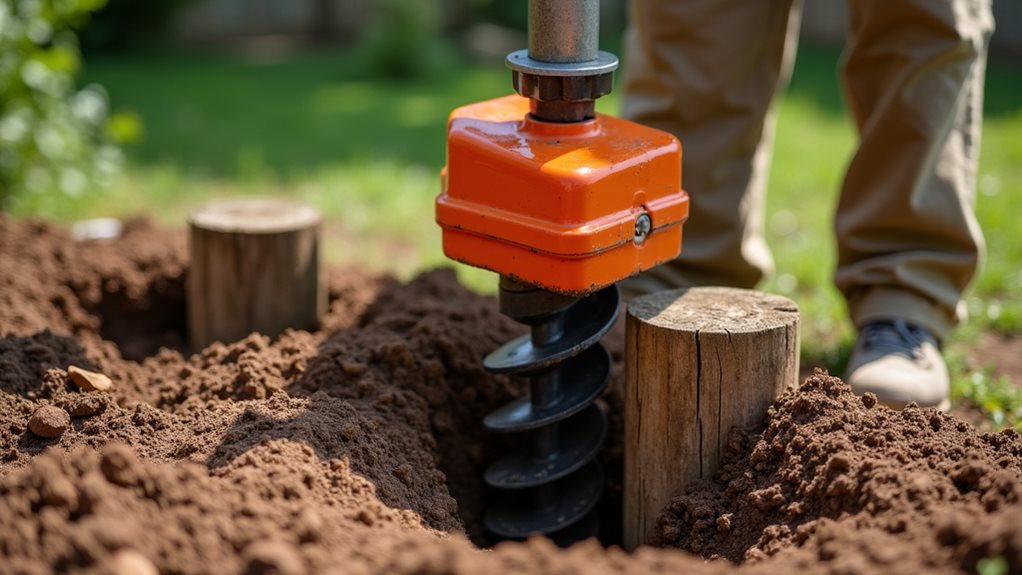
Once you’ve marked your fence line and cleared the site, the next step is to carefully dig the post holes. Use a post hole digger to create 6-8 inch diameter, 30-inch deep holes, placing gravel at the bottom for drainage. Set the fence posts plumb with a level, ensuring they’re evenly spaced, then pour concrete to secure them in place. Consider choosing small or shrub pumpkin varieties if you plan to use the space for other garden projects nearby.
Attaching Rails, Pickets, and Building Your Gate
Attaching the rails and pickets correctly is essential for a sturdy and visually appealing fence. It begins with making certain that the top and bottom rails are securely fastened to the fence posts using galvanized fasteners. Keep the rails level and aligned. Installing a drainage solution around your fence area can help prevent water damage and erosion, ensuring the longevity of your structure. Install middle rails for added stability. Position the pickets evenly and secure them to maintain a uniform appearance. For gates, sturdy hinge posts, hinges, and latches guarantee smooth operation and proper alignment.
Sealing, Staining, and Maintaining Your Privacy Fence
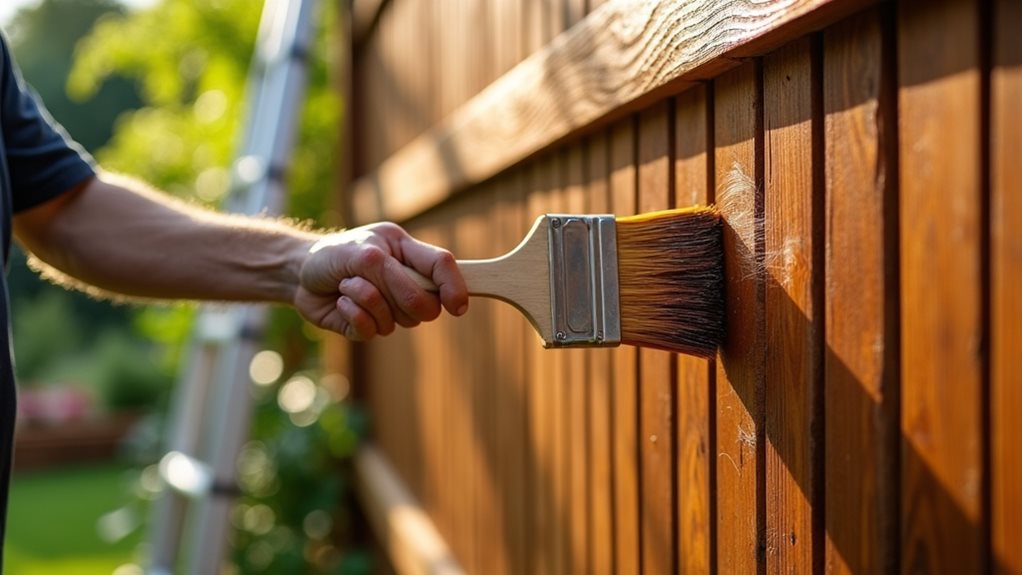
Proper sealing, staining, and maintenance are crucial steps in preserving the durability and appearance of your privacy fence over time. Applying a quality sealant or stain every 2-3 years guards against moisture, UV damage, and rot, maintaining the natural wood grain. Regular cleaning with a pressure washer and reapplication of protective coatings guarantee ongoing moisture resistance and UV protection. Additionally, choosing high-quality wood treatment products can further extend the lifespan of your fence and ensure it remains attractive for years to come.
Final Note
By following these detailed steps, you can successfully install your wood privacy fence, ensuring it is both functional and durable. Proper planning, precise measurements, and careful construction are essential to achieve a professional look and long-lasting result. Regular maintenance, such as sealing and staining, will further protect your investment. With patience and attention to detail, you can confidently complete this project yourself, enhancing your property’s privacy and value while enjoying the satisfaction of a job well done.

Nathan McPhail is a garden and home DIY expert who writes practical, easy-to-follow advice for homeowners and gardeners. Through Yardique, he shares hands-on tips covering gardening, lawn care, landscaping, home improvement, repairs, tools, and outdoor living. His focus is on helping readers solve everyday household and yard problems with straightforward guidance, useful techniques, and practical solutions.