Inspect the garage for cracked thresholds, worn weather‑stripping, and gaps around doors, windows, and wall penetrations, then seal them with exterior‑grade caulk and proper backer rod. Regrade the surrounding soil so it slopes at least one foot per foot away from the foundation, installing a perforated‑pipe drainage trench and, if needed, a sump pump with a float switch in the lowest spot. Apply a flexible epoxy filler to floor cracks, coat walls and floor with a waterproof membrane, and run a dehumidifier with an exhaust fan to keep interior humidity low. Maintaining gutters, checking drainage, and periodically resealing will keep water out, and the next section shows how to troubleshoot any remaining leaks.

TLDR
- Inspect and repair exterior door seals, weatherstripping, and cracked thresholds to eliminate direct water entry.
- Regrade the surrounding soil to a 1‑ft‑per‑ft slope away from the garage and install a perforated‑pipe drainage trench.
- Install a sump pump with a float switch and proper discharge pipe to remove water that accumulates inside.
- Apply waterproof membranes or epoxy coatings to garage floors and walls, sealing all cracks and joints.
- Use a dehumidifier and ventilation fan to control interior humidity and prevent condensation‑related moisture.
Assess Your Garage’s Water‑Ingress Risks
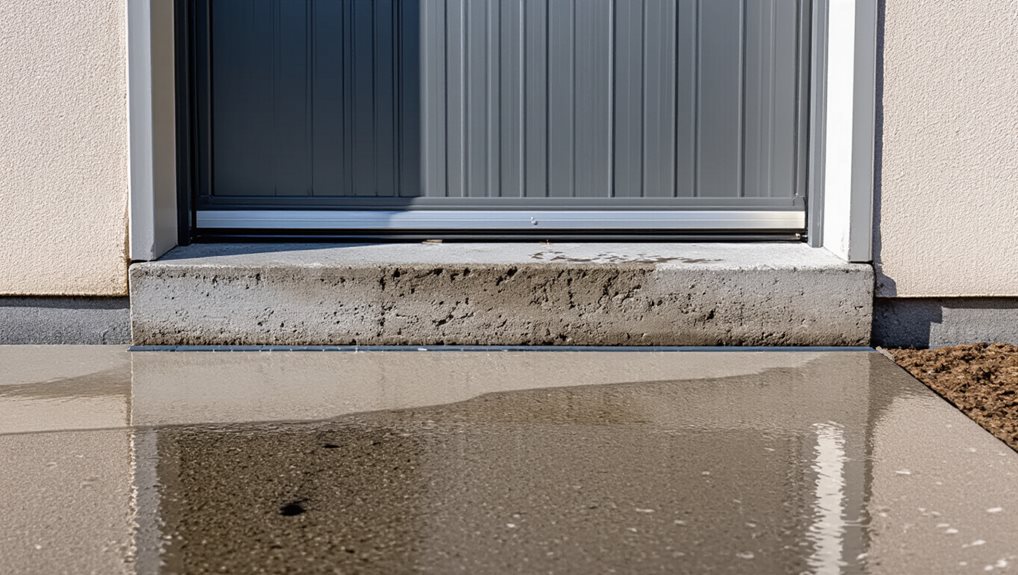
Where are the weak points that let rain seep into your garage? You’ll find the most common culprits: a worn bottom weatherstrip or a cracked threshold gaps, damaged door seals, and poorly graded exterior soil that channels water toward the foundation.
Inspect the door’s seal for gaps, check the sill plate for cracks, and note any pooling on the driveway, because each flaw can invite moisture and threaten your home’s integrity. Hydrostatic pressure can force water up through slab cracks, worsening the leak.
Understanding how proper drainage ties into long-term protection can help you plan effective fixes and maintenance over time drainage planning.
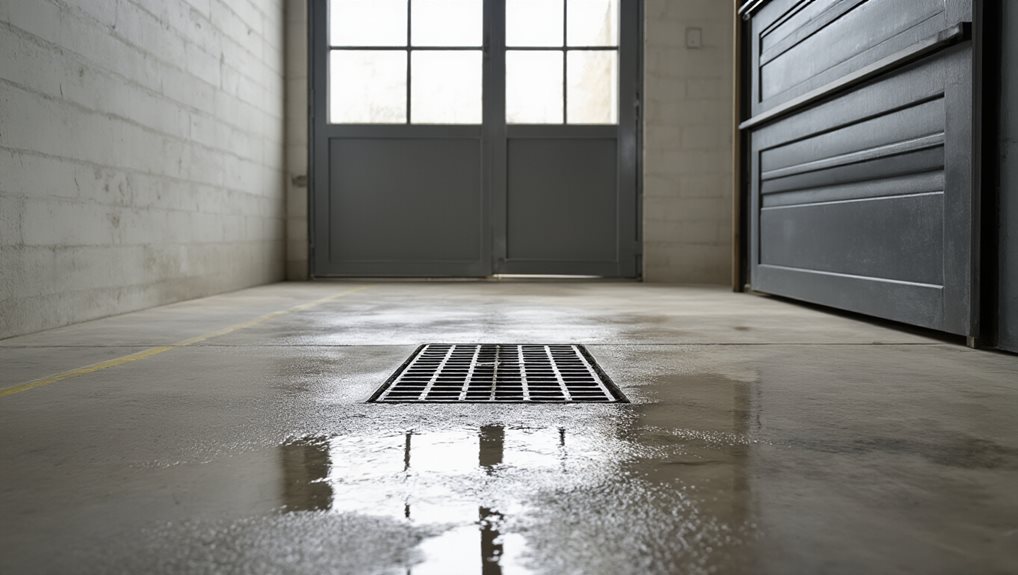
Install & Maintain Garage Drainage for Waterproofing
After checking for worn weatherstripping, cracked thresholds, and grading issues, the next step is to install a drainage system that captures runoff before it reaches the garage floor. Locate a trench from roof runoff to a storm drain, ensure a 1% slope, dig 18 cm deep, line with filter fabric, add gravel, lay perforated PVC, backfill with concrete and topsoil, then test flow and clean regularly. Include periodic inspection of the drainage system to prevent buildup of leaves and debris that can block flow, and consider using white oak-acorn tolerant practices in nearby landscape planning to avoid surprises from natural runoff sources. drainage considerations
Regrade Soil to Direct Water Away From Garage Walls

How can you keep rainwater from pooling against your garage walls? Excavate to the footer, install perforated pipe in a gravel trench, and reuse the displaced soil to create a gentle, one‑foot‑per‑foot slope that carries water away.
Ensure the gravel extends over the pipe and foundation, use geofabric if clay is present, and monitor the grade periodically to maintain proper drainage.
In addition, seal around any joints or penetrations where water could wick into the structure, leveraging exterior-grade caulk and weatherstripping techniques to maintain a continuous barrier against moisture intrusion. weatherproofing
Seal Garage Floor & Foundation Cracks for Waterproofing
Ever wondered why water still seeps through your garage floor despite a good grade? You’ll first clear the space, degrease, power‑wash, and acid‑etch the concrete, then inspect for cracks.
Apply masonry filler or epoxy resin via a caulk gun, seal joints with flexible caulk, and finish with a compatible membrane or coating, ensuring each layer bonds before the next.
Apply Waterproof Coating to Walls & Ceilings
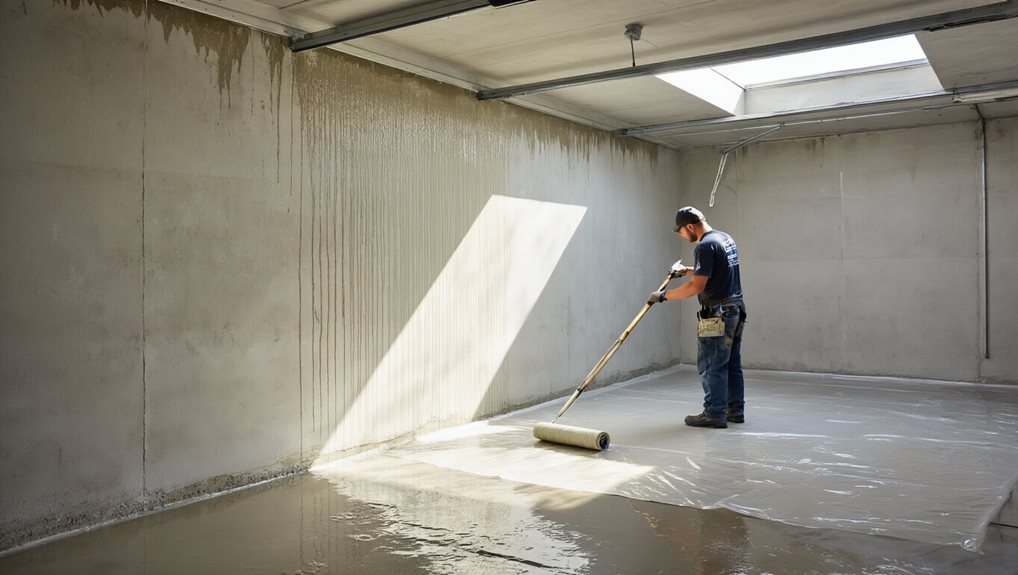
First, you’ll need to prep the surfaces by cleaning off oil and grease, filling cracks with waterproof caulk, and sealing any gaps around windows or doors, then test for moisture if you suspect vapor emission.
Next, choose the right primer—water‑based or solvent‑based depending on the wall material—and apply it with a heavy-bodied brush or roller, using a notched squeegee to keep the thickness consistent while maintaining a wet edge.
Finally, follow the product’s coat‑interval guidelines, applying the first thinned coat, letting it dry, and then rolling a second coat cross‑directionally for uniform coverage before the topcoat cures.
To help prevent future moisture intrusion, ensure proper drainage around the foundation and consider incorporating a vapor barrier in vulnerable areas as part of a comprehensive moisture management plan drainage improvements.
Surface Preparation
Why bother with thorough surface preparation before applying a waterproof coating? You’ll clear the garage, power‑wash walls under 1,750 psi, and degrease masonry to eliminate dust, grease, and moisture that could trap water.
Inspect for cracks, fill them with silicone or polyurethane, and seal joints completely. Ensure everything dries, then apply a fillet seal at wall‑floor edges, creating a clean, cohesive base for the coating.
Application Technique
How do you ensure a waterproof coating adheres properly to garage walls and ceilings? First, mix the coating by adding clean water, then slowly stir in the powder while using a high‑torque drill on low speed for three minutes until it reaches a batter‑like consistency; let it rest a minute, remix, and apply a horizontal first coat up to one metre high, extending 100 mm onto the floor. Use a putty knife for cracks, then a vertical second coat, reinforcing wall‑floor joints with PermaSEAL Fillet Seal. Allow one to two days for curing before finishing.
Maintain Door Weatherstripping for Water Tightness
You should inspect the door’s weatherstripping at least once a month, looking for cracks, hardening, or gaps that let moisture in. When you notice any wear, replace the affected strip promptly with a material that matches the door type, such as EPDM rubber for wood or vinyl for metal. Finally, make sure each new piece is installed correctly—clean the frame, apply the right adhesive or fastener, and press it firmly into the track to guarantee a watertight seal. Grouting too early can ruin newly installed tiles due to pressure wait at least 24 hours before applying grout to ensure proper curing and a durable seal.
Inspect Seal Condition Regularly
When spring rainstorms arrive, you’ll notice any gaps in the garage door’s weatherstripping quickly, so regular inspection is essential for keeping water out.
Check seals twice a year, scan for daylight through cracks, and note tears, brittleness, or loose sections before cleaning.
Use a soft, soapy cloth, rinse, dry, and apply silicone lubricant sparingly, ensuring continuous contact and flexibility throughout each season.
Replace Worn Weatherstripping Promptly
Regularly checking the seals reveals when they’re losing their integrity, and once cracks, tears, or daylight become noticeable, you should replace the weatherstripping without delay to keep water out.
Choose a matching, high‑quality multiseal, clean the frame with soapy water, dry it fully, then install the new strip, applying a thin silicone spray for flexibility; inspect twice yearly and after any heavy rain.
Apply Proper Installation Technique
How can you guarantee a watertight garage door if the weatherstripping isn’t installed correctly? Measure the jambs and threshold precisely, double‑check dimensions, then cut the strip a little longer to trim for a perfect fit. Clean all surfaces with a degreaser, apply adhesive‑backed weatherstripping, press firmly, secure every few inches with galvanized nails, and seal joints with caulk. Finally, attach the threshold seal using construction adhesive, allowing it to cure fully before use.
Seal Gaps Around Windows and Doors
Why should you prioritize sealing gaps around windows and doors before winter hits? Clean each frame with mild detergent, let it dry, then apply silicone or Advanced Silicone 2® sealant using a caulking gun, smoothing it for an even, waterproof barrier. Install weatherstripping, door sweeps, and reinforced silicone where needed, press sealant into larger cracks with backer rod, and inspect regularly to maintain a tight, protective seal.
Add Flood Barriers to Strengthen Garage Waterproofing
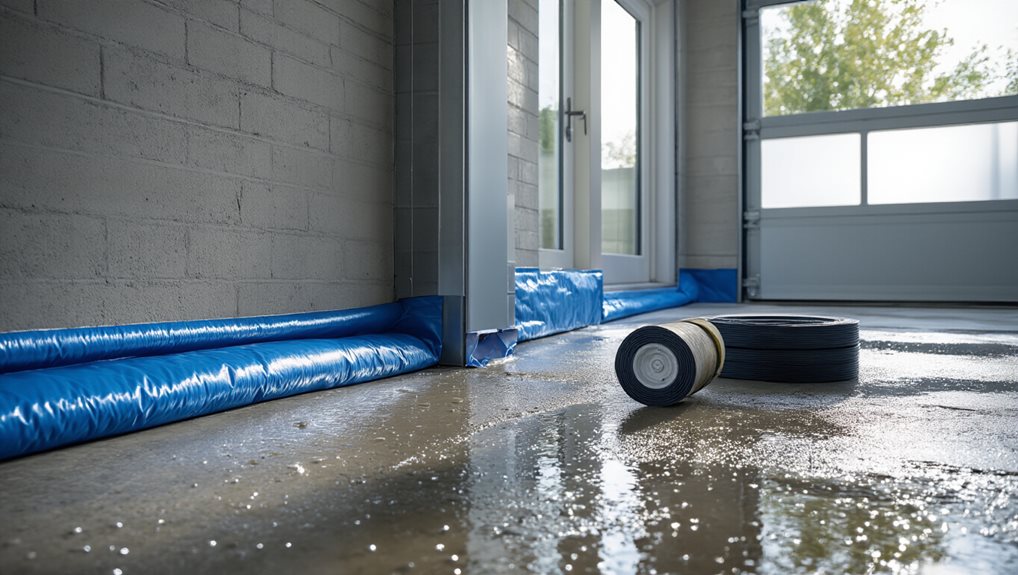
What you’ll notice first is that a solid flood‑barrier system can turn a vulnerable garage entrance into a reliable line of defense against rising water.
Choose gates, panels, or modular aluminum systems, measure door dimensions precisely, install ground channels with mortar and silicone, then lock panels in place, inflate seals, and test for gaps, ensuring a seamless, watertight barrier that protects your home.
Install Sump Pumps and Sensors for Unexpected Leaks
A well‑designed sump system can catch water that sneaks past your flood barriers, preventing unexpected garage leaks from turning into costly damage.
Locate the lowest floor point, dig a deep, wide pit, add gravel, then set a level basin with a submersible pump and float switch.
Fit a 1.5‑inch PVC discharge, install a check valve, drill a weep hole, connect to a GFCI outlet, and test with several gallons to ensure reliable activation.
Use Dehumidifiers and Exhaust Fans to Control Moisture
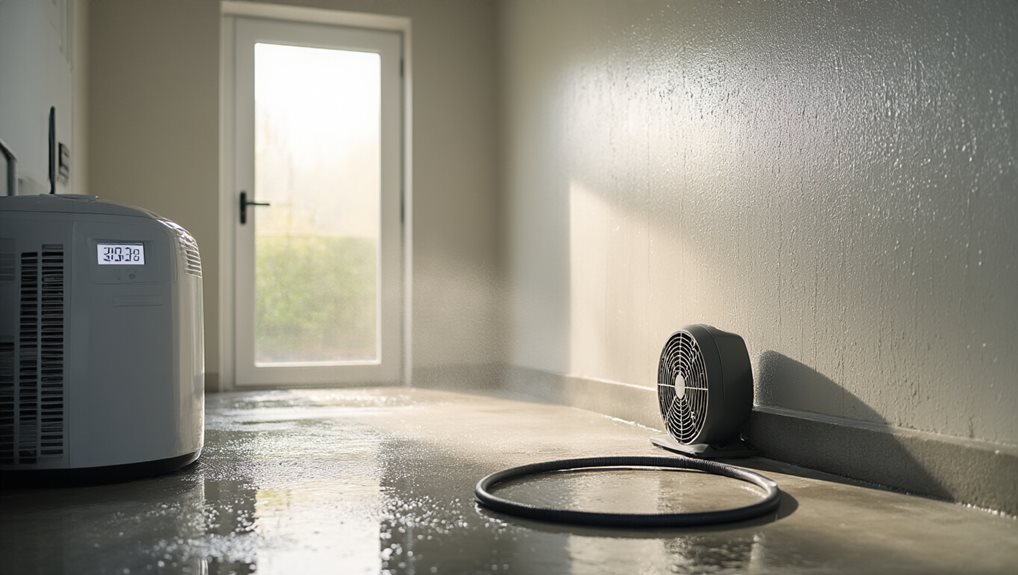
Can you keep your garage dry without spending a fortune on renovations? Choose a mid‑size condensation dehumidifier that matches your space, surface area, and humidity level, then pair it with a roof‑mounted exhaust fan or vented grille to pull moist air out. Run the unit continuously in winter, use a hygrostat for automatic control, and ensure proper drainage or a large water container to maintain a comfortable, dry environment.
Perform Seasonal Maintenance of All Waterproofing Systems
Keeping your garage’s waterproofing systems in top shape year‑round hinges on seasonal maintenance, and each season brings its own set of tasks that protect the structure from water intrusion. In spring, inspect walls, floors, and seals, clean gutters, and test drains; summer demands checking coatings and joints for heat‑induced damage; fall requires clearing debris and sealing gaps; winter calls for sealing pipe openings, removing ice, and protecting flooring from salt. Follow these steps consistently to keep your garage dry.
Troubleshoot Common Garage Water‑Proofing Problems
Where do you start when you see stains on your garage ceiling or walls, peeling paint, and a musty odor?
Inspect cracks in floors, walls, and joints, then seal them with appropriate filler; check door seals for brittleness or gaps, replace worn gaskets, verify proper drainage grading, and correct low spots or dents in the slab.
These steps restore barriers, prevent moisture intrusion, and keep your garage dry.
Final Note
By regularly inspecting drainage, regrading soil, sealing cracks, applying waterproof coatings, and maintaining sump pumps and dehumidifiers, you’ll keep your garage dry and protect its structure. Seasonal checks and prompt repairs prevent minor leaks from becoming costly damage, while proper ventilation controls moisture and mold. Following these steps ensures a resilient, watertight space, preserving both your vehicle and stored items without unnecessary hassle.