To build a pergola step by step, first select a level, sunny site and mark post locations accurately using stakes and string. Excavate holes about 30 inches deep, fill the bottoms with gravel for drainage, then set and brace the posts with concrete and supports during curing. Secure beams and attach rafters with galvanized hardware, ensuring everything is level. Install lattice or decorative elements, seal and paint surfaces, and add final touches like lights or plants. Continuing will reveal detailed guidance for a sturdy, attractive structure.

TLDR
- Choose a suitable, level location with ample sunlight and mark post positions accurately.
- Excavate holes, add gravel, set posts with braces, and pour concrete; wait for curing.
- Attach beams to the posts, ensuring they are level and secure with galvanized bolts.
- Measure, cut, and install rafters with overhang, securing with outdoor-rated fasteners.
- Add lattice, decorative features, and perform regular maintenance for durability.
Plan Your Pergola Location and Design
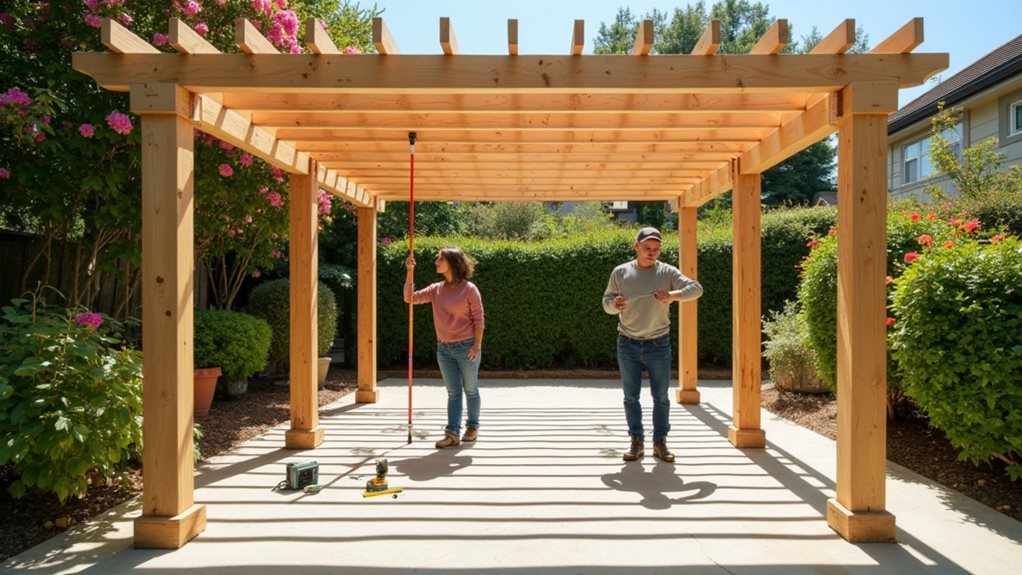
Before you begin building your pergola, it’s essential to carefully select the right location and design to guarantee stability, functionality, and aesthetic appeal.
Focus on the pergola location by choosing a level, open space with sufficient sunlight, close to your house or garden features.
Proper site preparation, including marking post positions accurately, assures symmetry and safety in your design.
Prepare the Ground and Dig Post Holes
To guarantee your pergola is stable and properly aligned, it’s essential to prepare the ground and dig the post holes with precision. Use stakes and a string line to verify placement, ensuring straight lines before digging. Carefully excavate each post hole, about 24 inches wide and 30 inches deep. Filling the bottom with gravel for drainage and stability is also recommended. Incorporating soil aeration techniques can help improve soil structure and promote better stability for your post foundations.
Build and Secure Pergola Posts
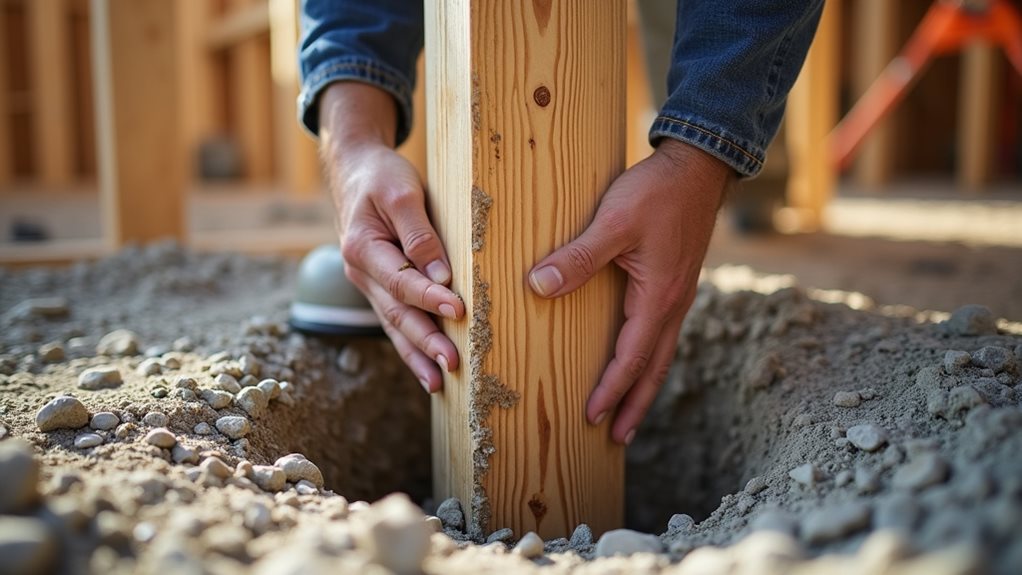
Properly setting the post locations and ensuring their stability are essential steps in building a sturdy pergola.
You need to position each post at the correct height, aligned according to your design, and secure them with support braces or stakes while the concrete cures.
Taking these precautions helps prevent shifting or leaning, resulting in a safe, long-lasting structure. Additionally, selecting the appropriate wire gauge for your posts can help support the overall stability of your pergola, especially if you plan to add additional features or lighting.
Setting Post Locations
Accurately setting the post locations is an essential step in ensuring your pergola is stable and properly aligned. Use stakes to mark the exact post locations, and a measuring tape to confirm proper spacing.
This careful measurement guarantees the posts are correctly positioned, preventing future issues and ensuring the structure’s durability. Proper planning creates a strong, lasting pergola.
Ensuring Post Stability
Ensuring post stability is essential for the overall strength and safety of your pergola, and it begins with proper construction techniques.
Fill each post hole with gravel for drainage, then pour concrete to keep posts supported and aligned.
Use support braces or temporary stakes during setting, ensuring posts remain upright until the concrete fully cures, typically 24-48 hours.
Attach Beams and Build the Structural Frame
Have you considered how to securely attach the cross beams to your posts? Measure and mark the desired height for the beams on each post, then use temporary supports to hold them in place. Drill through the beams and posts with long auger bits, insert galvanized bolts, and tighten nuts firmly. Make certain all beams are level for a strong structural frame. Incorporate natural lawn aeration methods during your outdoor projects to promote healthy soil and plant growth.
Install Rafters and Lattice for Shade
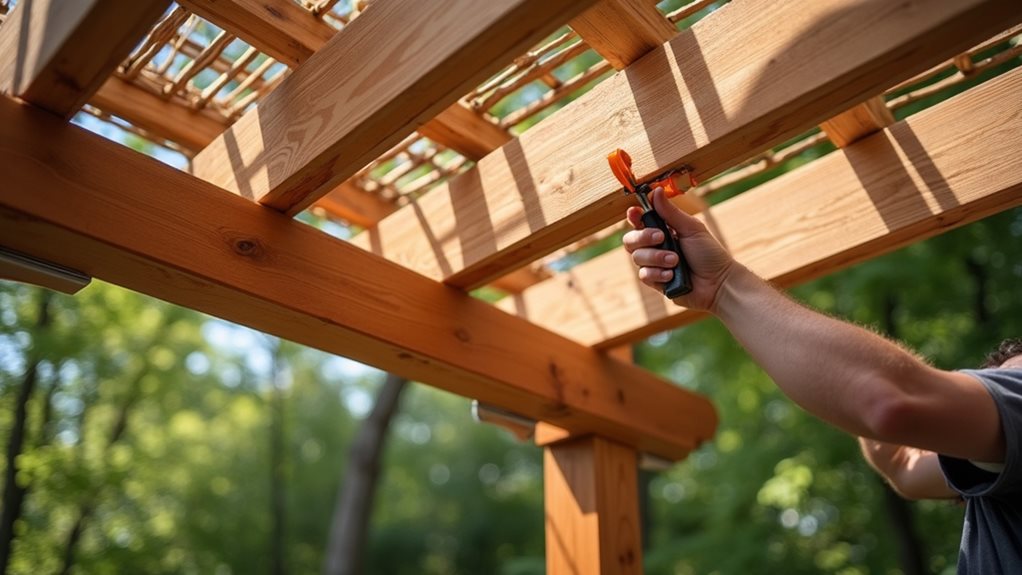
Next, you’ll measure and cut the rafters to the correct length, usually adding about 1.5 feet for overhang, ensuring they fit securely across the top of your beams.
When attaching the rafters, use galvanized screws at a consistent 45-degree angle to maintain stability and uniformity.
Finally, secure lattice panels between the rafters or along the sides with outdoor-rated screws or nails to provide shade and support climbing plants.
Make sure all connections are tight and level for a durable, attractive finish.
Rafter Measurement and Cutting
When measuring and cutting rafters for your pergola, accuracy is vital to guarantee a secure and even fit. Proper rafter measurement ensures each piece aligns perfectly.
While precise cutting with a saw maintains structural integrity. Notching ends if needed, and drilling pilot holes, helps secure the rafters properly, creating a sturdy and attractive pergola.
Attaching Lattice Securely
Attaching lattice panels securely to your pergola involves careful planning and precise execution. You should measure and mark rafter placements evenly.
Then fasten the lattice using outdoor-rated screws or nails at a 45-degree angle for a secure attachment. Reinforcing critical points with additional screws or brackets guarantees increased stability.
While doing so, final checks should confirm the lattice is flush, aligned, and sturdy for lasting shade and aesthetic appeal.
Finish Your Pergola With Paint, Stain, and Weatherproofing
Applying a weatherproof stain or paint to your pergola is essential for protecting the wood from moisture, UV rays, and decay, which can substantially extend its lifespan.
Before finishing, thoroughly clean the surface.
Then apply multiple thin coats of a high-quality exterior-grade stain or paint.
Sealing the bottom 24 inches of posts prevents water absorption, ensuring durability and a lasting finish.
Add Decorative Elements and Final Touches
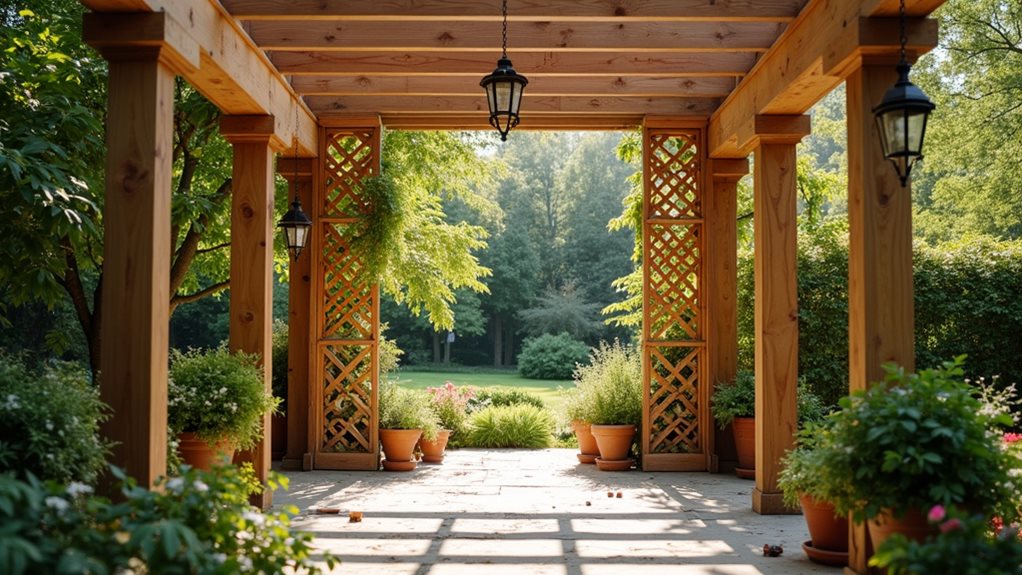
Adding decorative elements and final touches can considerably enhance the visual appeal of your pergola while making the space more functional and inviting. Incorporate decorative elements like lattice panels, custom trim, or hanging lights to elevate your outdoor décor. Finish with outdoor curtains, climbing vines, or potted plants to personalize the space and create a warm, welcoming atmosphere. To maintain the overall aesthetic and health of your outdoor space, consider implementing smart lawn habits such as designated walkways and proper watering practices.
Maintain and Customize Your Pergola Over Time
Maintaining and customizing your pergola over time guarantees its longevity and allows you to adapt the space to your changing needs and preferences. Regular maintenance, like inspecting for rot, rust, and loose hardware, keeps it strong. You can also consider garden bed cleaning techniques to ensure nearby plant areas remain tidy and healthy. Customize by adding lighting or plants, and weatherproof with stain or sealant every few years to protect against environmental damage.
Final Note
Building a pergola requires careful planning, precise measurements, and attention to safety. By following each step—from selecting the right location and preparing the ground to assembling the structural frame and adding finishing touches—you guarantee a durable, functional, and attractive structure. Regular maintenance and customization allow your pergola to adapt over time, enhancing your outdoor space. With patience and proper techniques, you’ll create a lasting feature that provides shade, aesthetic value, and a welcoming environment for years to come.

Nathan McPhail is a garden and home DIY expert who writes practical, easy-to-follow advice for homeowners and gardeners. Through Yardique, he shares hands-on tips covering gardening, lawn care, landscaping, home improvement, repairs, tools, and outdoor living. His focus is on helping readers solve everyday household and yard problems with straightforward guidance, useful techniques, and practical solutions.