To stain a wood fence yourself, start by thoroughly cleaning the surface with a wood cleaner and stiff brush to remove dirt, mold, and old stain, while avoiding power washers that could damage the wood fibers. Repair any loose nails or damaged boards, then protect surrounding areas with coverings. Choose a stain that matches your desired transparency and color, and gather all necessary tools like sprayers, brushes, and protective gear. Apply the stain evenly in thin coats, using sprayers and brushes as needed, then allow at least 48 hours for drying and curing. Continuing with proper maintenance guarantees your fence stays protected and beautiful longer.
TLDR
- Clean and repair the fence, removing dirt, mold, and damaged boards before staining.
- Choose the appropriate stain type and color, testing on small areas first.
- Gather necessary tools like sprayers, brushes, and protective gear, ensuring compatibility with your stain.
- Apply stain in thin, even coats using a sprayer and back-brush for uniform coverage.
- Allow 48-72 hours for drying and curing before exposure or reapplication for maintenance.
Prepare Your Fence and Surrounding Area for Staining
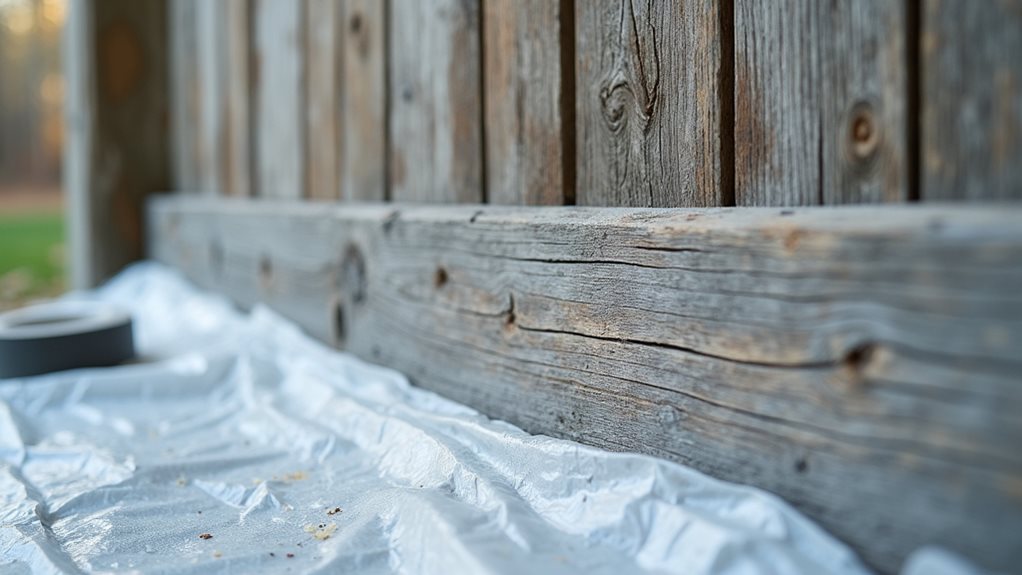
Before you begin staining your fence, it’s essential to properly prepare both the wood and the surrounding area to guarantee the best results.
Use a wood cleaner and stiff bristle brush to remove dirt, mold, and old stain. Avoid power washers that can damage the wood fibers.
Repair loose nails, damaged boards, and remove hardware to protect your fence’s integrity and appearance.
Additionally, consider checking the cutting performance of your tools to ensure precise and clean work during repairs and preparation.
Choose the Right Fence Stain Type and Transparency Level
Choosing the right fence stain type and transparency level is essential for achieving a durable and visually appealing finish that suits your specific needs. For new fences, transparent stains highlight the wood grain, while semi-transparent stains add color while preserving texture. Solid color stains provide full coverage, hiding imperfections, especially on older or weathered wood, with stain transparency affecting durability and appearance. Additionally, selecting a stain with the appropriate level of UV protection can help prevent fading and extend the lifespan of your fence.
Select the Perfect Fence Stain Color to Complement Your Home
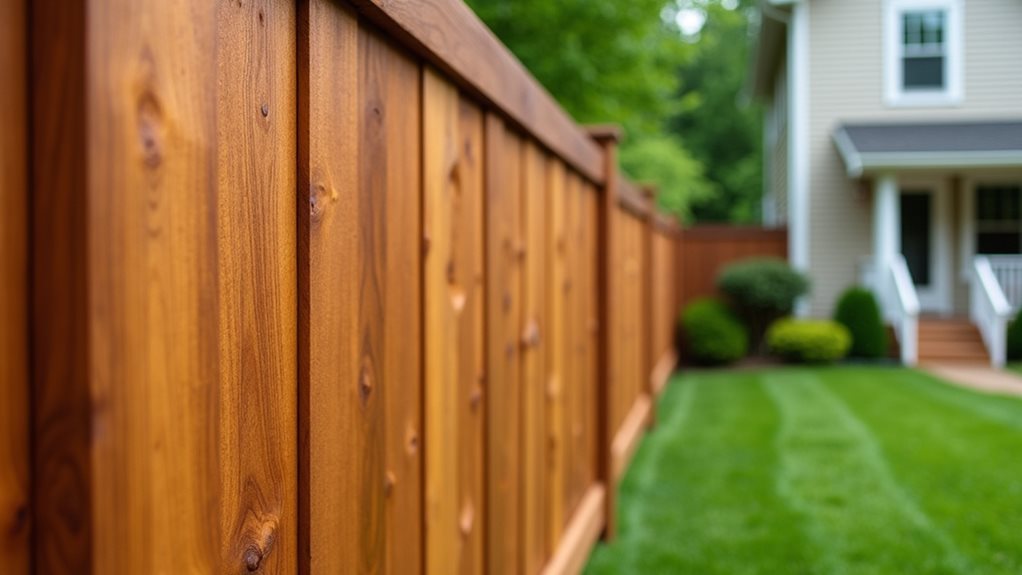
Have you ever considered how the color of your fence can influence your home’s overall appearance? Choosing the right fence stain color for your wood fence involves testing stain shades on small areas to see how weathering effects impact longevity.
Use visualization tools and select a complementary color that enhances your home’s siding and landscaping for a harmonious look. Additionally, consider how the fence’s exposure to sunlight can affect the stain’s durability and appearance over time.
Gather Tools and Materials for Fence Staining
Before starting your fence staining project, it’s crucial to gather the right tools and materials to guarantee a smooth process and professional results. You’ll need items like a pressure washer, brushes, a paint sprayer or roller, and protective gear. Additionally, selecting the appropriate stain is essential; a high-quality primer can improve stain adhesion and ensure a more durable finish. Preparing protective coverings and cleaning supplies also helps protect nearby surfaces and makes certain your fence is properly prepped for staining.
Essential Tools Needed
To effectively stain a wood fence, you need to gather the right tools and materials that guarantee a smooth and professional finish.
Essential tools include a pressure washer or garden hose with a spray nozzle for cleaning, brushes and rollers for application, protective gear like gloves and masks, and painter’s tape or plastic sheeting to prevent overspray.
These make certain a thorough, safe, and efficient staining process.
Choosing Suitable Materials
Choosing suitable materials for fence staining begins with selecting the right stain type and transparency level, which directly influence the fence’s appearance and durability.
You’ll need tools like a brush or sprayer, along with protective gear such as gloves and masks.
Prepare the surface thoroughly with materials like pressure washers, wood cleaner, and scrapers to guarantee proper stain absorption.
How to Apply Fence Stain With a Sprayer and Brush
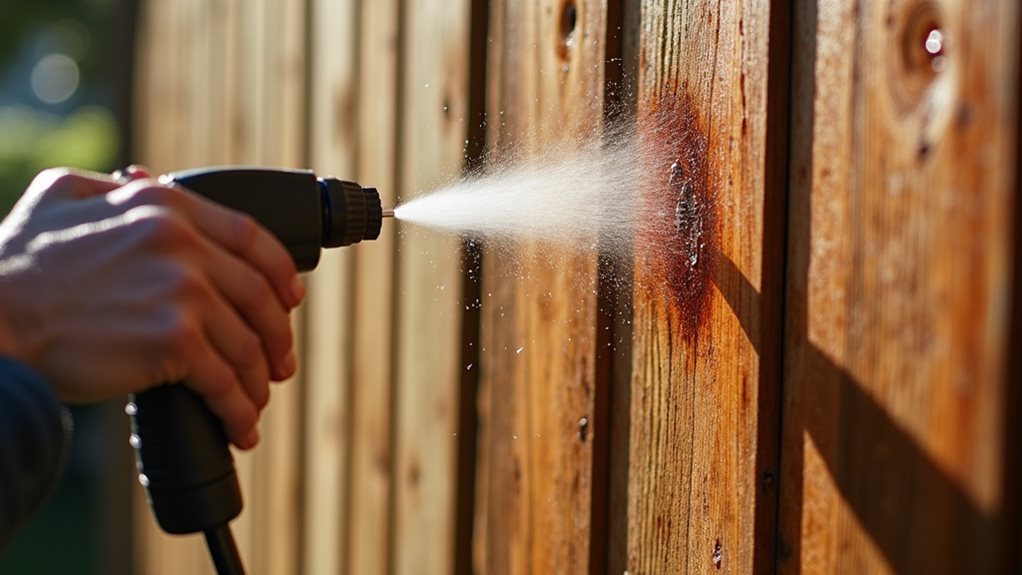
To get the best results, you need to set up your sprayer correctly, using the right nozzle and maintaining a steady, overlapping motion for even coverage.
After spraying, back-brush the stain with a synthetic brush to guarantee better penetration and to prevent drips.
Working in sections, refilling the sprayer as needed and applying two thin coats, will give your fence a durable, professional finish.
Proper Sprayer Setup
Setting up your sprayer correctly is vital for achieving a smooth, even coat of stain on your fence.
Fill the sprayer with stain and select a wide-angle nozzle, like the 12-inch tip on a Wagner Flexio 3000, to guarantee proper coverage.
Adjust the spray pattern to match the fence’s orientation.
Refill frequently to maintain consistent application and prevent streaks.
Technique for Even Coverage
Applying stain evenly across your fence requires careful technique to avoid streaks and uneven color.
Use a sprayer set to a wide spray angle, maintaining a consistent 12-14 inch distance for even coverage. Overlap each pass slightly, and immediately back-brush or roll over sprayed areas to improve penetration and smooth drips.
Apply thin, even coats with a brush, roller, or spray for best results.
Back-Brushing for Penetration
After spraying the stain onto the fence, it’s essential to immediately back-brush each section with a clean, dry synthetic paint brush.
This technique enhances stain penetration and promotes even coverage by aligning with the wood grain.
Back-brushing helps improve stain absorption, smooths brush strokes, and prevents streaks, especially on vertical and horizontal surfaces, ensuring a professional, durable finish.
Dry and Cure Your Fence Properly Before Use
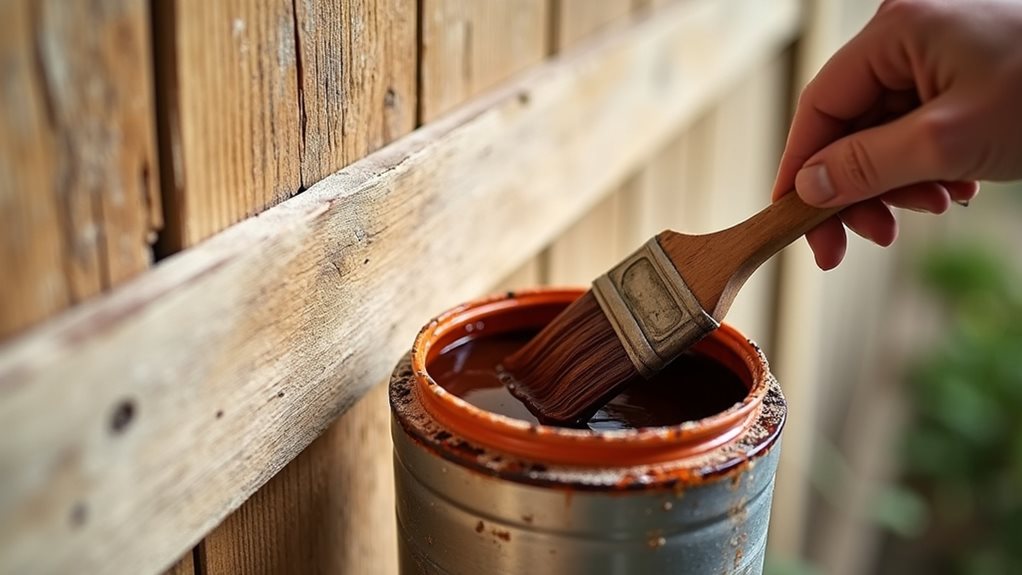
Before exposing your stained fence to the elements, it’s crucial to allow it to dry thoroughly and cure properly. The fence drying process typically takes 48 to 72 hours, depending on weather conditions. Keep the fence dry during curing to prevent streaks or blotches. Make sure it’s fully cured before reattaching hardware or heavy use for maximum durability. Proper curing time is essential to ensure the stain bonds correctly and lasts longer.
Maintain and Re-stain Your Fence to Keep It Looking Great
Maintaining and re-staining your fence is essential for preserving its appearance and extending its lifespan, especially since exposure to weather and daily wear can cause the stain to fade or peel over time. To re-stain effectively, clean the fence thoroughly, let it dry for at least 48 hours, then apply stain with a brush or sprayer in thin coats. Proper preparation and choosing the right stain quality can significantly impact the durability and finish of your project. This process ensures the wood is protected and looks great.
Troubleshoot Common Fence Staining Challenges
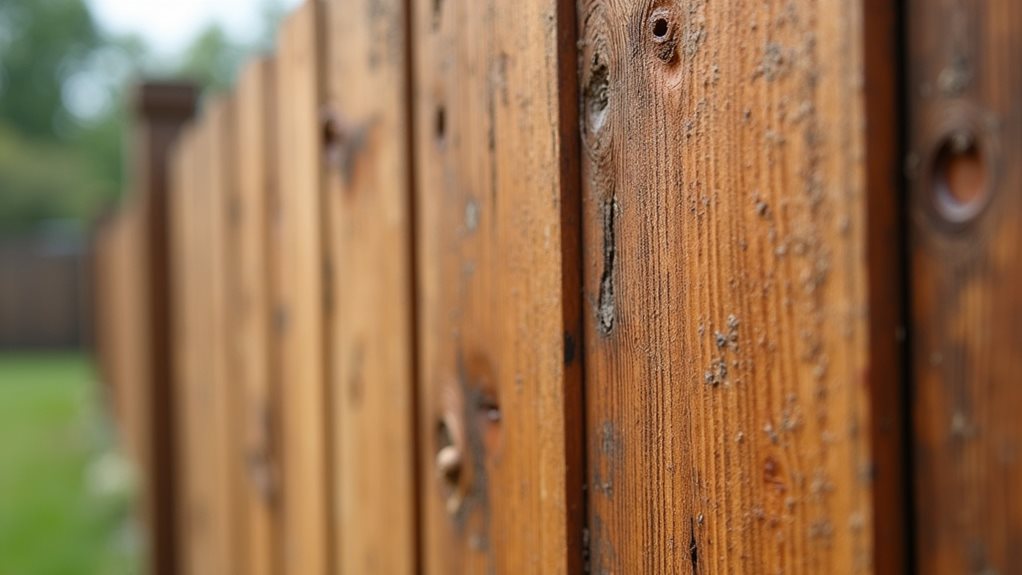
When staining a fence, it’s common to encounter challenges that can compromise the final appearance and durability of the finish. If the stain dries unevenly or streaks appear, check your surface preparation and make certain you apply stain evenly.
Wood movement from humidity can cause cracks, especially if the wood wasn’t conditioned. Proper prep and consistent application prevent these issues.
Final Note
Staining your wood fence yourself is a practical way to enhance its appearance and longevity. By carefully preparing, selecting the right stain, and applying it properly, you can achieve professional results that last. Regular maintenance and re-staining will keep your fence looking its best over time. With patience and attention to detail, you’ll protect your investment while creating a visually appealing boundary that complements your home’s style.

Nathan McPhail is a garden and home DIY expert who writes practical, easy-to-follow advice for homeowners and gardeners. Through Yardique, he shares hands-on tips covering gardening, lawn care, landscaping, home improvement, repairs, tools, and outdoor living. His focus is on helping readers solve everyday household and yard problems with straightforward guidance, useful techniques, and practical solutions.