
To drill into masonry without cracking, always start with a small pilot hole using a masonry bit and drill at low speed while maintaining steady pressure. You’ll need proper safety gear, including protective glasses and a dust mask, along with a hammer drill equipped with carbide-tipped bits. Keep the drill perpendicular to the surface, periodically clear debris, and avoid excessive force that could damage the material. Understanding specific masonry types and techniques will guarantee ideal results for your project. For amendments and compost work, a pair of gardening gloves that reaches the wrist saves a lot of scrubbing.
TLDR
- Start with a small pilot hole using the lowest drill speed to prevent surface glazing and initial cracking.
- Maintain steady, moderate pressure while keeping the drill perfectly perpendicular to the masonry surface.
- Use the appropriate masonry bit size and always drill into the center of bricks rather than near edges.
- Extract the drill bit periodically to clear debris and prevent overheating, which can cause material stress.
- Engage hammer mode from the start on concrete and brick, and use rotary-only mode on tile while maintaining a controlled drilling pace throughout.
Understanding Different Types of Masonry
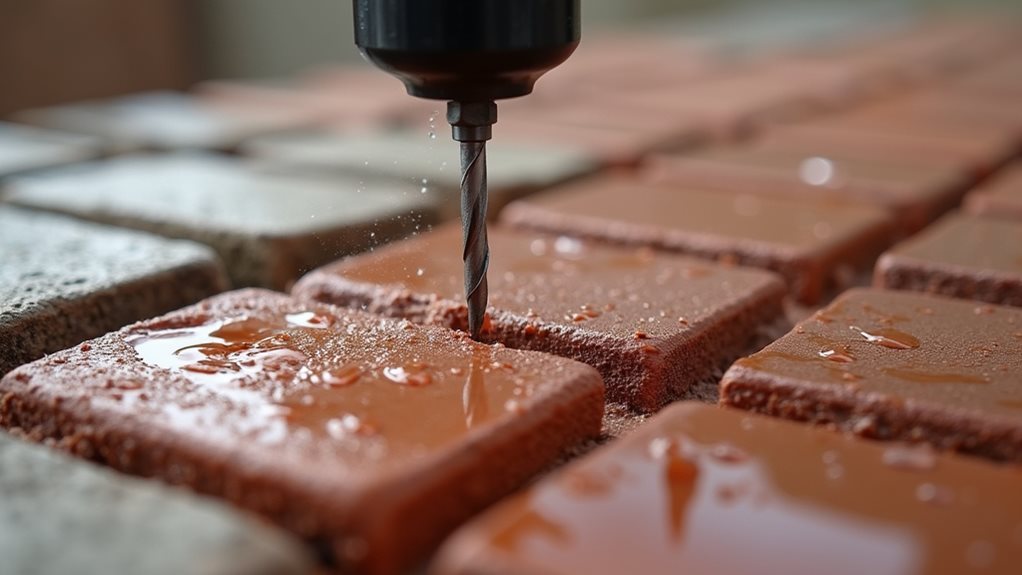
Before you begin drilling into any masonry surface, you’ll need to understand the distinct characteristics of different masonry materials, as each type requires specific drilling techniques and tools.
Brick masonry offers uniform construction but less tensile strength, while stone masonry provides superior durability but demands skilled labor. .
Concrete blocks deliver excellent insulation and weather resistance, and veneer masonry combines aesthetic appeal with practical benefits. Gabion structures create revetment or retaining walls that provide exceptional resistance to horizontal pressure while maintaining proper drainage.
Essential Tools and Equipment Needed
Successfully drilling into masonry starts with assembling the right tools and equipment for your project.
You’ll need a hammer drill with adjustable speed settings and appropriate masonry bits, preferably carbide-tipped or SDS-Plus for tougher materials. Additionally, ensuring the use of proper curing techniques enhances the durability of any surrounding materials.
Don’t forget essential safety gear, including protective glasses, a dust mask, and work gloves, along with depth gauges or painter’s tape for precise measurements.
Using the drill’s hammer mode function ensures effective penetration through dense masonry materials while minimizing the risk of cracking.
Safety Gear and Workspace Preparation
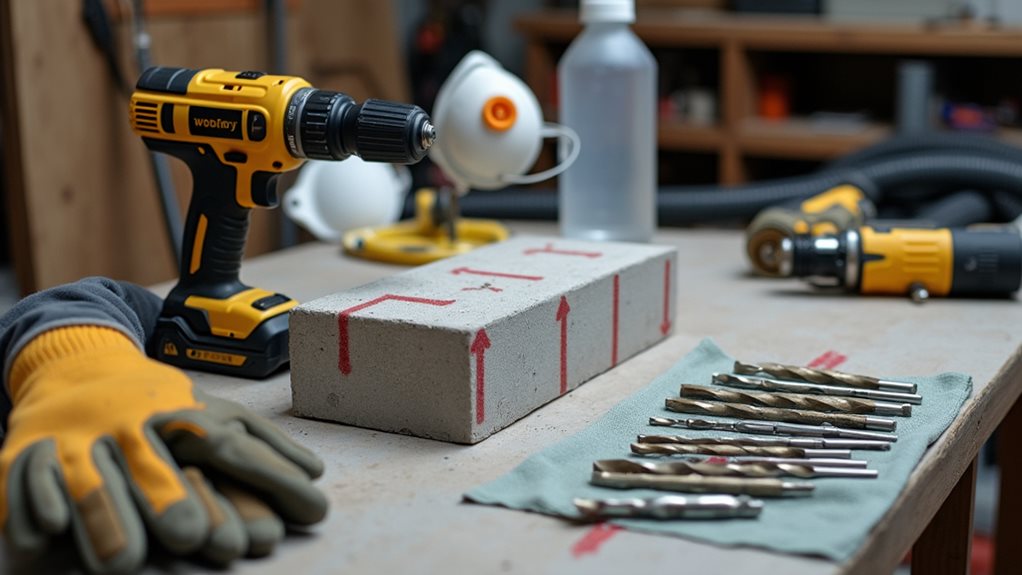
Proper safety precautions and workspace organization form the foundation of any successful masonry drilling project.
You’ll need safety glasses, a dust mask, and earplugs to protect your eyes, lungs, and hearing. Don’t forget to wear work gloves and long sleeves to shield your skin from debris.
Clear your workspace of obstacles, guarantee proper lighting, and secure your workpiece with clamps before starting. Additionally, ensure your tools are in good condition, as regular maintenance can enhance their performance and safety during use.
Selecting the Right Drill Bits for Your Project
With your safety equipment ready and workspace prepared, choosing the right drill bit becomes your next important step.
You’ll need to decide between standard masonry bits for cordless drills, SDS bits for hammer drills, or multi-material bits depending on your project.
Look for bits with tungsten carbide tips, as they’re more durable and efficient at cutting through dense masonry materials. Additionally, ensuring proper surface preparation can enhance the effectiveness of your drilling efforts.
Step-by-Step Drilling Technique
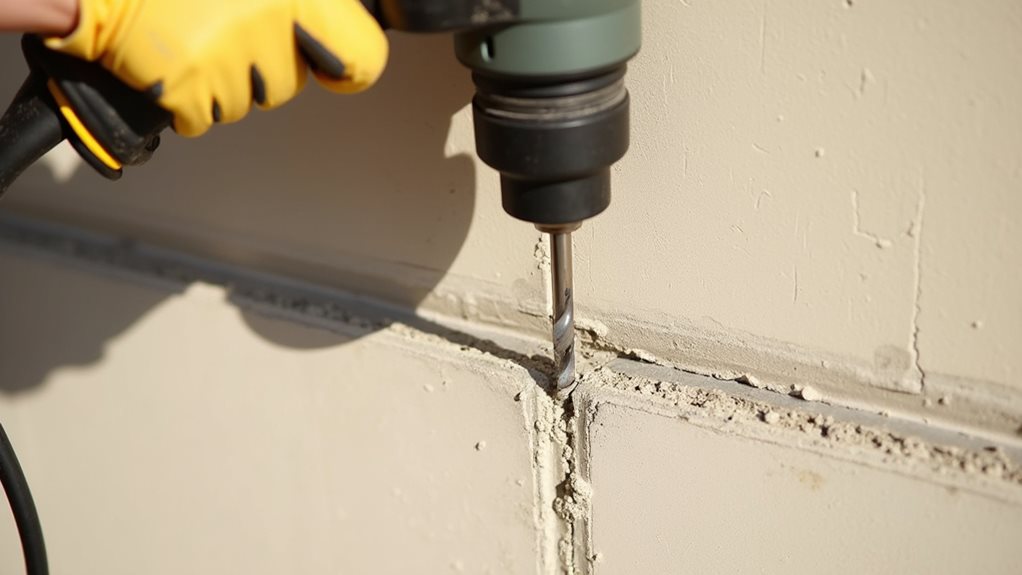
Perfecting the step-by-step drilling technique guarantees clean, precise holes in your masonry project while protecting both your tools and the material.
Begin with the full-diameter masonry bit and a centre-punch dimple, then apply pressure gradually while maintaining perpendicular alignment.
Don’t forget to extract the bit periodically to clear debris and prevent overheating.
You’ll achieve excellent results by engaging your drill’s hammer function during the process.
Common Mistakes to Avoid
You’ll need to maintain a steady, controlled pace when drilling into masonry, as excessive force can crack the material and damage both your drill bit and the surface.
When you’re working with masonry, the correct drill speed is essential because too fast can overheat the bit while too slow won’t effectively penetrate the surface.
Your success depends on finding the right balance between pressure and speed, letting the drill’s weight and hammer action do most of the work rather than forcing it through the material.
Excessive Force Ruins Masonry
While drilling into masonry requires adequate pressure, applying excessive force can lead to serious problems that compromise both safety and results.
You’ll risk shattering drill bits, overworking your tools, and creating uneven or cracked holes. Instead, let your hammer drill’s mechanical action do the work, using firm but controlled pressure.
Focus on drilling into brick centers rather than edges to prevent damage.
Wrong Drill Speed Issues
Selecting the correct drill speed stands as one of the most critical yet commonly misunderstood aspects of masonry drilling.
You’ll need to adjust your speed based on both material type and bit size, with slower speeds recommended for larger bits and harder surfaces.
Don’t start at high speeds, as this can lead to overheating, glazed surfaces, and potential cracking of the masonry.
Proper Hole Cleaning and Maintenance
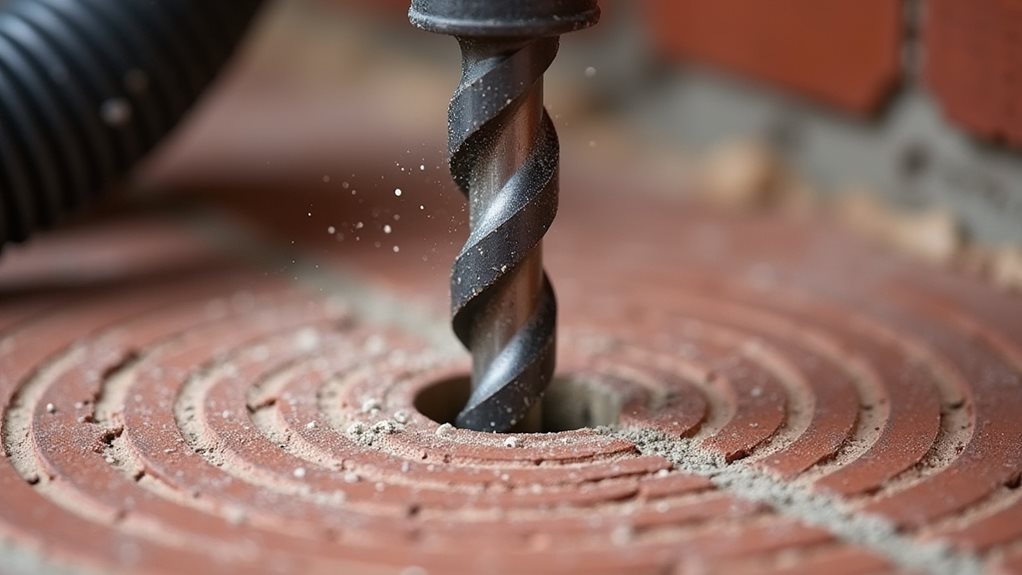
Once you’ve successfully drilled into masonry, proper hole cleaning and maintenance become critical steps that can’t be overlooked.
You’ll need to use compressed air at 90 psi minimum, combined with wire brushes and vacuum systems, following a systematic blow-brush-blow sequence.
Regular cleanliness checks and proper safety gear, including respirators, are essential to guarantee quality bonding and meet OSHA standards.
Silica Dust: Extraction Before the Bit Touches the Wall
Every masonry hole makes respirable silica dust, and the fine fraction is the part that reaches deep into the lung. A dust mask on its own is the weakest control you can choose. For handheld drilling in concrete and brick, the recognised method is to capture the dust at the bit with a shroud or dust cup connected to a suitable extractor, or to use a water fed bit, so the dust never becomes airborne in the first place. That is the arrangement OSHA’s Table 1 for handheld drilling expects to see: the control in place while the drill runs, not a respirator added afterwards.
Set the shroud on the wall before the drill starts, start the extractor first and stop it last, and keep enough slack in the hose that the shroud stays flat against the surface. A gap of a few millimetres at the shroud lip is exactly where the dust escapes, and a full bag or a clogged filter produces the same result, so check both at the start of the job. Slot cutting and chasing work are much higher release than drilling, so treat them as the jobs where extraction matters most.
Clean up the way the dust behaves, not the way it looks. Vacuum or wet wipe ledges and floors, never dry sweep or blow surfaces down, because settled dust is what gets re-suspended hours later. Seal the extractor bag before it goes in the bin. A respirator still has its place for overhead work, for confined spaces or where extraction simply will not fit, but it should be the exception rather than the plan.
| Stage | What to do | Why it matters |
|---|---|---|
| Before drilling | Fit a shroud or dust cup to the drill and connect an extractor with a clean filter and room in the bag | The control has to be running while dust is made |
| First contact | Start the extractor before the bit touches the wall | The first seconds release the most fine dust |
| While drilling | Keep the shroud flush, hose slack, and pause if the shroud lifts | A lifted lip is the main escape path |
| Withdrawing the bit | Keep the extractor running as the flutes leave the hole | Dust falls out of the flutes on the way out |
| Hole clean-out | Run the guide’s 90 psi blow, brush, blow with the shroud or vacuum still in place | Blowing into open air puts the dust back in the room |
| Cleanup | Vacuum or wet wipe, never dry sweep or compressed air on surfaces | Settled dust is the long exposure that gets missed |
| Respirator | Wear one for overhead or confined work, or where extraction cannot be used | It is a backup control, not a replacement for extraction |
Choosing a Fixing: Hole Diameter, Depth and Embedment
A hole that is clean and straight is only half the job, because the fixing you set into it decides how much weight the wall will carry. The rule that prevents most failures is simple: the hole matches the fixing, the depth gives you the embedment the maker specifies plus room for dust, and the fixing sits in solid material rather than in the crumbly face of a brick. This guide covers drilling but does not set sizes, so take the diameter and embedment from the anchor maker’s chart and use the table below to sanity check what you are being told.
Drill to the full diameter of the fixing with a dimple from a centre punch or a small pilot mark to stop the bit wandering, then use the depth stop or a wrap of tape on the bit to hit depth in one pass. Do not step up through three sizes: each pass widens the hole at the mouth and the anchor loses bite. Keep the hole away from brick edges and mortar joints as this guide advises, and clean it with the blow, brush, blow sequence before anything goes in, because dust is what stops resin bonding and lets a plug spin.
In soft brick or block, drop to a longer fixing rather than a fatter one. Wider holes in weak masonry simply break out the face. If the fixing is going to carry something heavy, or overhead, or anything a person could pull on, use a mechanical anchor rated for that load and follow its torque figure rather than tightening until it feels firm.
| Fixing | Hole diameter | Hole depth | Embedment | Watch out |
|---|---|---|---|---|
| Plastic expansion plug | Same as the plug’s stated diameter | Plug length plus about 1/4 in of dust clearance | Full plug length | The plug must not bottom out; it will not expand |
| Sleeve anchor | Same as the anchor diameter | Anchor length so the sleeve sits flush with the surface | Full sleeve length | Keep to brick centres, not edges or joints |
| Wedge or through bolt | Same as the bolt diameter | Bolt length plus clearance for dust | Per the maker’s chart | Not for hollow block faces or thin veneer |
| Chemical (resin) anchor | Same as the stud or rod, or the mesh sleeve in hollow block | Depth marked on the stud or sleeve | Per the resin chart | Hole must be dust free; the blow, brush, blow step is not optional |
| Masonry screw, no plug | The drill size printed for that screw | Screw length plus about 1/4 in | Threaded length inside the masonry | One consistent hole, not a stepped pilot |
| Hollow block toggle | Same as the toggle’s stated diameter | Toggle length plus the wall thickness allowance | Clamps behind the block face | Only in the solid part of the block, never in a mortar joint |
Tips for Professional-Looking Results
To achieve professional-looking results when drilling into masonry, you’ll need to combine proper technique with the right tools and careful attention to detail.
Mark your drilling points clearly, maintain a precise 90-degree angle, and use drill guides for perfect alignment.
Start with pilot holes to guide larger bits, and remember to drill at the slowest effective speed while applying steady, moderate pressure.
Final Note
By following these drilling techniques, you’ll safeguard your masonry from damage while achieving clean, precise holes for your mounting needs. Remember to maintain steady pressure, use the right drill bits, and keep your work area well-ventilated. Whether you’re installing fixtures or creating anchoring points, taking time to become proficient in these methods will guarantee professional results and preserve your masonry’s structural integrity for years to come.

Nathan McPhail is a garden and home DIY expert who writes practical, easy-to-follow advice for homeowners and gardeners. Through Yardique, he shares hands-on tips covering gardening, lawn care, landscaping, home improvement, repairs, tools, and outdoor living. His focus is on helping readers solve everyday household and yard problems with straightforward guidance, useful techniques, and practical solutions.