
You can check your home’s air quality through several DIY methods. Start by inspecting visible signs like mold spots, dust patterns, and vent discoloration. Use digital air monitors to track VOCs and particulate matter, or buy a radon test kit for radon specifically. Skip mold spore sampling when the mold is visible: the EPA says sampling is usually unnecessary once growth can be seen, and the fix is to correct the moisture source. Regular visual checks combined with proper ventilation techniques will help identify issues. For thorough assessment, consider smart monitoring devices that provide ongoing data about your indoor air conditions.
TLDR
- Use digital air quality monitors to track VOCs, particulate matter, and other pollutants in real-time throughout your home.
- Look for visible signs like mold spots, dust patterns, or discoloration around vents that indicate potential air quality issues.
- Purchase single-use home test kits to detect specific pollutants like mold spores, radon, or carbon monoxide.
- Monitor humidity levels with a hygrometer, as high moisture contributes to mold growth and poor air quality.
- Check for musty odors and dust accumulation patterns, which can reveal circulation problems and hidden contaminants.
Seasonal timing: Indoor air quality usually reads worst from late autumn through winter, when closed windows trap VOCs, moisture and particulate matter. Log a baseline reading before the heating season starts, then re-check monthly while the house stays sealed.
Understanding Common Indoor Air Pollutants and Their Sources
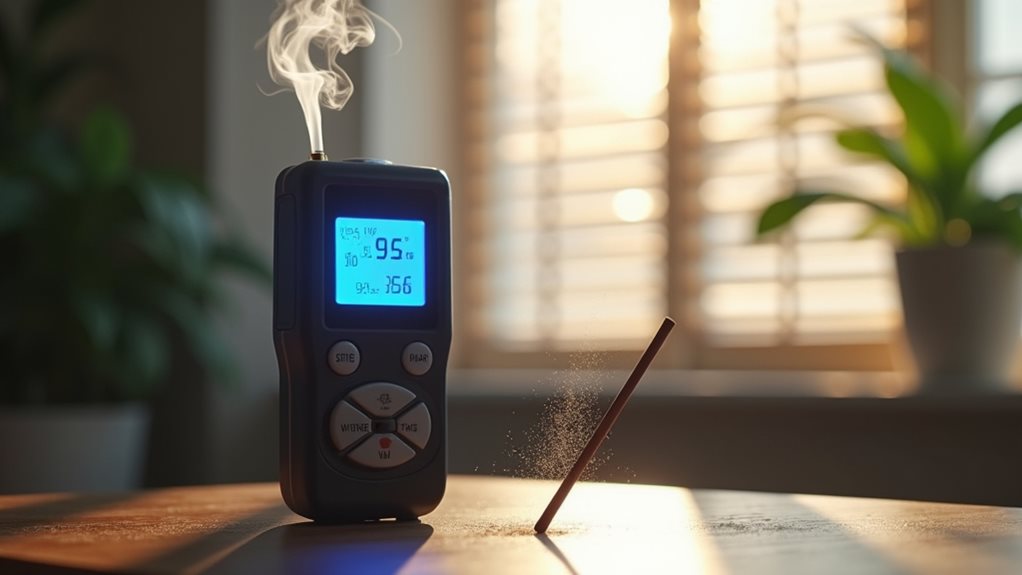
Indoor air pollutants pose a considerable threat to your home’s air quality and your family’s health, often lurking unseen in everyday environments.
You’ll find common sources in combustion appliances like gas stoves, building materials that release VOCs, and biological contaminants such as mold and pet dander. Additionally, high humidity levels can lead to the growth of mold, further deteriorating indoor air quality.
Furthermore, cleaning products, poor ventilation, and high humidity levels can considerably impact your indoor air quality. These issues are particularly concerning for children and elderly residents, who face increased health risks from indoor pollutants.
Essential Tools for DIY Air Quality Testing
Several essential tools are available for monitoring your home’s air quality, ranging from simple test kits to sophisticated digital monitors.
You’ll find digital air monitors that track VOCs and particulate matter, alongside specialized kits for detecting mold spores, radon, and carbon monoxide. Regular inspections can identify potential water heater leaks that may contribute to poor air quality.
VOCs test kits can measure chemicals released from household products, while mold testing kits include air sampling equipment. Professional labs offer comprehensive air quality testing through DIY sampling kits that include air cassettes and pumps for collecting airborne contaminants.
Visual Signs of Poor Indoor Air Quality
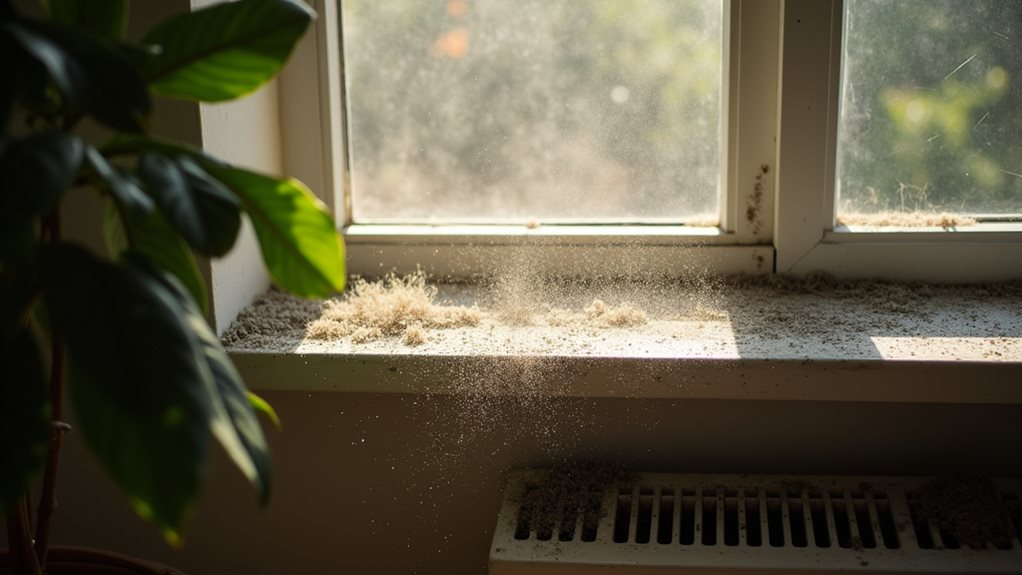
When checking your home’s air quality, you’ll want to look for telltale visual indicators that are often easy to spot. Mold and mildew spots, particularly in corners or on walls near windows, signal moisture problems that can compromise your indoor air, while unusual dust patterns around vents might indicate inefficient filtration or ductwork issues. Watch for discoloration surrounding air vents, as these stains can reveal the presence of pollutants being distributed throughout your home’s ventilation system. Additionally, moisture and various substances can create ammonia-like odors, which may also indicate underlying air quality issues.
Mold and Mildew Spots
Visual signs of mold and mildew in your home shouldn’t be ignored, as they’re clear indicators of compromised indoor air quality.
Look for black, green, or white spots with furry textures on walls and ceilings, along with dark stains that suggest hidden growth.
You’ll often notice persistent musty odors and dampness, particularly in areas with poor ventilation or moisture issues.
Dust Accumulation Patterns
Beyond identifying mold issues, understanding dust accumulation patterns in your home provides significant understandings into your indoor air quality.
You’ll want to look for visible dust particles floating in the air and uneven dust buildup on surfaces, which typically indicates poor circulation.
Check your air filters regularly, as dirty ones will contribute to increased dust circulation throughout your living spaces.
Discoloration Around Vents
Discoloration patterns around your home’s air vents serve as critical indicators of potential air quality issues that shouldn’t be ignored.
Watch for dark staining, which often results from static electricity attracting particulates or condensation from high humidity.
While you might assume it’s mold, these marks typically indicate poor air filtration, suggesting it’s time to check your ventilation system and replace filters.
Using Home Test Kits Effectively
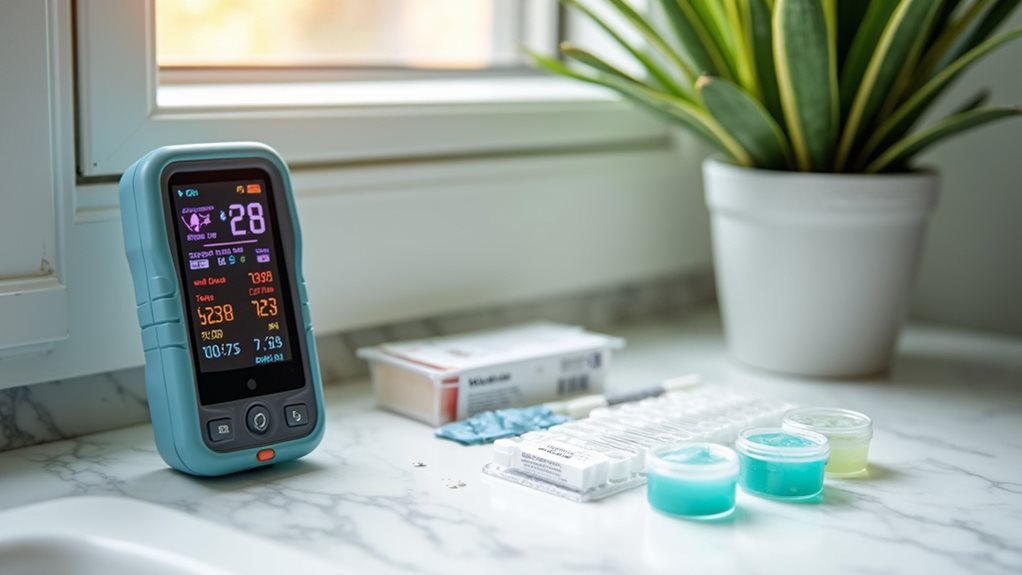
When it comes to evaluating your home’s air quality, test kits provide a reliable and scientific approach to identifying specific pollutants that might be affecting your indoor environment. You’ll need to carefully follow the manual’s instructions, collect air samples properly, and send them to a lab for analysis. While these kits are single-use, they’ll give you precise results and expert recommendations for addressing any issues. Additionally, using proper ventilation techniques can significantly improve air quality during the testing process
Radon and Carbon Monoxide: What a Monitor Cannot Tell You
The digital monitors covered in this guide sense particulates and VOCs, and some add formaldehyde sensing. None of them measures radon, and none of them does the job of a carbon monoxide alarm, so a house full of sensors can still be blind to the two pollutants that cause the most serious harm. The tools section names radon and carbon monoxide kits; this section sets out which tool answers which question.
Radon comes from the ground, builds up in the lowest part of a home and is invisible to every consumer air sensor. It needs a kit that collects a sample and a lab that reads it, which is why the result takes days rather than seconds. Place the kit in the lowest livable level, keep the house closed for the period the kit’s instructions specify, and test again after any major renovation or change of heating system. A short term kit tells you whether to test further; a long term test gives the number to act on.
Carbon monoxide is a combustion problem, and the sources named earlier in this guide are combustion appliances: gas stoves and a water heater that leaks. A UL-listed alarm is the correct tool because it works when you are asleep and unmetered, where a display on a shelf does not. Fit one near the sleeping areas and on each level that has a gas appliance, and use the test button as the maker instructs.
| What you need to know | Tool that answers it | Where it goes | How long until you know |
|---|---|---|---|
| Radon level | Lab kit or sampling kit with laboratory analysis | Lowest livable level of the home | Days for a short term kit, months for a long term test |
| Carbon monoxide, any level | UL-listed CO alarm | Near sleeping areas and on each level with a gas appliance | Alarm sounds immediately |
| Carbon monoxide from a gas stove or heater | UL-listed CO alarm plus a service visit on the appliance | Kitchen or utility room, plus the appliance itself | Immediate on the alarm, service by appointment |
| Total VOCs | Digital monitor, or a lab cassette and pump kit | Main living area with doors and windows closed | Immediate on a monitor, days from a lab |
| Formaldehyde | Monitor with a formaldehyde sensor | Room with new furniture or flooring | Immediate |
| Particulate matter | Digital monitor with PM2.5 sensing | Main living area | Immediate |
.
Smart Air Quality Monitoring Devices
Smart air quality monitors let you track multiple pollutants in real-time, with popular features including PM2.5 detection, VOC sensing, and temperature monitoring that help you understand your home’s air quality at a glance.
You’ll find these devices offer convenient smartphone notifications and historical data tracking, allowing you to spot trends and receive alerts when air quality drops below acceptable levels.
Many modern air monitors integrate seamlessly with smart home systems like Alexa or Google Home, enabling automated responses such as turning on air purifiers or adjusting ventilation when pollutant levels rise.
Popular Monitor Features Explained
Modern air quality monitors come equipped with five essential features that work together to provide extensive indoor air analysis.
You’ll find multiple sensor technologies that detect particulates, VOCs, and formaldehyde, while built-in ozone and air pressure monitoring expands detection capabilities.
Many devices also include noise and light sensors, offering thorough environmental awareness for your living space.
Connected Home Integration Options
Today’s air quality monitors offer seamless integration with smart home systems, changing how you manage your indoor environment.
You’ll find devices like AirGradient ONE and uHoo that connect directly to Home Assistant through WiFi, enabling automated responses from your air purifiers and HVAC systems.
These monitors also support local data storage and can work with voice assistants like Alexa and Google Home.
Indoor Air Quality Numbers: What a Reading Actually Means
A monitor number is meaningless without its averaging time. A PM2.5 reading of 30 ug/m3 held over a day is a different problem from the same number for ten minutes after frying bacon, and a single CO spike from a gas stove clears in minutes while a low reading that never drops points at a venting fault. Read every figure with the period it covers, and compare it with the bands below rather than with a memory of yesterday’s number.
Treat the middle column as your target and the right hand column as the trigger to act. Acting means removing the source first (open a window, run the range hood, service the appliance), then running a HEPA purifier, then reading again after an hour to see whether the number moved. If a reading stays in the act column after the source is gone, that is the point to book a professional test.
Two practical cautions. Consumer PM2.5 sensors drift with age and humidity, so a reading that looks wrong is worth checking against a second device before you spend money. And the thresholds below are outdoor air standards applied indoors, which is the closest published yardstick available, not a medical limit for your home.
| Pollutant | Averaging time | Level to stay under | Act at | Where the number comes from |
|---|---|---|---|---|
| PM2.5 | 24 hours | 12.0 ug/m3 or less | 35.5 ug/m3 and above | EPA AQI breakpoints (Good band ends at 12.0, sensitive group band starts at 35.5) |
| PM2.5 | 1 year | 9.0 ug/m3 annual average | Above 9.0 ug/m3 annual average | EPA annual PM2.5 standard |
| Carbon monoxide | 8 hours | 9 ppm | 9 ppm or more averaged over 8 hours | EPA CO standard |
| Carbon monoxide | 1 hour | 35 ppm | 35 ppm in any hour | EPA CO standard |
| Radon | 90 days or longer | Under 2 pCi/L | 4 pCi/L | EPA radon action level |
| Total VOCs | Continuous trend, no fixed average | No health based number is published | A trend that keeps climbing while the house is closed | Monitor trend only, not a standard |
Simple Daily Checks for Air Quality Assessment
Keeping track of your home’s air quality doesn’t require expensive equipment or professional knowledge.
You can perform daily visual inspections for dust accumulation, condensation on windows, and discoloration around vents.
Watch your house plants for unusual leaf changes, and place a lit candle near windows to detect air leaks.
Check surfaces regularly for water spots or visible mold growth, which indicate potential problems.
When to Call a Professional Air Quality Expert
While simple daily checks can help monitor your home’s air quality, certain situations demand the knowledge of a professional air quality consultant.
You’ll need expert help if you’re experiencing persistent health issues, suspect serious contamination like asbestos or mold, or live in an older building with complex ventilation problems.
Professional testing is also essential for detecting invisible threats like radon and carbon monoxide.
Top Strategies to Improve Indoor Air Quality
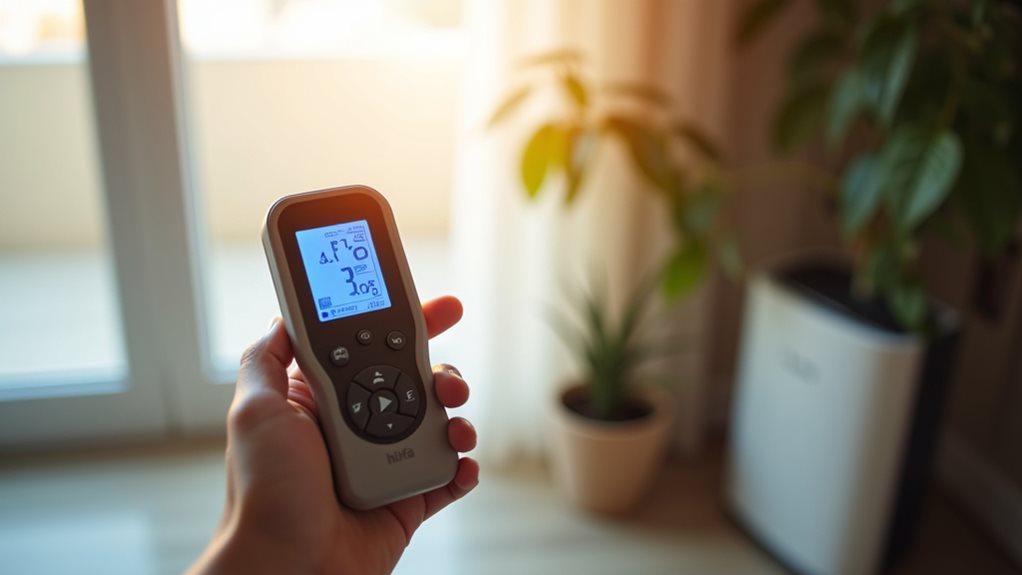
Improving your home’s air quality requires a multi-faceted approach that combines monitoring, prevention, and active intervention strategies.
You’ll want to establish regular HVAC maintenance routines, minimize pollutant sources by choosing VOC-free products, and guarantee proper ventilation through exhaust fans and strategic window opening.
Check the Outdoor AQI Before You Open the Windows
Ventilation is the fix this guide keeps returning to, and it only works when the air coming in is cleaner than the air going out. On a smoke, dust or pollen day, opening the windows imports the problem: PM2.5 climbs indoors within minutes and a HEPA purifier then spends hours undoing the decision. Check the outdoor AQI by ZIP code before you open anything, and treat it as part of the routine alongside the exhaust fan and the filter change.
Use the nowcast rather than the daily average, because conditions move within an hour, and check again before a long evening of open windows. A house that has been closed all day, a bathroom full of steam or a kitchen full of frying smoke still needs clearing; on a bad air day, clear it with the exhaust fan or the purifier instead of the window. If you must ventilate, do it in short bursts at the cleanest hour of the day rather than leaving windows open.
Two habits make the check useful. Keep the monitor indoors on and compare its reading before and after you ventilate, so you learn how your own house responds. And if the outdoor number is high for weeks, a purifier sized for the room you use most does more for you than a window schedule.
| Outdoor AQI | Category | Windows | What to run instead |
|---|---|---|---|
| 0 to 50 | Good | Open wide for a cross draught, 10 to 15 minutes | Nothing needed |
| 51 to 100 | Moderate | Short bursts, ideally early morning | Exhaust fan, HEPA purifier on low |
| 101 to 150 | Unhealthy for sensitive groups | Keep closed if anyone is elderly, asthmatic or a young child | HEPA purifier, HVAC fan set to recirculate |
| 151 to 200 | Unhealthy | Keep closed | HEPA purifier on high, HVAC on recirculate |
| 201 to 300 | Very unhealthy | Keep closed and check seals around window air units | Purifier in the room you use most |
| 301 and above | Hazardous | Keep closed | Purifier running continuously, plus a plan to leave if it lasts |
Using air purifiers with HEPA filters, along with monitoring tools like smart devices, can help maintain ideal air conditions.
Final Note
By implementing these DIY air quality testing methods, you’ll gain essential understandings into your home’s air conditions and potential health risks. Whether you’re using simple visual checks, home test kits, or smart monitoring devices, you’re now equipped to detect and address common indoor air pollutants. Remember, while these methods are effective for basic assessment, don’t hesitate to consult professionals when you encounter persistent issues or concerning readings.

Nathan McPhail is a garden and home DIY expert who writes practical, easy-to-follow advice for homeowners and gardeners. Through Yardique, he shares hands-on tips covering gardening, lawn care, landscaping, home improvement, repairs, tools, and outdoor living. His focus is on helping readers solve everyday household and yard problems with straightforward guidance, useful techniques, and practical solutions.