To dethatch a lawn, start by identifying if the thatch layer exceeds ¾ inch, causing water runoff or poor soil health. Use a thatch rake or power dethatcher to loosen and remove the thatch evenly, making sure to water beforehand for softer soil. Afterward, clean up debris, aerate the soil, and apply fertilizer or overseed as needed. Proper timing and technique are vital, and continuing with detailed tips will help guarantee successful lawn recovery.

TLDR
- Identify signs of excessive thatch, such as water pooling and a spongy, grayish layer over the grass.
- Choose appropriate tools like a thatch rake or power dethatcher based on lawn size and thatch thickness.
- Mow the lawn to half height and water thoroughly before dethatching to soften the thatch layer.
- Dethatch evenly using crisscross passes, then remove debris and loosen soil with aeration if needed.
- After dethatching, water deeply, fertilize, overseed damaged areas, and maintain regular lawn care for recovery.
How Do You Know When Your Lawn Needs Dethatching?
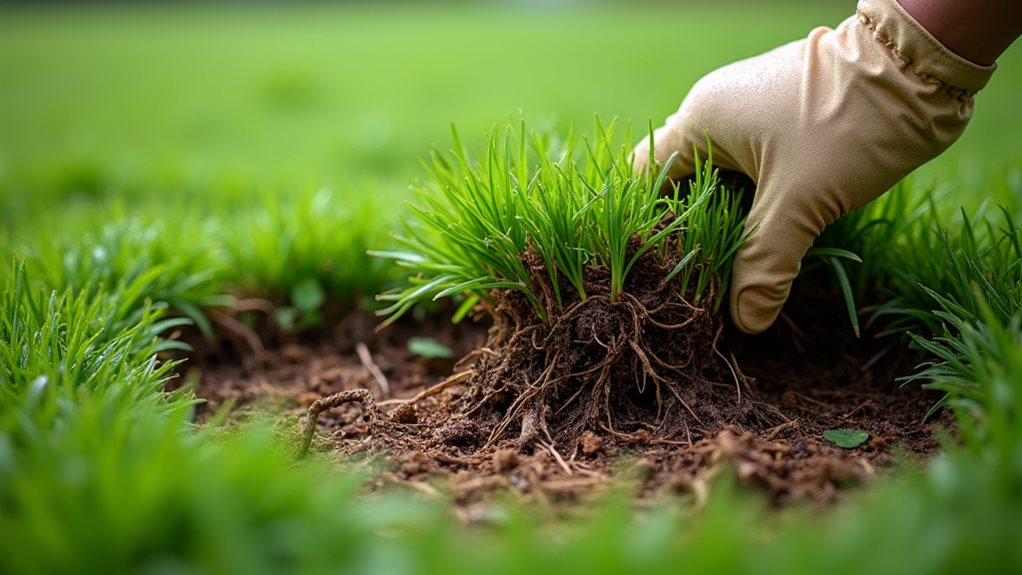
Knowing when your lawn needs dethatching is essential for maintaining its health and appearance. A thick thatch layer with a spongy feeling underfoot or a visual matting of grass indicates excessive thatch buildup.
Using a soil wedge test to measure thatch thickness—over ½ or ¾ inch—signals poor lawn health and the need for dethatching to improve water, air, and nutrient absorption.
What Tools and Equipment Do You Need for Dethatching?
To effectively dethatch your lawn, you’ll need a variety of tools and equipment, starting with a thatch rake or a stiff, metal-tined rake designed specifically for this task, which helps loosen and lift organic debris without harming healthy grass.
For larger areas or tougher thatch, power dethatchers or machines with rotating blades can save time and effort, but always wear protective gear like gloves and eye protection when operating them.
Small or hard-to-reach spots can be tackled with a dethatching fork or scarifier, ensuring a thorough job across your lawn.
Dethatching Rakes and Hand Tools
Choosing the right tools for dethatching depends on the size of your lawn and your physical ability, as different tools are designed for various scales of work.
For small areas, a dethatching rake or handheld dethatcher with sharp, straight tines works well for lawn raking and thatch removal.
Proper technique involves raking only half an inch deep to avoid turf damage.
Power Dethatchers and Machines
Power dethatchers and machines are essential tools for efficiently removing thick thatch layers, especially over large areas. Using a dethatching machine with adjustable blade depth helps prevent turf damage while removing organic debris effectively.
Regular equipment maintenance, including sharpening blades, guarantees peak performance and longevity. Proper handling minimizes turf damage and keeps your lawn healthy and attractive.
Protective Gear and Accessories
Proper protective gear and accessories are essential for ensuring safety and efficiency during dethatching.
Wear safety goggles to protect your eyes from flying debris, and sturdy gloves along with long sleeves to shield your skin from scratches.
Use a dethatching rake for effective removal, and equip yourself with debris collection tools like a leaf bag.
Consider hearing protection if using a powered dethatcher.
Preparing Your Lawn for Dethatching: Tips and Tricks
Before you begin dethatching your lawn, it’s essential to prepare the area properly to guarantee the process is effective and minimizes potential damage.
Mow your lawn to about half its height, water the lawn thoroughly a day or two before, and remove debris like leaves or sticks.
Perform a soil wedge test to assess the thatch layer and make certain organic matter buildup warrants dethatching.
Step-by-Step: How to Dethatch Your Lawn Effectively
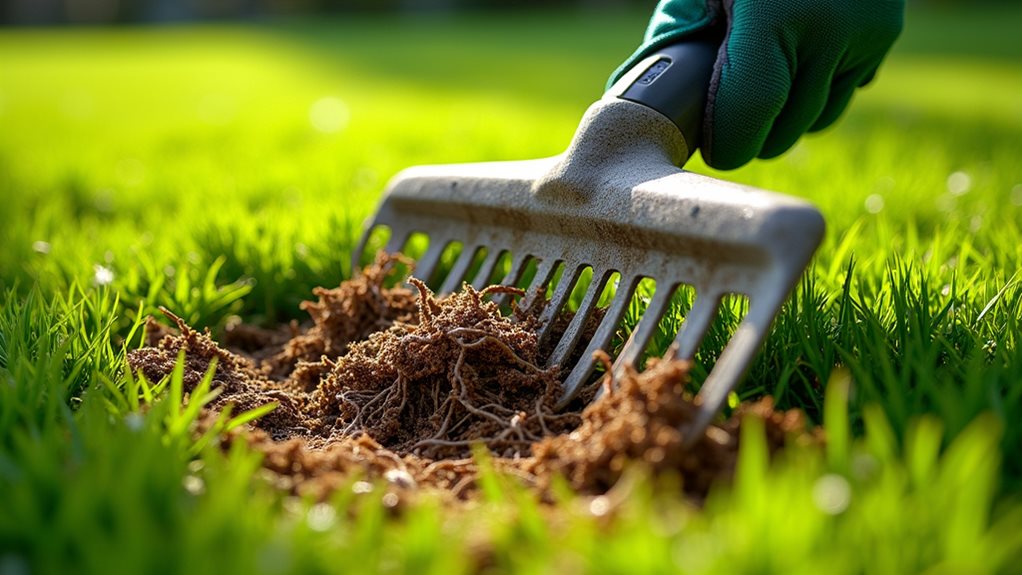
To effectively dethatch your lawn, start by selecting a dethatching rake or renting a power dethatcher, based on the thatch thickness.
Work in even, crisscross passes to loosen and remove organic matter, aiding lawn recovery.
Afterward, rake up debris, water thoroughly to promote healthy roots, and follow up with overseeding and fertilization to encourage lush, resilient grass.
Cleaning Up and Caring for Your Lawn After Dethatching
After dethatching, it’s essential to thoroughly clean up all loosened thatch and debris to prevent mold growth and pest issues.
This lawn cleanup promotes lawn recovery and prepares the soil for overseeding or fertilization. Use a leaf rake or garden fork to aerate, then water deeply, and apply starter fertilizer to support healthy root development and overall lawn care.
When Is the Best Time to Dethatch Your Lawn Based on Grass Type?
Timing your dethatching process correctly depends largely on the type of grass you have and the regional climate you live in.
For cool-season grasses like Kentucky bluegrass and fescue, early spring or fall during active grass growth is best.
Warm-season grasses such as Bermuda or zoysia require late spring or early summer, ensuring ideal grass growth and proper timing for effective dethatching.
Additionally, understanding your grass’s growth cycle can help determine the optimal window for dethatching and promote quicker recovery.
Common Mistakes to Avoid During Dethatching
One common mistake is mistaking surface debris or grass clippings for the true thatch layer beneath the grass canopy, which can lead to unnecessary or ineffective dethatching.
Dethatching too deep or using aggressive tools on lawns with minimal thatch can cause damage and stress to your grass.
Additionally, timing is vital; avoid dethatching during unsuitable seasons or when the thatch layer is too thin, as improper timing can hinder your lawn’s recovery.
Dethatching Too Deep
Dethatching too deeply can cause significant harm to your lawn’s health by damaging the grass roots and disrupting the soil structure.
Excessive dethatching removes more than half an inch of thatch or soil, creating bare patches and increasing erosion risk.
Proper dethatching involves limiting removal to no more than ½ inch to protect the grass roots and maintain a healthy lawn.
Mistaking Debris for Thatch
Many homeowners mistakenly identify surface debris, such as grass clippings or leaves, as the true thatch layer beneath the grass. This can lead to unnecessary or excessive dethatching.
Proper lawn assessment involves checking the organic material’s thickness, not just surface appearance.
Using dethatching tools carefully helps remove surface debris without damaging the thatch layer and prevents lawn damage.
Dethatching at Wrong Times
Timing plays a vital role in successful dethatching, as performing the task at the wrong time can do more harm than good.
The best time to dethatch is when the grass is actively growing, such as late spring or early fall.
Avoid periods of dormancy or extreme heat.
Dethatching during the wrong season can stress your lawn and hinder recovery from the thatch problem.
Should You Hire a Professional for Dethatching?
Deciding whether to hire a professional for dethatching depends on several factors, including the size of your lawn and the severity of thatch buildup. For large lawns or thick thatch, professional lawn care with a power dethatcher guarantees proper technique, reducing turf damage. Engaging experts can save time and improve results, especially when combined with other lawn care services. Additionally, understanding common issues like squirrel entry points can help prevent damage to your property while maintaining a healthy lawn.
How to Rehabilitate and Restore Your Lawn After Dethatching
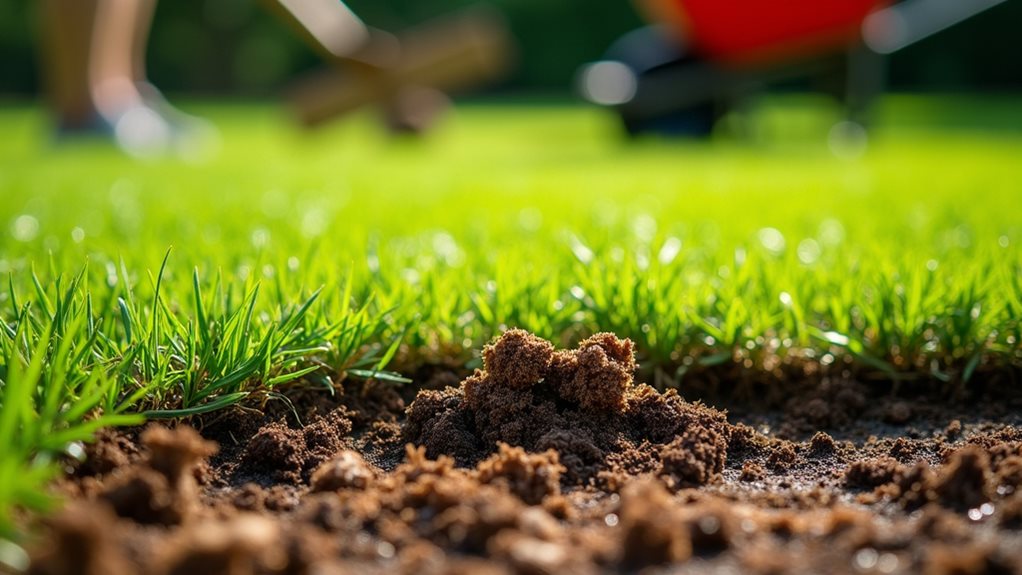
After dethatching your lawn, the next essential step is to focus on its rehabilitation and restoration to guarantee healthy, vigorous growth. Aerate the soil to relieve compaction and enhance microbial activity. Then overseed to fill in thin areas.
Applying a starter fertilizer supports root development, while consistent watering and proper mowing secure effective lawn recovery and prevent future thatch buildup.
FAQs About Dethatching: What You Need to Know
Knowing when to dethatch your lawn is essential, as signs like water runoff, a spongy feel, or a buildup of grayish material indicate it’s time for action. The best time to dethatch is during the lawn’s active growing season, typically early spring or fall for cool-season grasses, which helps minimize stress. However, overdoing it or removing too much thatch can harm healthy grass, so it’s important to assess your lawn carefully before proceeding. Additionally, proper dethatching can improve soil aeration, promoting healthier turf growth.
Signs You Need Dethatching
A thick or spongy layer of thatch under your grass is a clear sign that your lawn may need dethatching.
Signs such as a thatch layer over ¾ inch thick, water pooling during watering, or a visible mat of grayish-brown grass stems indicate poor lawn health.
Recognizing these signs helps guarantee proper dethatching for a healthier, more resilient lawn.
Best Timing for Dethatching
Timing plays an essential role in the success of dethatching, as performing the task at the right moment can greatly influence the lawn’s recovery and overall health.
The best timing varies: cool-season grasses thrive with dethatching in late summer or early fall when actively growing.
Warm-season grasses, like Bermuda, are best dethatched in late spring during peak growth periods.
Risks of Over-Dethatching
Over-dethatching can pose serious risks to your lawn’s health if not done carefully. Removing too much thatch or doing it too frequently can damage healthy grass roots and weaken turf.
Excessive dethatching disrupts soil structure, reduces beneficial microbial activity, causes turf stress, and creates open wounds that invite weeds and pathogens. This is especially true when the thatch layer is too thin.
Final Note
Dethatching is an essential step in maintaining a healthy lawn, helping to improve air, water, and nutrient penetration. By understanding when and how to dethatch properly, you can prevent issues like disease and poor growth. Using the right tools, preparing your lawn adequately, and avoiding common mistakes will guarantee successful results. Whether you do it yourself or hire a professional, consistent lawn care practices will promote a lush, resilient yard over time.

Nathan McPhail is a garden and home DIY expert who writes practical, easy-to-follow advice for homeowners and gardeners. Through Yardique, he shares hands-on tips covering gardening, lawn care, landscaping, home improvement, repairs, tools, and outdoor living. His focus is on helping readers solve everyday household and yard problems with straightforward guidance, useful techniques, and practical solutions.