Install a properly sized exhaust fan—ceiling‑mounted between joists for low‑noise, small‑area use or wall‑mounted for higher CFM—connect it to insulated, sealed ductwork that routes fresh air from your HVAC or a dedicated intake, and add a humidity sensor or timer to run the fan when RH exceeds 60 % to prevent mold. Include a dehumidifier for excess moisture, place a low‑cost box fan near a vent for cross‑ventilation, and consider a HEPA purifier for air cleanliness; more details follow.

TLDR
- Install an exhaust fan (ceiling or wall‑mounted) sized to provide at least 4 % net opening relative to floor area, ensuring proper duct routing and sealing.
- Extend central HVAC ducts with insulated, sealed metal ductwork and motorized dampers for balanced airflow and temperature control.
- Add passive air bricks or high‑placed wall vents connected to insulated pipes, keeping interior doors open to promote continuous air exchange.
- Use a dehumidifier or humidity‑controlled fan automation (e.g., ESP32 sensor) to keep relative humidity below 60 % and prevent mold growth.
- Incorporate a HEPA‑plus‑carbon air purifier and schedule quarterly cleaning of grilles, ducts, and fan components to maintain air quality.
Assessing the Need for Basement Ventilation Without Windows
Why do you need to assess ventilation when your basement lacks windows? You must compare the required 4 percent net opening to your floor area—100 sq ft needs 4 sq ft, 1,000 sq ft needs 40 sq ft—then recognize that below‑grade spaces rarely meet this naturally.
Check humidity, aiming below 60% to prevent mold, and consider climate, moisture sources, and pressure differentials, because inadequate airflow harms air quality, temperature stability, and overall health. Moisture control is essential to avoid mold growth and structural damage. Maintain a regular monitoring routine to detect changes in humidity or air quality early and air exchange rates guide effective ventilation strategies.
Choosing the Right Exhaust Fan for Basement Ventilation: Ceiling vs. Wall Mount
You’ll find that a ceiling‑mounted fan fits neatly between joists, offers low‑noise operation and works well for smaller basements where space is limited, while a wall‑mounted unit can handle higher CFM ratings, provides direct exterior exhaust and is ideal when you have an accessible outside wall.
Consider the square footage and required airflow, because ceiling fans are sized by room area and wall fans can scale up to industrial‑grade volumes.
Also weigh installation constraints: ceiling mounts need a precise opening and are DIY‑friendly, whereas wall mounts may require professional help and can accommodate any‑angle positioning.
Ceiling Mount Benefits
Ever wondered how a ceiling‑mounted exhaust fan can outshine a wall‑mounted unit in a windowless basement? It quietly draws stale air, moisture, and pollutants upward, delivering even distribution that reduces mold spores, radon, and musty odors while preserving wall space for a cleaner look.
Wall Mount Advantages
How can a wall‑mounted exhaust fan outperform a ceiling unit in a windowless basement? It delivers powerful suction with high‑speed motors, pulling stale, humid air directly through a wall grille, while freeing ceiling space for storage or décor.
The space‑saving design fits compact rooms, simplifies installation by eliminating attic ductwork, and cuts energy use, giving you efficient, low‑maintenance ventilation that feels right for shared spaces.
Installation Space Considerations
Where should you place the exhaust fan to maximize airflow while respecting the basement’s structural limits?
Choose a ceiling mount if you have 6‑8 in. duct space, a 12‑3/16 in. opening, and sufficient joist clearance for a 7‑11 in. housing depth; otherwise, opt for a wall mount where framing is tighter, ensuring the selected CFM rating, voltage, and noise level meet ASHRAE 62.2 and ENERGY STAR standards.
Efficient Ductwork Installation for External Vents
Plan your duct routes to follow the shortest, straightest path from the fan to the vent, avoiding twists and tight turns that increase resistance.
Insulate any sections that run through unconditioned spaces with snug, foil‑faced fiberglass to prevent heat loss and condensation.
Finally, seal every joint with mastic and aluminum tape, and fasten connections with self‑tapping screws or zip ties to keep the system airtight and weatherproof.
Planning Duct Routes
When you map out duct routes in a basement, start by tracing the most direct line from the air‑handling unit to the living areas, keeping the path tight to the ceiling to preserve headroom and avoid unnecessary twists that increase resistance.
Choose low‑profile rectangular ducts, cut them to length, snap button‑lock seams, and secure with cleats and self‑tapping screws.
Seal joints with aluminum tape, then attach elbows for the external vent.
Insulating for Energy Efficiency
A few key steps will keep your ductwork both airtight and energy‑efficient when you install external vents. Spray‑foam the 4″ gaps, then repack pink fiberglass around the dried foam; use aluminum tape on every joint, and attach reducers and 5‑inch extensions with wing‑nut dampers for precise airflow. Brace ducts to joists, route them through stud cavities, and secure vent hoods with long screws for a seamless, low‑energy system.
Sealing and Weatherproofing Connections
How do you keep every duct joint airtight while protecting external connections from the elements? Apply aluminum foil tape over each seam, ensuring full coverage and using high‑temperature variants for heat ducts; avoid cloth tape.
Seal vent terminations with metal flashing, silicone caulk, and corrosion‑resistant galvanized steel, fitting vent caps with screens and sloping runs downward to drain condensation, and use exterior‑grade sealant around wall penetrations.
How to Automate Fan Operation With Humidity Sensors or Timers
Where can you start when you want a basement fan to run only when needed? Install an ESP32‑linked humidity sensor that triggers your duct fan once RH exceeds a set threshold, or program an FTD7 timer for daily or weekly cycles with ON/AUTO/OFF modes.
Both methods balance airflow, cut energy use, and keep the space comfortable, while app alerts let you monitor performance and adjust schedules as a community.
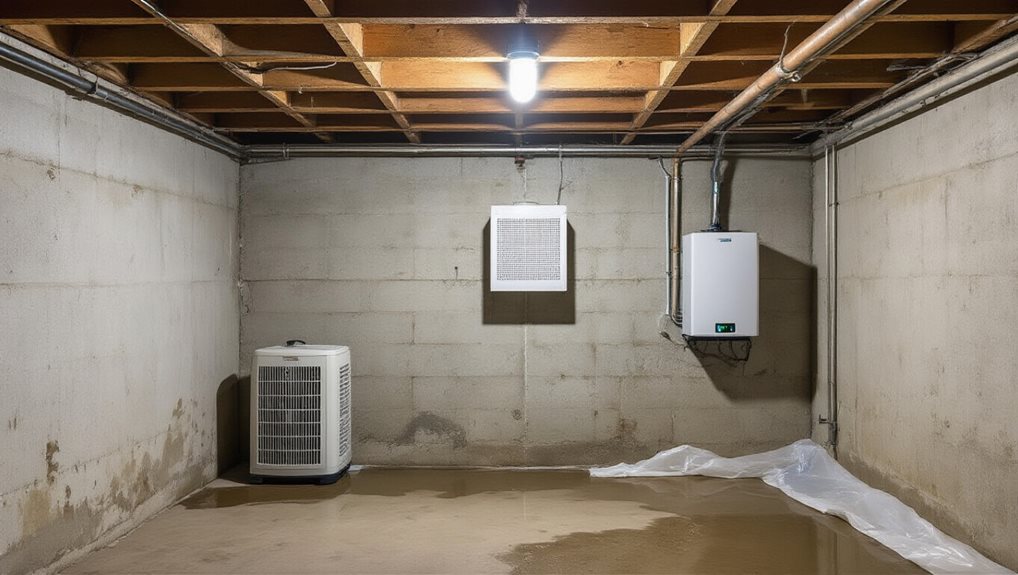
Using a Dehumidifier for Basement Ventilation
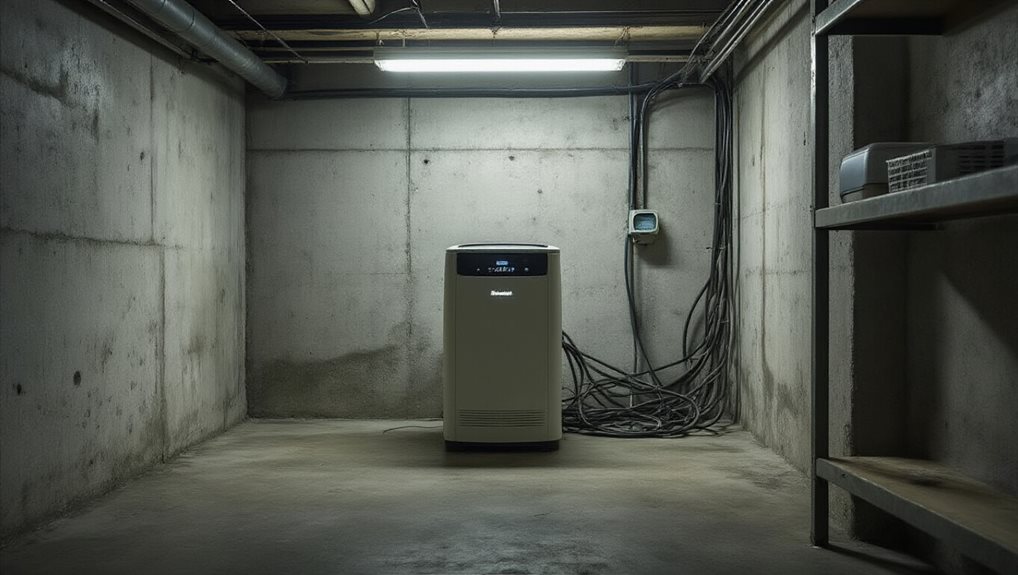
Pick a dehumidifier sized for your basement’s square footage, then set it to maintain 45‑50% relative humidity to keep mold at bay without over‑drying the air.
Tie the unit into your existing fan system so the airflow pushes moist air toward the collector, preventing stagnant pockets and improving overall ventilation.
Add a dehumidification strategy that complements regular airflow to reduce dampness and improve air quality humidity control.
ControlChoose Appropriate Capacity
What capacity should you select for a dehumidifier that will effectively ventilate your basement? Choose a unit based on square footage and moisture level: a 500‑sq‑ft space needs 20‑30 pints per day for slight dampness, 30‑40 pints for moderate, and 35‑50 pints for very damp. For 1000‑1500 sq ft, aim 40‑70 pints, and larger basements require 70‑100+ pints, adding extra capacity for crawl spaces or poor sealing.
Set Humidity Targets
After selecting a dehumidifier with the right capacity for your basement’s size and moisture level, you need to set the humidity target that will keep the space healthy and comfortable.
Aim for 45‑50% RH as a starting point, adjusting in 5% increments if condensation, musty odors, or mold appear; this range curbs mildew, protects stored items, and avoids overly dry air that could cause wood cracks or health discomfort.
Integrate With Ventilation System
How can you make a dehumidifier work as part of your basement’s ventilation system? Connect a whole‑house unit to the HVAC ductwork, using a bypass or dedicated intake grille, and place fans to push air toward the dehumidifier, preventing stagnation.
Seal cracks, add vapor barriers, and schedule filter cleaning to keep efficiency high, while fresh‑air exchangers introduce outdoor air for balanced moisture control.
Evaluating an Energy‑Recovery Ventilator (ERV) for Whole‑House Air Exchange
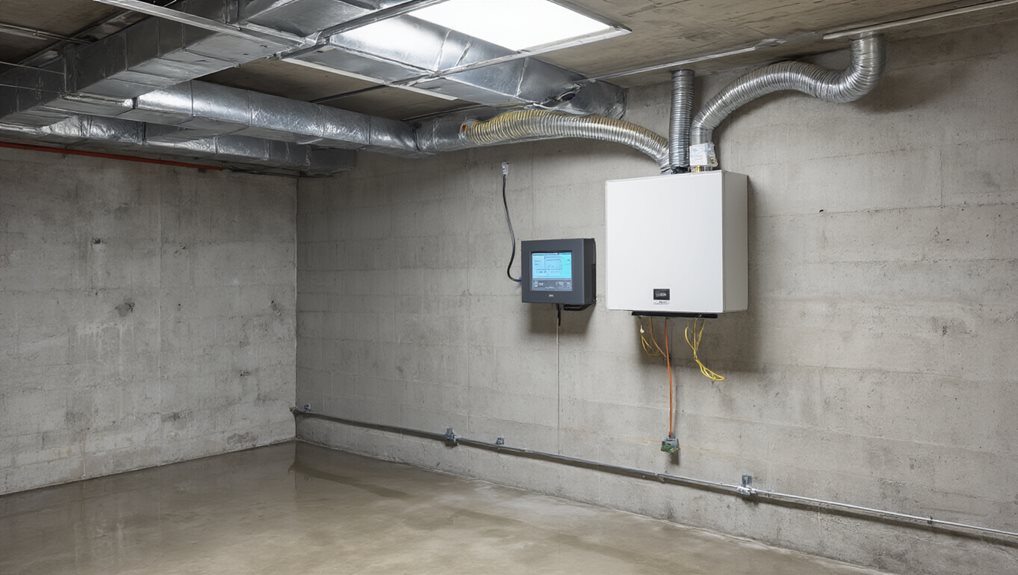
Ever wondered whether an Energy‑Recovery Ventilator (ERV) is worth the investment for your basement’s whole‑house air exchange? You’ll find it transfers heat and moisture between fresh and stale streams, pre‑conditioning air to reduce HVAC load, while filtering pollutants, controlling humidity around 50 %, and cutting heating and cooling bills. Customizable controls, quiet operation, and eligibility for incentives make it a practical, community‑focused upgrade. Grid layout supports organized planning and easy access in managing a compact space and tracking changes over time.
Extending Your Central HVAC System Into the Basement
Can you extend your central HVAC into the basement without sacrificing comfort or efficiency? First, have a professional assess load capacity, ensuring the existing unit can handle added square footage and insulation losses. Install insulated ducts sized for airflow, seal joints with mastic or metal tape, and add motorized dampers for zoned control. Proper vent placement and return integration preserve headroom while balancing temperatures, delivering whole‑home comfort. Use a pressure test approach to verify duct integrity and detect hidden leaks in basement runs pressure testing to ensure long-term efficiency.
Creating Passive Airflow With Air Bricks and Interior Door Management

Install cast‑iron air bricks high on external walls, about 1.7 m, and connect them with insulated plastic pipes, then keep interior doors open to let fresh air cascade down while stale air rises toward the bricks, ensuring continuous circulation and moisture control.
A well‑chosen look‑alike is the zinnia, which provides long‑lasting color and shape that can echo the visual drama of dahlias and complements the passive airflow strategy by thriving in well‑drained soil. passive airflow
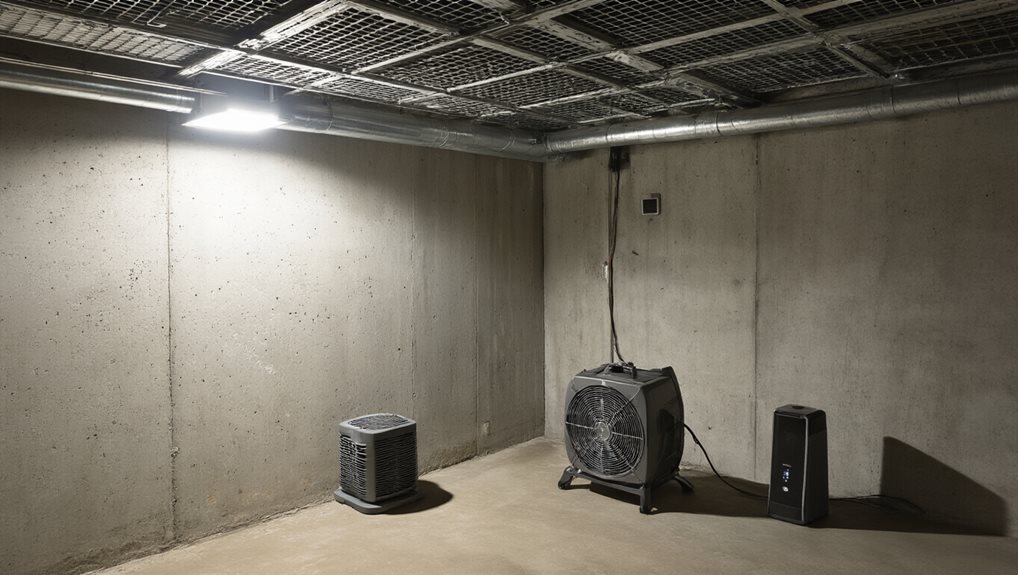
Low‑Cost Box Fans: Placement Tips for Optimal Airflow
Where should you position a low‑cost box fan to keep basement air moving efficiently? Place it near a window or vent, angled to pull stale, damp air outward, and mount it mid‑wall rather than on the floor to reach higher moisture layers.
Use corner placement for even circulation, keep it away from water heaters, and create opposing airflow with a second fan for cross‑ventilation, ensuring all corners stay refreshed.
Adding HEPA Air Purifiers to Boost Basement Ventilation Effectiveness

Ever wondered how a HEPA air purifier can actually amplify the ventilation you’ve already set up in a basement? Place a 250‑300 CFM model at mid‑height in the main area, near existing drafts, and pair it with an activated‑carbon filter to trap odors and VOCs. Run it continuously, swap filters regularly, and combine it with a dehumidifier to keep humidity below 60 %, ensuring fresh, mold‑free air for everyone.
Keeping Your Basement Ventilation System Running Smoothly
Clean grilles, ducts, fan blades, and coils quarterly, replace or clean filters monthly, and test equipment each month to verify airflow and bearing condition.
Log activities, seal duct seams, monitor humidity with sensors, and schedule annual professional checks to keep the system efficient and reliable.
Troubleshooting Common Issues: Moisture, Noise, and Airflow Imbalance
Your basement’s ventilation system may run smoothly, but issues like excess moisture, distracting noise, and uneven airflow can still arise, so it’s important to identify and correct them promptly. Check humidity with a dehumidifier, seal cracks, and install vapor barriers to curb moisture; balance fan speeds and add dampeners to quiet noise; clear obstructions, keep doors open, and use ceiling fans or FAVs to restore even airflow throughout the space.
Final Note
By installing the right exhaust fan, sealing ductwork, and pairing it with a humidity‑controlled timer or sensor, you’ll keep your windowless basement dry and healthy. Adding a dehumidifier or HEPA purifier can further improve air quality, while regular maintenance prevents noise and airflow issues. Follow the placement and wiring guidelines, monitor performance, and adjust as needed; this practical, low‑cost system will protect your space from moisture damage and mold growth.