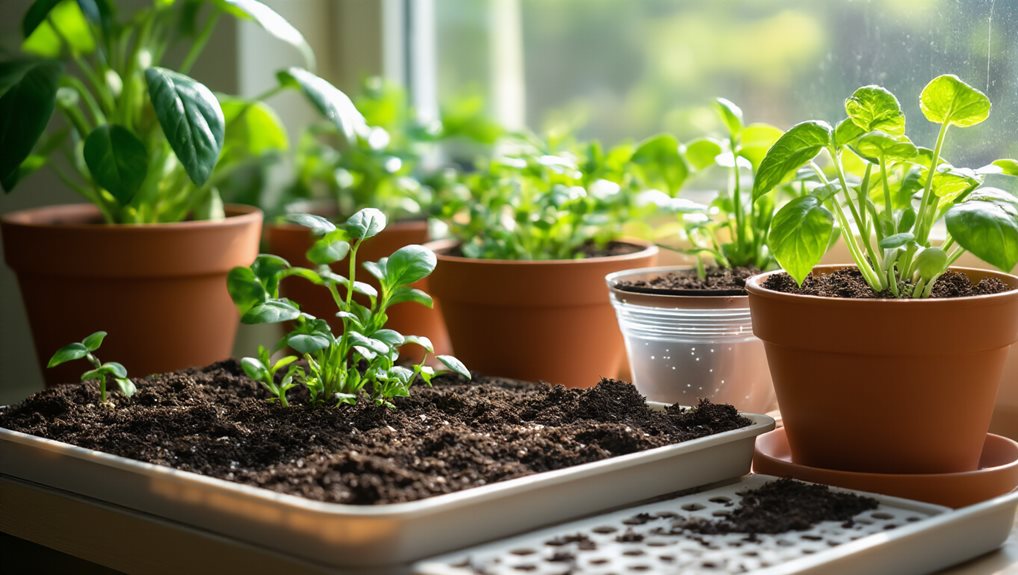
You can stop water‑logging by first ensuring your pot has two or more drainage holes, then adding a 1‑2 inch layer of coarse gravel or expanded clay before the soil mix. Use a well‑draining blend of potting mix, perlite or sand, and a small amount of compost, and consider a rock‑and‑charcoal base for extra aeration. Drill holes with a diamond‑tipped bit at a shallow angle, keep them no larger than a half‑inch, and line the bottom with coffee‑filter cloth to prevent soil loss. Elevate the pot on a grid or stand to promote airflow and evaporation, and check moisture regularly, adjusting watering frequency as temperatures change. If you keep these steps, you’ll notice healthier roots and less rot, and the next sections will show you how to fine‑tune each component.

TLDR
- Drill ½‑inch drainage holes using a diamond‑tipped bit, keep holes centered, and clean the bit after each hole.
- Add a 1‑2 inch layer of coarse gravel, perlite, or LECA at the pot bottom, then line with coffee filter or cheesecloth.
- Use a well‑draining mix (e.g., 3 parts coir, 2 parts compost, 1 part perlite) and pre‑soak coir before potting.
- Elevate pots on a grid or stands to create an air gap, promoting evaporation and preventing water pooling.
- Monitor moisture regularly; water from the bottom or tilt after top watering, and replace liners every 6–12 months.
What Causes Water‑Logging and How Can You Fix It?
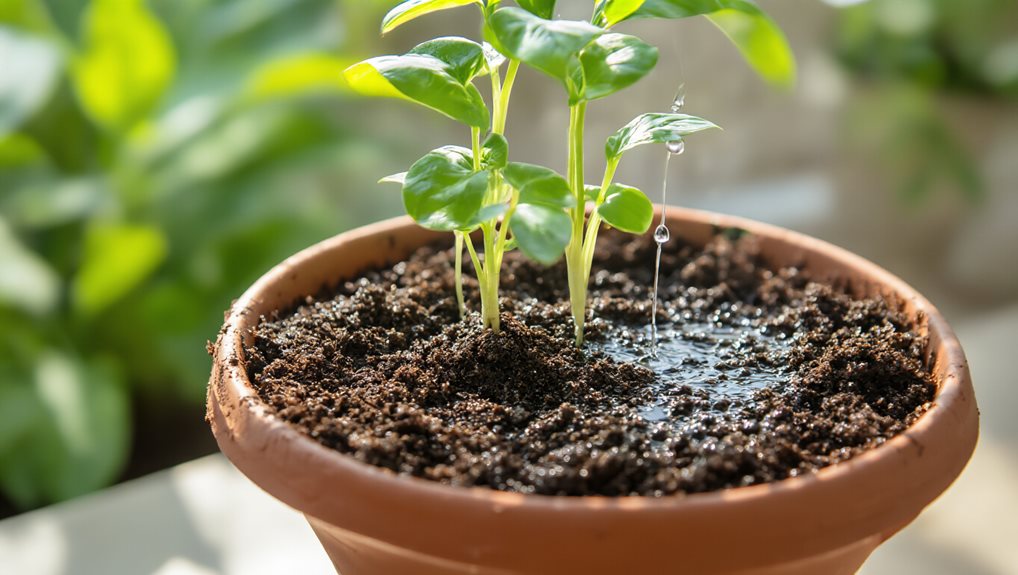
Why do your potted plants often sit soggy despite careful watering?
Saturated soils, heavy or compacted mixes, and overwatering block air pockets, causing oxygen‑starved roots that rot, yellow leaves, and wilting.
Fix it by repotting with airy amendments like perlite or orchid bark, treating roots with a 50 % hydrogen peroxide solution, and letting the medium dry between thorough waterings.
Waterlogging occurs when soil becomes saturated, displacing air from the spaces between particles.
How to Drill Safe Pot Drainage Holes
When soggy soil reveals that your pots aren’t draining properly, the next step is to create reliable holes that let excess water escape without compromising the container.
Wear safety glasses, choose a diamond‑tipped or masonry bit sized to the pot material, wet the surface, start at a shallow angle, then gently increase pressure while rotating 360°.
Keep holes centered, no larger than ½‑inch for small pots, and clean the bit afterward.
Pick the Best Drainage Layer for Your Pot Size
Which drainage layer you choose depends largely on the pot’s dimensions and the plant’s root architecture, so start by matching the container’s depth and width to the material’s moisture‑handling properties. For shallow, wide pots, use coarse sand or perlite with terra‑cotta to enhance evaporation; for deeper, taller containers, layer coarse gravel or broken pottery under fabric grow bags to maintain airflow. Choose materials that complement the pot’s material—clay, plastic, or glazed ceramic—to ensure consistent drainage without over‑watering.
Build a Rock‑and‑Charcoal Base for Optimal Drainage
A rock‑and‑charcoal base combines coarse mineral particles with a thin charcoal layer to create a porous, filtering foundation that improves drainage and reduces water‑logging in potted plants.
Use 60 mm of coarse sand or scoria, then spread a 1‑2 cm charcoal sheet, ensuring drainage holes stay clear.
Test on a couple of pots, monitor moisture, and adjust depth for your pot size and soil mix.
Choosing a Pot Drainage Mix That Drains Naturally
Ever wondered how to create a potting mix that lets water flow freely while still supporting plant roots? Use a blend of pre‑soaked coir peat and compost in a 3‑2‑1 ratio—three parts coir, two parts compost, half part amendments—then sift the garden soil to remove debris, adjust texture with peat if needed, and fluff the mix before filling each pot for optimal, natural drainage. To ensure compatibility with resin-based or polymer-based soil amendments, start with clean, dry components and verify that the final mix remains well aerated and free of clumps. preparation and texture
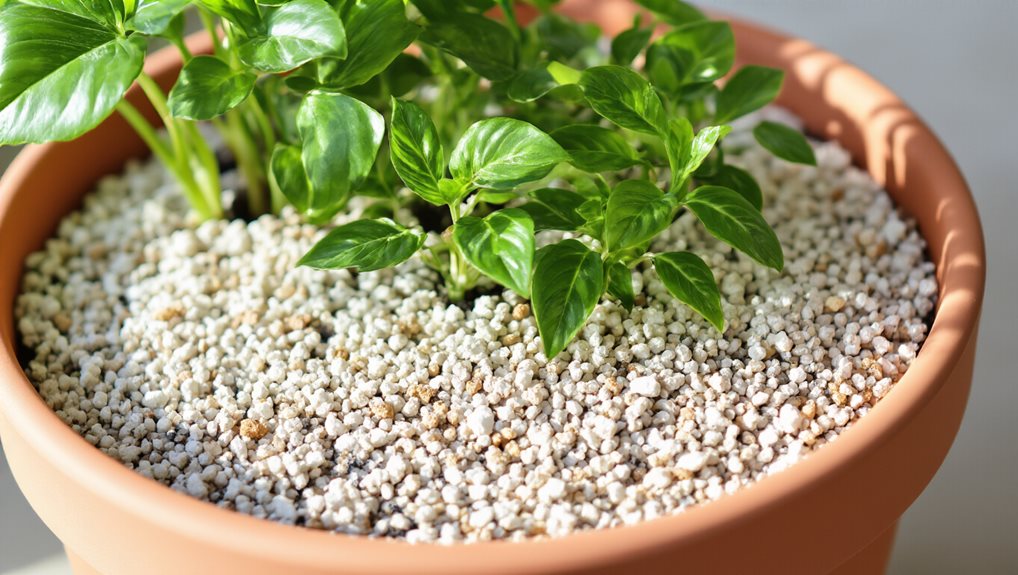
Add Perlite, Vermiculite, or Sand for Structure
Your potting mix already has a solid base, but adding a structural component like perlite, vermiculite, or horticultural sand can dramatically improve drainage and root aeration.
Perlite’s cavern‑like texture creates quick pathways for excess water while keeping soil light, whereas vermiculite holds moisture and nutrients, preventing compaction.
Sand offers a sterile, coarse alternative that enhances flow.
Combine them for balanced aeration, moisture balance, and stronger, healthier roots, and consider selecting a product with known performance for container gardening to ensure consistent results perlite benefits and avoid overly dense mixes.
Use Coffee Filters or Cheesecloth as Bottom Liners
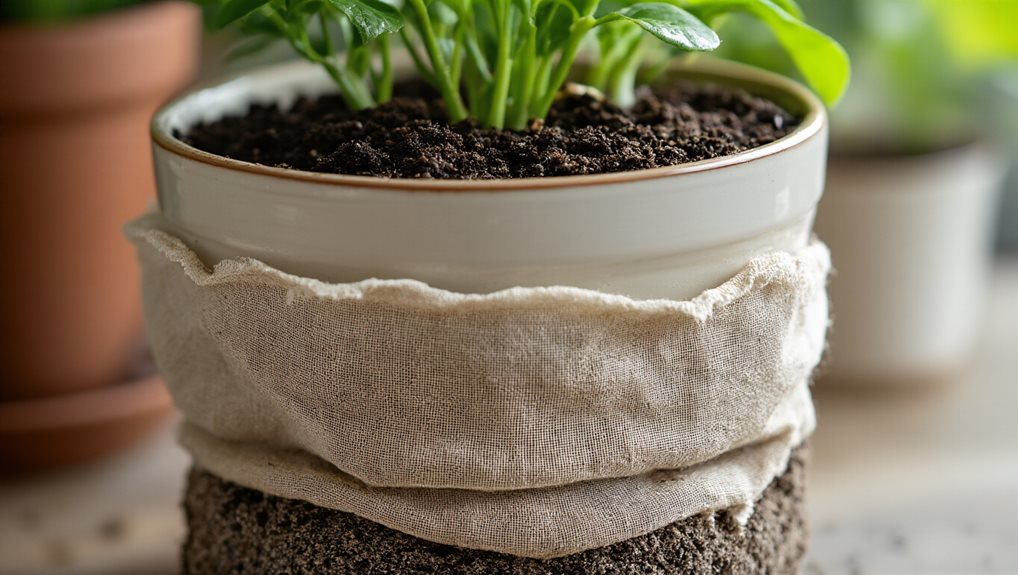
You can line the pot’s drainage holes with a coffee filter or a piece of cheesecloth, which stops soil from spilling out while still letting excess water escape, so the mix stays at the right level and you avoid frequent repotting. The porous material creates a clean pathway for water, preventing clogs and reducing the risk of root rot, yet it’s simple to install—just cut the filter to size and place it at the bottom before adding soil. Over time the filter biodegrades, adding a touch of nitrogen and carbon to the soil, making this low‑cost, reusable step an efficient way to boost drainage and retain just enough moisture for healthy roots. When lifting heavy pots onto a stand or pedestal, use proper lifting techniques and seek assistance to prevent injury and damage to the plant. proper lifting techniques
Prevent Soil Loss
When soil particles slip through a pot’s drainage holes, they can clog the opening, cause waterlogging, and leave the container messy, but placing a coffee filter or a piece of cheesecloth over the holes creates a simple, effective barrier that lets excess water escape while keeping the growing medium in place.
This liner traps fine soil, preserves volume, prevents mess, and maintains consistent airflow, ensuring your plants stay healthy and your garden feels cohesive.
Boost Drainage Efficiency
A single coffee filter or a piece of cheesecloth placed over a pot’s drainage holes can dramatically enhance drainage efficiency, letting excess water escape while keeping the growing medium in place.
You’ll notice soil stays where it belongs, roots receive ample air, and waterlogging disappears, preventing rot.
The biodegradable liner blocks particles, maximizes soil volume, and even adds a hint of nutrients, keeping your gardening community thriving.
Simple Installation Steps
Coffee filters and cheesecloth make excellent bottom liners because they let water escape while keeping soil in place, and installing them is straightforward. Position a filter or cut cheesecloth over the drainage hole, press gently, then add soil up to the root zone, place the plant, and water lightly to settle the liner. Test drainage, check monthly, and replace every 6‑12 months.
Pot Drainage‑Friendly Watering Techniques
Often, the key to healthy potted plants lies in matching watering habits to the pot’s drainage capacity, so you’ll want to adopt techniques that let excess moisture escape while still supplying enough water to the entire root zone. Use bottom watering in a shallow dish for 30‑60 minutes, top water until drainage appears, tilt pots briefly after watering, and consider self‑watering systems or occasional rehydration soaking for dry, hydrophobic mixes. When selecting your potting mix, consider adding perlite or coarse sand to improve drainage and reduce compaction over time sanding acrylic paint and ensure the surface dries evenly between waterings.
How Do You Spot Bad Drainage?
Matching your watering routine to a pot’s drainage capacity is only half the battle; recognizing when that capacity fails is just as important. You’ll notice yellowing or drooping leaves, persistent soggy soil, foul odors, and stagnant water pooling in the saucer. Roots may turn mushy, black, or protrude from holes, while fungal gnats, algae, or mold appear on the surface, signaling poor drainage.
Repotting Steps to Improve Drainage Without Harming Roots
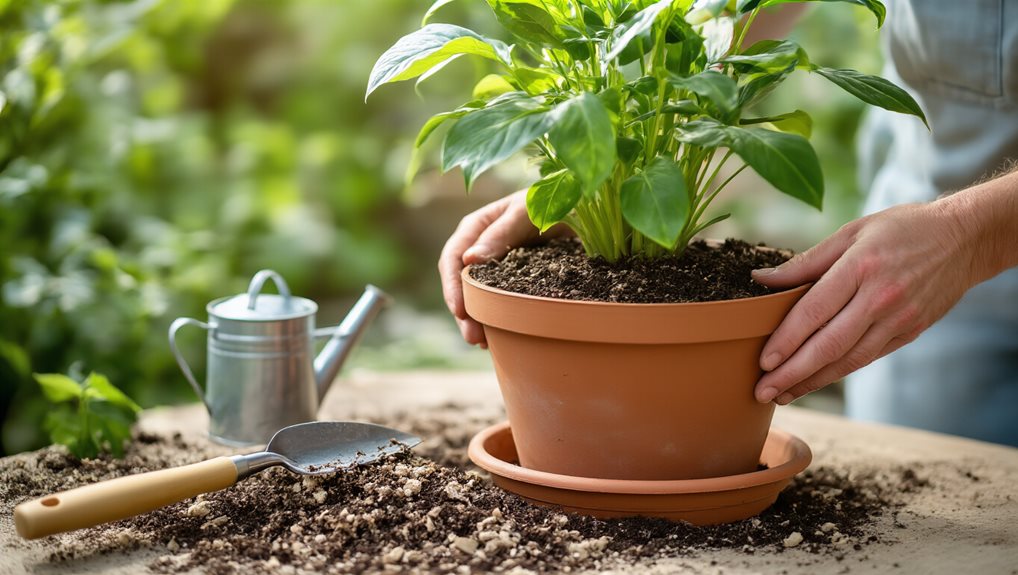
When you gently loosen the root ball, you create space for air and water to move through the soil, which reduces compaction and improves drainage.
By strategically layering coarse material such as rocks, charcoal, or hydroton at the pot’s base, then adding a mix of perlite‑enriched soil, you ensure excess moisture drains quickly while the roots stay intact.
This combination of careful root handling and thoughtful soil layering lets the plant breathe and thrive without risking root damage.
Gentle Root Loosening
Ever wondered how to loosen a root ball without harming the plant? Water the plant the day before, then gently squeeze the plastic pot’s sides and slide a butter knife between pot and soil to release the ball. Massage the roots from the bottom edges upward, teasing coiled strands like hair, applying firm but controlled pressure, and avoid aggressive pulling, allowing minor breaks that encourage new growth.
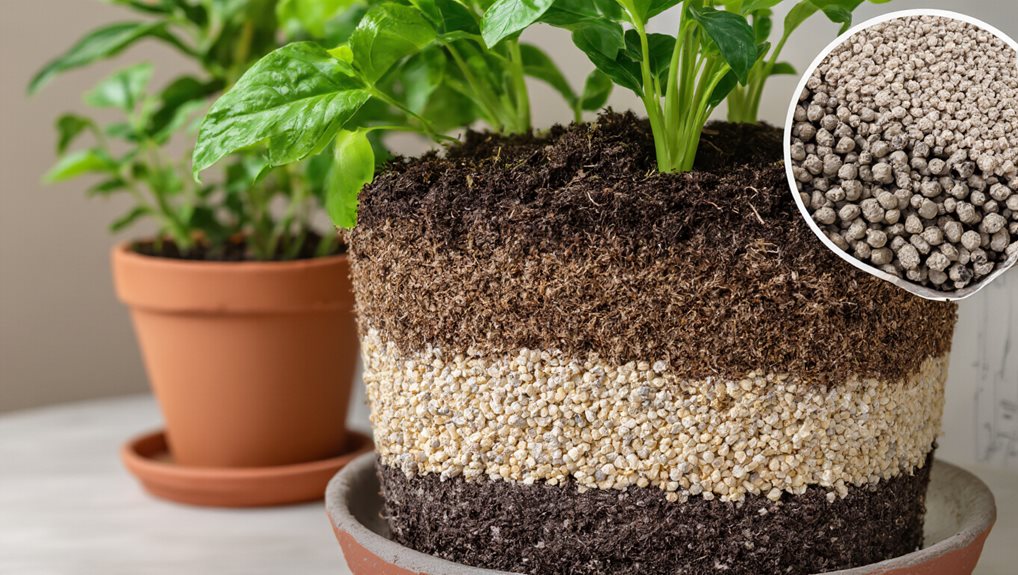
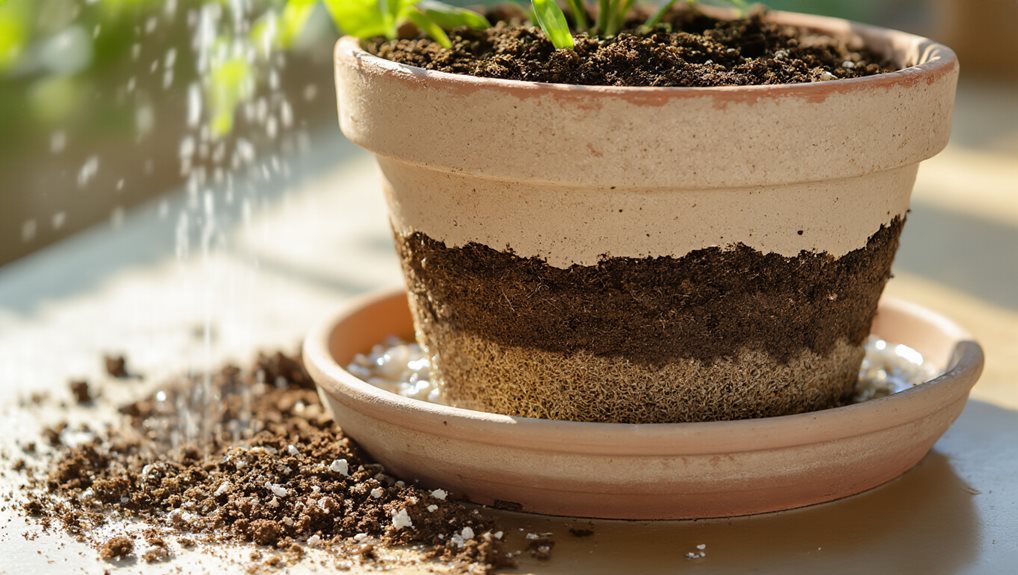
Strategic Soil Layering
If you want a pot that drains efficiently while keeping the root ball intact, start by creating a strategic soil‑layering system that separates excess water from the roots and still provides a stable growing medium. Use a 1‑2‑inch base of coarse gravel, lava rock, or LECA, line it with landscape fabric, then add potting mix, compost, and perlite in alternating layers until the root depth is reached, ensuring aeration and preventing waterlogging.
Elevate Pots for Better Airflow and Water Escape
Elevating your potted plants creates a vital air gap beneath the container, which accelerates evaporation, prevents water pooling, and reduces the risk of root‑rot‑inducing diseases. A grid-based approach to spacing and layout can further support efficient drainage and airflow by keeping roots from becoming crowded. Square Foot Garden concepts also emphasize using proper spacing and vertical supports to maximize space and reduce moisture pockets.
Tips to Keep Your Pot’s Drainage Working Smoothly
How can you keep your pot’s drainage working smoothly? Choose containers with at least two holes—more for larger planters—add a one‑to‑two‑inch layer of gravel, pebbles, or expanded clay pellets, and use a well‑draining mix containing perlite or sand. Check holes each season, clear debris, and monitor moisture with your finger or a meter, watering early and adjusting frequency as temperatures change.
Final Note
By addressing water‑logging, drilling proper drainage holes, and adding a suitable rock‑and‑charcoal base, you’ll create a well‑aained environment that prevents root rot and promotes healthy growth. Selecting an appropriate drainage mix, elevating the pot for airflow, and regularly checking for blockages keep the system functioning smoothly. Follow these steps when repotting, and your potted plants will thrive with minimal maintenance, ensuring long‑term vitality and resilience.