First, locate and stop the water source by checking gutters, downspouts, soil grading, and any foundation cracks, then turn off electricity and ventilate. Use a pump to remove standing water, placing it in the deepest spot and routing the hose away from the foundation. Set up a high‑velocity fan loop—centrifugal fans in corners angled toward walls and an axial fan pointing upward—to circulate air, and run a dehumidifier near the most humid area. Monitor humidity with a digital hygrometer, aiming for 30‑50% RH, sealing cracks with epoxy or polyurethane, and replace porous materials with non‑porous ones to prevent mold; the next steps will show you how to fine‑tune the process.

TLDR
- Locate and remove all standing water using a submersible pump, placing it in the deepest spot and directing discharge away from the foundation.
- Inspect and repair exterior drainage (gutters, downspouts, soil grading) to prevent further water intrusion.
- Deploy fans and a dehumidifier in a strategic airflow loop to circulate air and extract moisture from walls, floors, and ceilings.
- Monitor humidity with digital hygrometers, aiming for 30‑50% RH, and set alerts for any rise above 60%.
- Seal cracks with epoxy or polyurethane and replace porous materials with moisture‑resistant alternatives.
Stop the Water Source and Ensure Safety
How can you halt the water’s entry and keep yourself safe? Inspect walls, floors, and ceilings for stains, cracks, and efflorescence, then check gutters, downspouts, and soil grading to redirect runoff. Use a moisture meter and thermal imaging to map wet zones, turn off electricity, and ventilate the area. Document damage, call professionals for structural cracks, and avoid DIY on buried pipes. Identify foundation cracks that allow groundwater seepage.
Remove Standing Water Quickly and Safely
First, locate every source of standing water by checking low spots, corners, and any drainage failures, then set up your pump system so it can start pulling water immediately. Activate the pump, positioning it in the deepest area, and make sure the hose routes the flow away from the foundation to prevent re-entry. Keep an eye on the pump’s power source and tank level, adjusting as needed to maintain steady, safe extraction. Grid layout supports organized planning and easier access for monitoring water flow and directing drainage, helping you optimize pump placement and rotation to avoid overloading any single area.
Identify Water Sources
Start by clearing any standing water you see, because the longer it sits the more it can seep into walls, floors, and the foundation. Then inspect gutters, downspouts, and soil grading to ensure water runs away, check window wells and depressions for blockages, and examine interior walls for stains, cracks, or efflorescence that reveal hidden entry points, guiding your remediation efforts.
Activate Pump System
When water pools at the basement’s low point, you’ll want to set up a pump system that can evacuate it swiftly and safely.
Choose the low spot near an exterior wall, break the concrete, dig a deep pit, lay a gravel base, and set a level sump basin.
Insert the pump, connect wiring to a GFCI outlet, secure the float switch, and seal the lid.
Install a PVC discharge pipe with a check valve, route it outside, and test by filling the pit; the pump should start automatically, confirming proper operation.
Set Up Fans for Efficient Airflow Loop
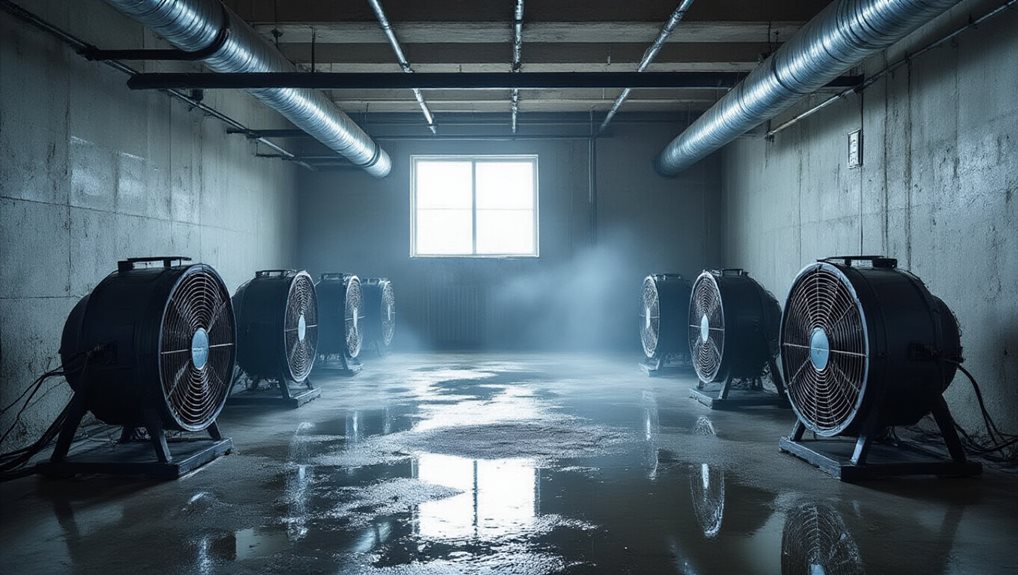
How can you turn a stagnant basement into a rapid‑drying environment?
Position centrifugal fans in corners or high points, angle them 15‑45° toward walls, and place an axial fan centrally pointing upward so humid air rises. Create a loop by setting one fan to catch another’s airflow, forming a circular vortex that sweeps moisture off floors and walls, ensuring continuous circulation.
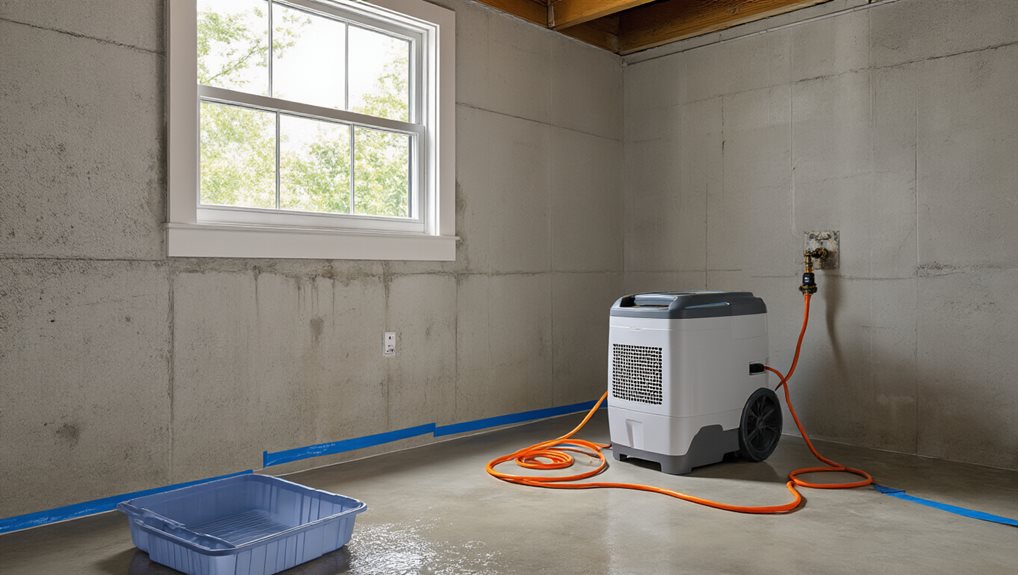
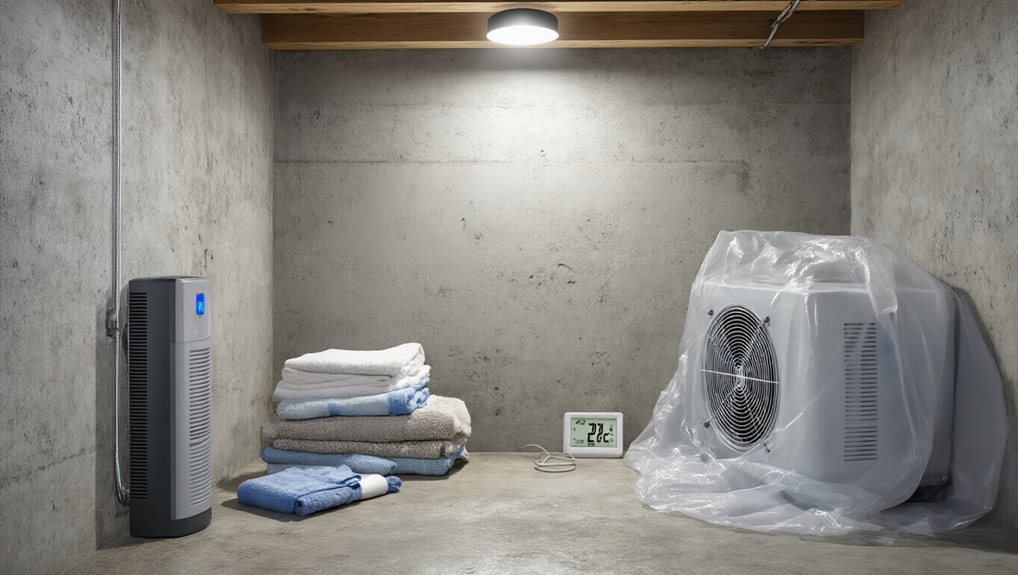
Run a Dehumidifier to Finish Drying
Place the dehumidifier where it can draw air from the most moisture‑laden spots—typically the center of the basement or near water‑prone walls—while keeping the intake and exhaust unobstructed. Monitor the humidity level with a calibrated hygrometer and adjust the unit’s fan speed or timer as the reading approaches your 40‑50 % target, ensuring you don’t over‑dry the space. If the humidity climbs again, tweak the placement or increase the run time until the basement stays consistently dry. Dehumidification efficiency
Optimal Dehumidifier Placement
Where should you put the dehumidifier for fastest results? Position it centrally, at least a foot from walls and furniture, with several inches of clearance on all sides for intake and exhaust; avoid corners, closets, or piles that block airflow. Target the dampest spot—near leaks, windows, or the sump—while keeping the unit off wet surfaces. Ensure easy access for maintenance and nearby drainage.
Continuous Monitoring & Adjustments
After placing the dehumidifier centrally, the next step is to keep a close eye on its performance and tweak settings as conditions change. Monitor humidity levels with a reliable sensor, aiming for 55‑57% during drying, then adjust the target to 65‑70% to prevent constant cycling.
Check temperature, cycling patterns, and water extraction rates regularly, and fine‑tune the unit to maintain efficiency while supporting a healthy, mold‑free environment.
Monitor Humidity and Temperature to Prevent Mold
When you keep a close eye on both humidity and temperature, you can spot the conditions that let mold thrive before they become a problem.
Place a digital hygrometer in the basement’s center, near the floor, away from vents, and add extra sensors for full coverage.
Aim for 30‑50% RH, check readings twice daily, log trends, and set phone alerts for any rise above 60%, ensuring your space stays safe and comfortable.
Regularly verify that the readings reflect actual room conditions by performing a quick calibration check using a known reference, and document any discrepancies in your log for easier trend analysis. daily maintenance checks
Seal Cracks and Apply Waterproofing
A solid first step in drying out a damp basement is to seal any cracks and apply waterproofing, because water can infiltrate through even the smallest openings and undermine both structural integrity and indoor air quality.
Inspect each fissure, inject epoxy or polyurethane for a watertight barrier, then coat walls with crystalline or low‑permeability sealants; add a vapor barrier if needed, ensuring lasting protection and a healthier, unified home environment.
Replace Porous Materials and Maintain Dryness
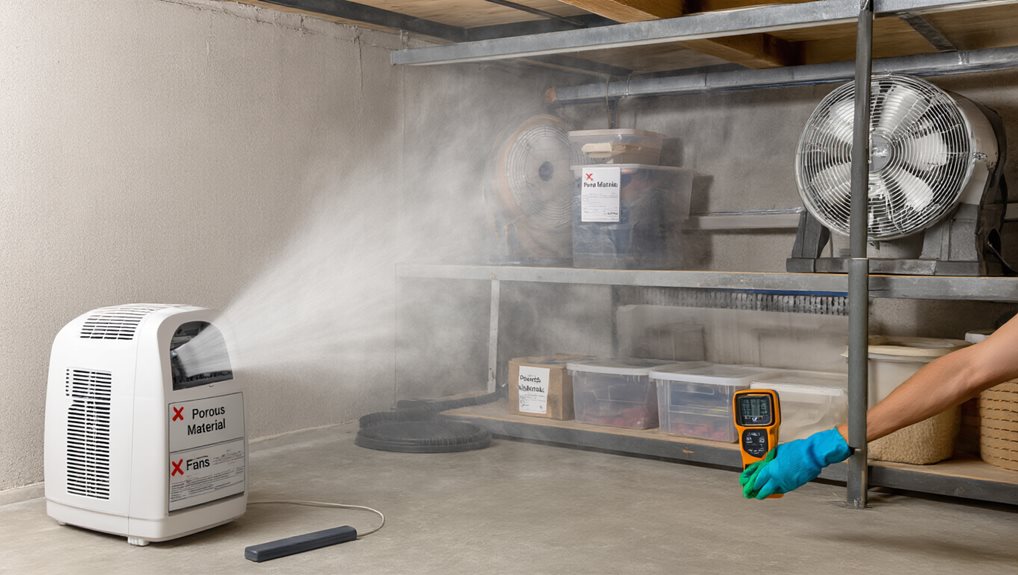
How can you eliminate the hidden sources of moisture that keep a basement damp? Replace carpets, damaged flooring, and porous concrete with non‑porous alternatives, then seal walls, floors, and joints using penetrating or silicate sealers, epoxy‑latex mixes, and LRB/TAV compounds. Test moisture levels, apply barriers, and schedule regular inspections to keep the space dry, protect belongings, and maintain a cohesive, healthy home environment. severity of moisture
Final Note
By sealing the source, removing water, and establishing proper airflow, you’ll halt further damage and begin effective drying. Running fans and a dehumidifier together accelerates moisture removal, while monitoring humidity and temperature prevents mold growth. Finally, seal cracks and apply waterproofing to protect the space, and replace any porous materials that could retain dampness. Following these steps ensures a dry, safe basement and reduces the risk of future issues.