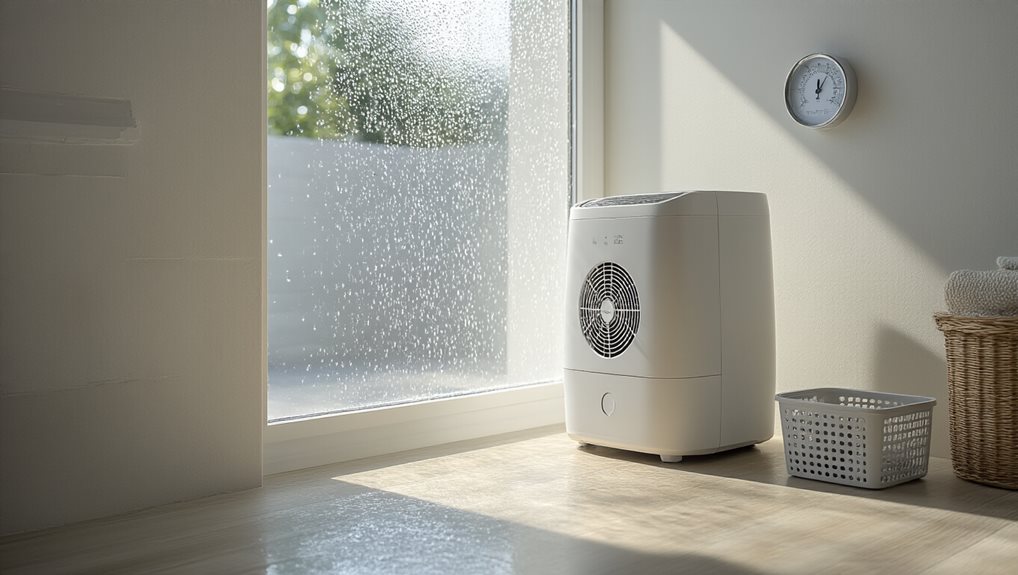
Measure humidity with a calibrated digital hygrometer placed near the floor, away from vents or heat, and log morning and night readings to spot trends; keep RH between 30‑50 % to prevent mold, wood damage, and pest issues, and set alerts at 60 % for early action. Choose an ENERGY STAR dehumidifier sized for your square footage—typically 40‑60 pints per day for 500 sq ft, adjusting upward for high moisture conditions—and ensure it can change the air enough to hold RH near 45‑55 %. Install smart sensors in damp zones, seal interior cracks, add vapor barriers, and improve exterior drainage with gutters, downspouts, grading, and French drains; these steps together will control basement humidity, and the next section will show you how to fine‑tune the system.

TLDR
- Install a digital hygrometer, calibrate 24 h, and log morning/night readings to keep RH between 30 %–50 %.
- Use a properly sized ENERGY STAR dehumidifier (≈ 40 pints/day for 500 sq ft) with a safety margin for high moisture loads.
- Seal exterior cracks, maintain proper grading, and install French drains and downspout extensions to divert water away from the foundation.
- Add interior vapor barriers, interior drains, and a sump pump to prevent water intrusion and promote dry conditions.
- Deploy smart humidity sensors in damp zones, set alerts at 60 % RH, and ensure adequate ventilation with fans or vents.
How to Measure Basement Humidity Accurately
How can you be sure your basement’s humidity is truly under control? Use a digital hygrometer, placing it in the center near the floor, away from vents, windows, sunlight, or heat sources, and let it calibrate for 24 hours. Track morning and night readings, log trends, and set alerts for 60 % RH. For spot checks, employ pin‑type or pinless moisture meters, and confirm with simple foil or ice‑cube tests. Moisture meters work by measuring the electrical resistance of material, which decreases as water content increases. Regularly interpret readings to understand how humidity affects structure and livestock comfort, and incorporate humidity management into overall space care with attention to environmental factors that influence behavior and welfare. Boredom or Under-Stimulation signs in goats can include increased vocalizations, restlessness, and social withdrawal, which underscore the importance of environmental enrichment as you improve living conditions.
Why 30‑50% RH Is the Sweet Spot for Basement Humidity
Ever wonder why experts keep recommending a 30‑50 % relative humidity range for basements? You’ll find that staying within this band stops mold, mildew, and pest infestations, while preserving wood, drywall, and stored items; it also keeps air quality high and reduces respiratory irritation. Too low, under 30 %, dries out materials and irritates skin; too high, over 50 %, invites growth and structural damage, making the 30‑50 % range the optimal, protective sweet spot. Maintaining this range helps prevent moisture-related issues that can compromise insulation and long-term durability Relative Humidity range as a practical guideline for healthier basement environments.
How to Choose the Right Dehumidifier for Basement Humidity Control
You’ll first match the unit’s capacity to your basement’s square footage, ensuring the dehumidifier can handle the moisture load without overworking.
Next, compare the moisture removal rate—aim for at least 40 pints per day for midsized spaces—to guarantee effective humidity control.
Finally, check the energy‑efficiency rating, preferably an ENERGY STAR model, so you keep operating costs low while maintaining consistent performance.
Capacity Matching Basement Size
What capacity do you really need to keep your basement dry? Measure square footage first, then align the dehumidifier’s pints‑per‑day rating with that size and moisture level—500 sq ft needs roughly 50‑60 pints, 1,000 sq ft ranges 30‑50 pints depending on dampness, and larger spaces require 80‑100 pints or more, adding extra capacity if sealing is poor. Choose the next tier up for safety and efficiency.
Moisture Removal Rate
After sizing your basement and matching it to a dehumidifier’s PPD rating, the next step is understanding the moisture removal rate and how it translates into real‑world performance.
Choose a unit whose PPD meets the adjusted demand—multiply baseline PPD by 1.25 for high moisture or 1.45 for severe conditions—so it can achieve the required air changes per hour and keep humidity in the 45‑55 % range.
This ensures efficient drying and prevents mold growth.
Energy Efficiency Rating
How can you tell which dehumidifier will keep your basement dry without driving up your electricity bill? Look at the Integrated Energy Factor (IEF); higher IEF means more liters removed per kilowatt‑hour, so ENERGY STAR models ranging from 1.7 to 3.26 L/kWh are ideal. The Midea Cube, with 1.95 L/kWh and 512 W, offers low cost, while AprilAire E080 tops efficiency at 2.35 L/kWh, ensuring you stay comfortable and part of a savvy, energy‑conscious community.
How to Size a Dehumidifier for Your Basement
Ever wondered why some basements stay dry while others stay damp? Measure length × width to get square footage, then match capacity: 500‑1,500 sq ft needs 50‑70 pints, 1,500‑2,500 sq ft needs 70‑80 pints, over 2,500 sq ft needs 80 pints or more. Adjust for sealing quality—loose spaces need 70‑80 pints, tight spaces 100‑155 pints. Aim for 40‑45 % RH. dehumidifier sizing
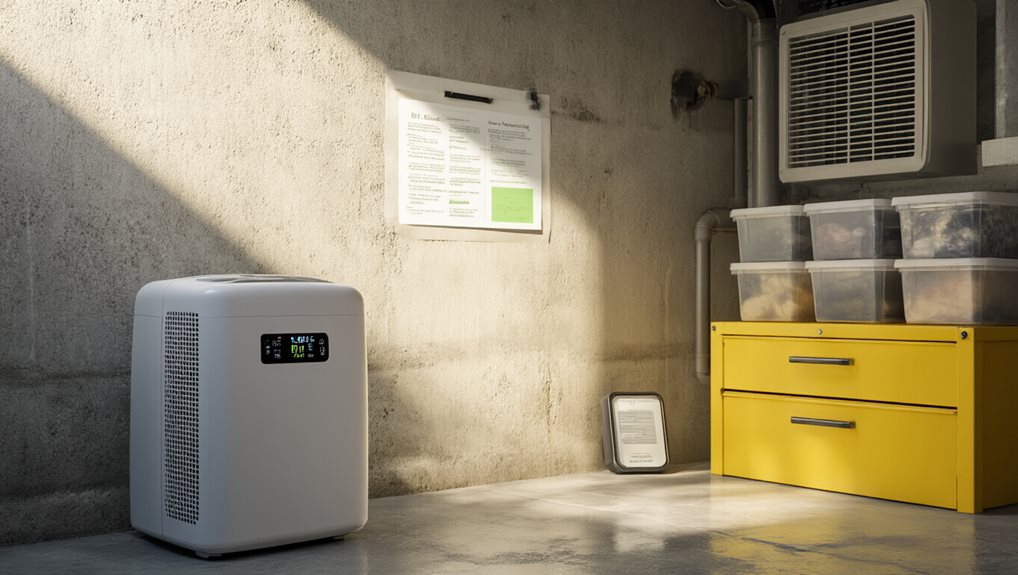
How to Set Up Continuous Monitoring for Basement Humidity
You’ll want to install smart sensors in spots where moisture tends to pool, like near walls, floors, and ventilation ducts, so the readings reflect the whole basement.
Set the data logging frequency to a few minutes—frequent enough to catch rapid changes but not so often that it overloads storage or bandwidth.
Finally, configure alert thresholds just below the EPA’s 60 % limit, perhaps at 55 %, so you receive timely notifications before humidity reaches problematic levels.
A grid-based layout helps organize sensor placement and tracking across the space grid layout to optimize monitoring coverage.
Smart Sensor Placement
Where should you place a humidity sensor to get the most reliable data? Position it centrally, away from windows, doors, and vents, at eye level, at least one meter from HVAC units, and suspend it to ensure free airflow.
Install multiple units in dampest zones, near plumbing, and walls while avoiding direct sunlight, artificial lights, and heat sources for accurate, continuous monitoring.
Data Logging Frequency
How often should you log humidity to catch problems before they become costly? Log every 30 minutes for optimal detail while preserving battery life, which yields over 84 000 readings in four‑and‑a‑half years.
Keep a minimum two‑week continuous run to capture daily cycles, then review monthly trends.
Calibrate annually, or more often if conditions are harsh, to ensure reliable data for community‑wide moisture management.
Alert Threshold Settings
When setting alert thresholds for continuous basement humidity monitoring, start by defining a primary warning at 60 % RH—this is the point where mold and mildew can begin to develop, especially if temperatures exceed 65 °F.
Add a secondary alert at 70 % RH to flag ventilation or leakage issues, and a critical alarm at 90 % RH for condensation risk, ensuring you stay within the 30‑50 % Goldilocks zone.
Ventilation Strategies That Directly Lower Basement Humidity
Ever wondered why a basement feels clammy even after a dehumidifier runs? Install exhaust fans in windows or walls and pair them with make‑up air from upper floors, ensuring vents stay clear; add cross‑ventilation by placing openings on opposite sides to create a breeze, and use stack ventilation with high vents to let warm, humid air rise and exit. Incorporate proper ventilation paths by integrating balanced airflow with Fresh Air Ventilators or ERVs for continuous drier airflow, and connect the space to your HVAC system so balanced, dehumidified air circulates throughout. Secure and maintain drainage around the building to prevent moisture intrusion at the foundation, and consider installing a French drain or other drainage improvements if persistent dampness occurs near the basement perimeter. French drain
Interior Waterproofing to Reduce Basement Humidity
A solid interior waterproofing plan tackles basement humidity at its source, sealing cracks, diverting water, and blocking vapor before it can raise moisture levels.
Apply waterproof sealants to walls and floors, install interior French drains connected to a sump pump, and add vapor‑barrier sheets to keep moisture out.
Repair cracks promptly with expanding sealant, ensuring a watertight barrier that protects your space and maintains comfortable, dry living conditions.
Exterior Solutions for Basement Humidity Prevention
Modified Text: How can you keep moisture from seeping into your basement before it even reaches the interior? Clean gutters, extend downspouts six feet, and keep yard grading sloping away from the foundation; install French drains or exterior membranes to divert water, and add vents or fans for airflow when outdoor air is drier. These exterior solutions create a unified barrier, ensuring your home stays dry and welcoming.
Final Note
By measuring RH accurately, maintaining the 30‑50 % sweet spot, selecting and sizing the proper dehumidifier, and installing continuous monitoring, you’ll keep your basement dry and healthy. Complement these steps with strategic ventilation, interior waterproofing, and exterior drainage to prevent moisture ingress. Together, these practical measures create a reliable, low‑maintenance system that protects structural integrity, limits mold growth, and preserves stored items, ensuring a comfortable, resilient space for years to come.