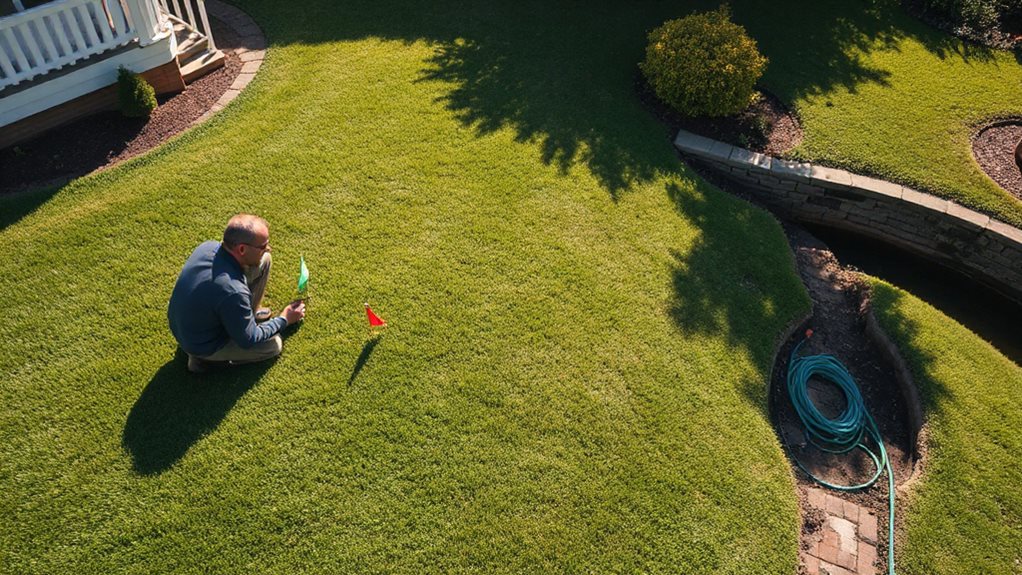
Start by mapping your yard’s drainage area and flagging low spots after rain to see real flow paths. Identify where water pools and trace how it moves across slopes, hardscapes, and soil types. Use local rainfall data and IDF curves to size your design storm, then calculate peak flow with the Rational Method (Q = C·i·A). Estimate runoff volume for dry wells, size pipes and inlets accordingly, match drain types to your soil, and oversize components by 25% for safety—there’s more to get right.

TLDR
- Map drainage areas by observing flow paths after rain and identifying property boundaries, slopes, and surface types.
- Identify flooding hotspots using signs like pooling water, erosion, and mulch accumulation to target problem zones.
- Use local rainfall data and IDF curves to determine design storm intensity and duration for accurate runoff estimates.
- Calculate peak runoff with the Rational Method (Q = C·i·A) to properly size drains, pipes, and swales.
- Match drain types to soil conditions and oversize components by 25% to account for clogging and future changes.
Map Your Yard’s Drainage Area First
Before you can tackle drainage solutions, you’ll need a clear image of how water moves across your yard—and that starts with mapping the drainage area.
Walk the site after rain, flag low spots, and sketch boundaries using property lines, hardscapes, and flow paths.
Include off-site runoff, note surface types, and mark drains, slopes, and barriers to build an accurate, actionable base map.
Understanding natural water pathways helps identify where water will likely flow across the landscape, even before it reaches your yard, and this can be informed by regional drainage models like IDM.
Also consider existing drainage features such as swales and berms when mapping so you can plan solutions that work with natural flow rather than against it.
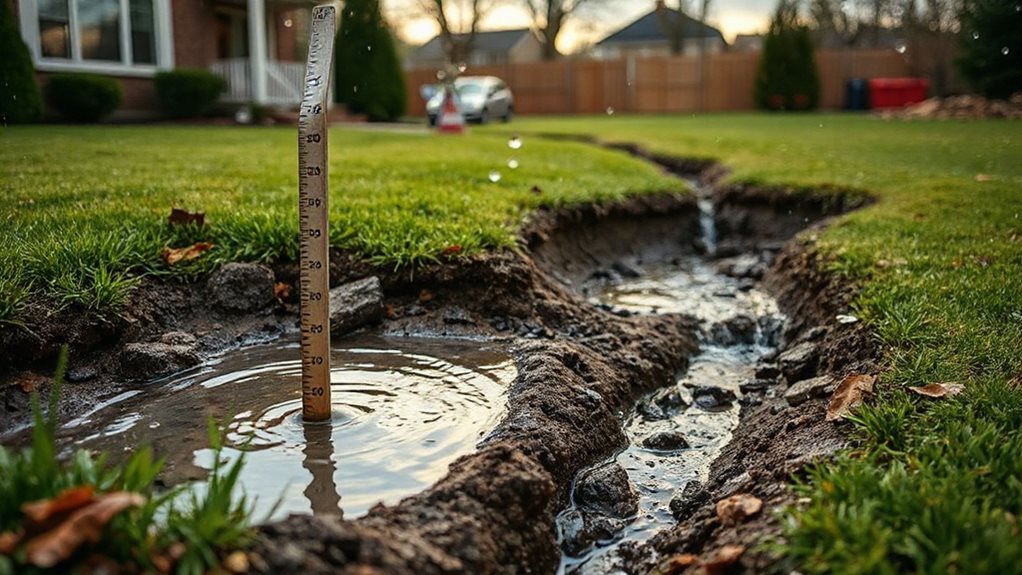
Identify Flooding Hotspots and Flow Paths
With your base map in hand, start pinpointing where water gathers and flows by inspecting both obvious and subtle clues across your yard.
Look for low spots, compacted soils, and areas near drainage paths where runoff collects. Notice slope changes, erosion scars, or mulch deposits—they reveal flow routes.
Check downspouts, inverts, and paved areas to see how design shapes water movement and where flooding tends to occur. Consider installing a French drain in persistent pooling areas to redirect excess runoff and improve drainage.
Use Local Rainfall Data to Size Your Storm
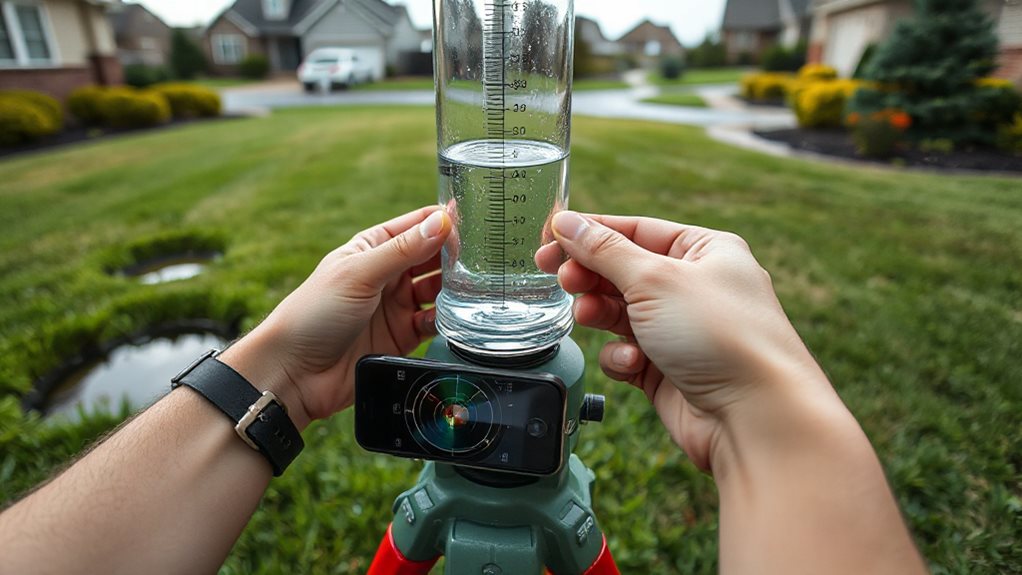
When planning your yard’s drainage system, you’ll need to size it based on realistic storm conditions, and that means using local rainfall data to define the design storm. You’ll select a return period—like 10- or 100-year—from local codes, then use IDF curves to find rainfall intensity for your site’s time of concentration.
Matching storm duration and pattern to your yard’s hydrology guarantees accurate runoff estimates, so your drains, pipes, and swales handle real-world storms without flooding. Consider also whether a French drain or other diversion methods could be part of your solution.
Calculate Peak Flow for Drain Sizing
Once you’ve gathered local rainfall data and defined your design storm, it’s time to calculate the peak flow that your yard’s drainage system must handle.
Use the Rational Method: multiply the runoff coefficient (C), rainfall intensity (i), and drainage area (A) to get peak flow (Q = CiA). This straightforward formula helps guarantee your drains manage stormwater effectively, especially in developed areas where runoff is higher. Constructing a retaining wall can also help reduce the volume of runoff reaching your drains and protect against erosion.
Estimate Runoff Volume for Dry Wells
You’ve determined the peak flow your drainage system must handle using the Rational Method, but sizing a dry well requires focusing on the total volume of runoff it needs to store, not just the peak rate.
Use the 1-inch method or NRCS Curve Number approach to estimate runoff volume from your roof or yard. Multiply drainage area by rainfall depth and a runoff coefficient, then size your dry well’s stone-filled storage—accounting for void ratio and depth—to hold that volume safely underground. Digging to an appropriate depth and allowing for proper stone coverage around inlets helps ensure long-term performance and stability, especially when setting posts near the structure requires consideration of hole volume.
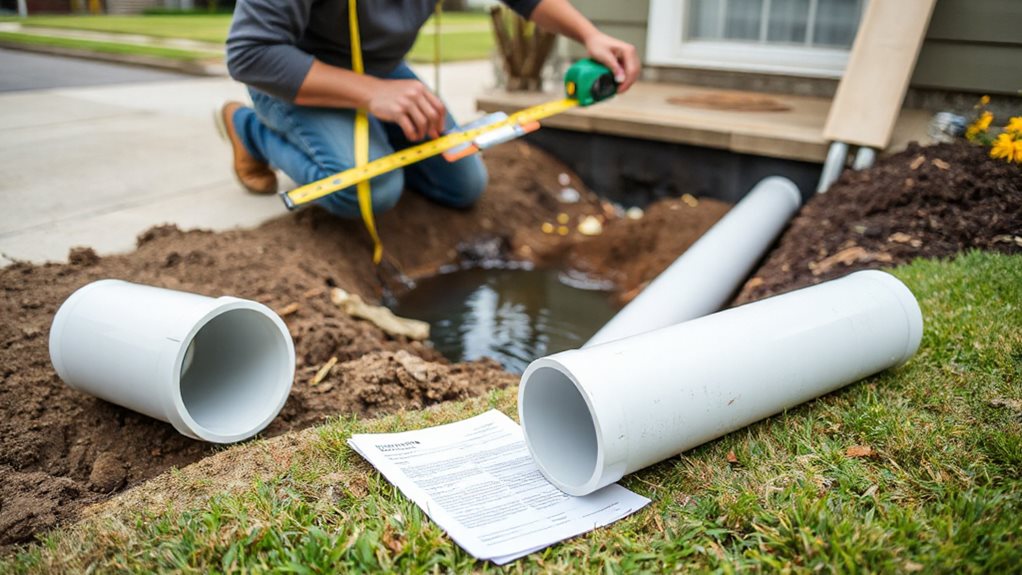
Size Pipes and Inlets for Safe Flow
You’ll need to calculate the peak flow from your yard using the Rational Method, factoring in surface type and rainfall intensity to size components correctly.
Match each inlet to the expected flow by dividing total runoff among grates, then choose a grate size that handles that flow and connects to the right pipe diameter.
From there, size each pipe segment based on cumulative flow, using Manning’s equation to confirm capacity with your chosen slope and material.
Peak Flow Calculation
Start by calculating the peak flow your drainage system must handle, using the Rational Method—a straightforward yet powerful tool for sizing pipes and inlets in small residential or urban yards.
You’ll multiply the runoff coefficient (C), rainfall intensity (i), and drainage area (A) to get Q = CiA in cfs, ensuring your design safely manages stormwater.
Inlet Capacity Requirements
While peak flow estimates set the foundation for drainage design, properly sizing inlets guarantees that stormwater is effectively captured and directed away from surfaces where pooling or flooding could pose risks.
You’ll need to account for inlet type, geometry, and location—along with slope and flow depth—so water doesn’t bypass critical points. Use combination inlets or closer spacing where needed, especially at low spots, to enhance interception and keep yards, streets, and properties safe during heavy rain.
Pipe Sizing Guidelines
Properly sized pipes guarantee your drainage system handles stormwater and wastewater efficiently, preventing backups and property damage.
You’ll need 1.5- to 4-inch pipes depending on your home’s size and fixture count, with larger buildings requiring bigger diameters.
Match pipe size to Drainage Fixture Units and slope—1.40% for 1.5-inch pipes down to 0.40% for 4-inch—ensuring smooth flow without clogs.
Match Drain Type to Soil Permeability
You’ll get the best results from your drainage system by matching the drain type to your soil’s permeability, starting with an assessment of its texture and water transmission rate.
Use subsurface pipes in deep, permeable soils for cost-effective spacing, while mole drains work well in stable clay subsoils that maintain channel integrity.
For slaking or variable soils, gravel mole systems offer durable, efficient drainage where pipes or standard moles fail.
Oversize by 25% and Check Local Codes
Since drainage systems must handle unpredictable weather and site changes over time, oversizing your design by 25% is a proven way to build in resilience. You’ll account for clogging, sediment, and future impervious surfaces while meeting local codes that often require conservative sizing.
Always check jurisdiction-specific storm frequencies, permitting needs, and product standards to guarantee your system stays effective, compliant, and trusted by your community.
Final Note
You’ve mapped your yard, identified flow paths, and used local rainfall data to estimate peak flow and runoff volume. Now, size pipes and inlets accordingly, choosing drains that match your soil’s permeability. Always oversize your system by 25% for safety and verify compliance with local codes. This practical approach guarantees efficient, reliable drainage that protects your grounds and foundation year-round, minimizing risk while maximizing performance with thoughtful, informed planning.