You build rich soil with lasagna gardening by layering cardboard, browns like leaves, and greens like food scraps to create fertile beds without tilling. Alternate moist and dry materials in a 2:1 ratio, keeping layers damp to fuel microbial activity. This method suppresses weeds, retains moisture, and recycles waste efficiently. Set it up in fall for spring planting, or speed decomposition with compost. You’ll see how simple, effective soil-building can be—and uncover even smarter ways to grow thriving plants with less work.

TLDR
- Build fertile soil without tilling by layering carbon-rich browns and nitrogen-rich greens in a no-dig system.
- Start with wet cardboard to suppress weeds, then alternate 2–6 inch brown layers with 1–2 inch green layers.
- Maintain a 2:1 browns-to-greens ratio and moisture like a wrung-out sponge for optimal decomposition.
- Allow 4–6 months for layers to break down into rich, crumbly soil, ideally starting in fall for spring planting.
- Grow heavy feeders like tomatoes and squash in the nutrient-rich beds, avoiding fresh manure near young plants.
What Is Lasagna Gardening? (And Why It Works)
While traditional gardening often relies on tilling and heavy amendments, lasagna gardening offers a smarter, no-dig alternative that builds fertile soil from the ground up.
You layer carbon- and nitrogen-rich materials like compost, straw, and newspapers, letting them decompose naturally. Coconut coir chips can be mixed in to improve moisture retention and aeration for roots coir chips.
This method suppresses weeds, retains moisture, recycles waste, and feeds the soil gradually—creating rich, healthy beds perfect for growing strong, lively plants with minimal effort.
Recyclable newspaper and cardboard are used as key carbon-rich layers, helping to repurpose household waste while reducing disposal costs.
Lasagna Garden Materials: What to Use in Each Layer
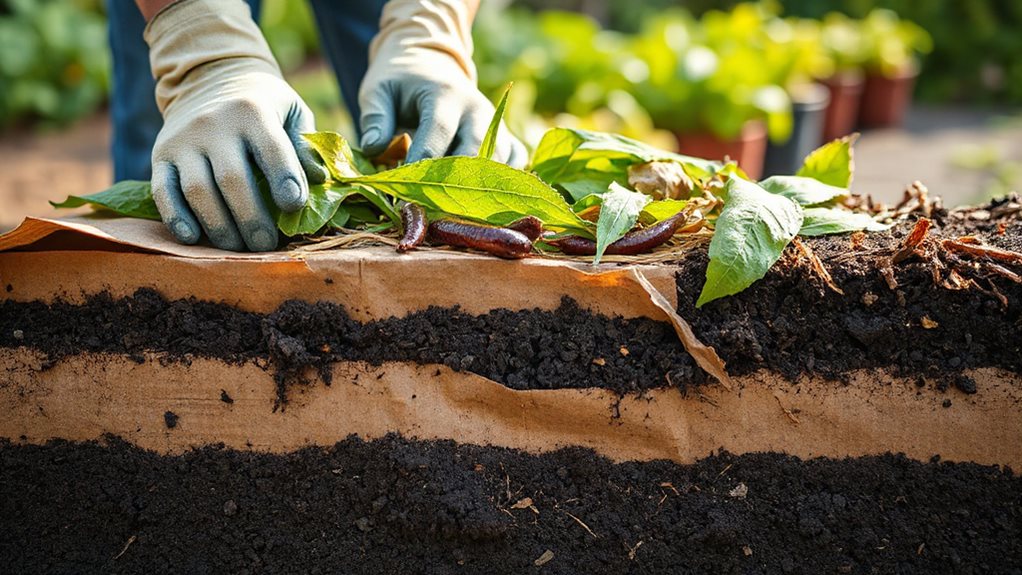
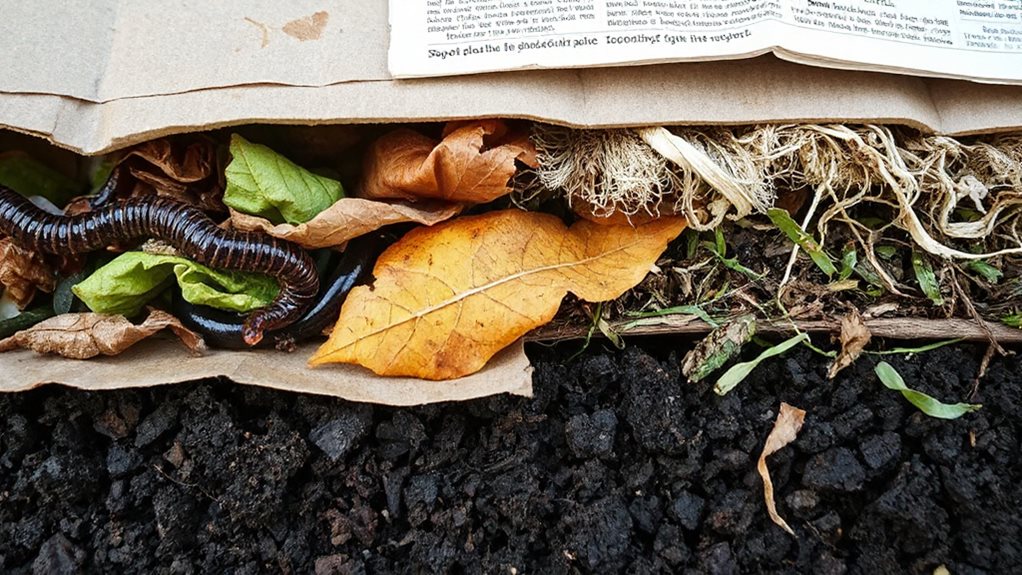
Start your lasagna garden with a solid base of wet cardboard or thick newspaper to smother grass and create a moist, dark environment that attracts earthworms and beneficial microbes.
Layer carbon-rich brown materials like dry leaves, straw, or wood chips—2 to 6 inches thick—over the base, alternating with thinner 1- to 2-inch layers of nitrogen-rich greens such as food scraps, grass clippings, or manure to fuel decomposition.
Core aeration improves soil structure and nutrient access, which similarly benefits lawns by allowing air, water, and nutrients to penetrate the root zone for deeper root growth and overall health—see core aeration for more.
Cardboard Base Layer
Laying down a thick layer of cardboard sets the foundation for a successful lasagna garden, effectively smothering grass and weeds while kickstarting the buildup of rich, organic soil.
You can use corrugated shipping cardboard, overlapping edges by several inches and wetting it thoroughly to lock it in place.
This base breaks down slowly, adding beneficial organic matter and eliminating the need for tilling, so your garden stays undisturbed and thriving.
Nitrogen-Rich Green Materials
Now that you’ve secured the cardboard base to block weeds and begin building soil structure, it’s time to add materials that fuel microbial activity and enhance the bed with nitrogen.
Use fresh grass clippings, kitchen scraps, or coffee grounds in thin, layered applications. Mix in plant cuttings and aged manure, avoiding diseased plants or herbicide-treated clippings.
These green materials break down quickly, fortifying your garden with nutrients while cultivating a thriving, living soil ecosystem you can rely on.
Carbon-Rich Brown Layers
A well-constructed lasagna garden relies heavily on generous layers of carbon-rich brown materials to balance the nitrogen from green waste and drive steady decomposition.
You can use fallen leaves, shredded paper, or twigs to build layers 2–4 inches thick, watering them well to kickstart breakdown.
Alternate with greens, top with brown, and aim for a final height of 18–24 inches, letting time convert your layers into fertile, nutrient-rich soil.
Layer Greens and Browns the Right Way
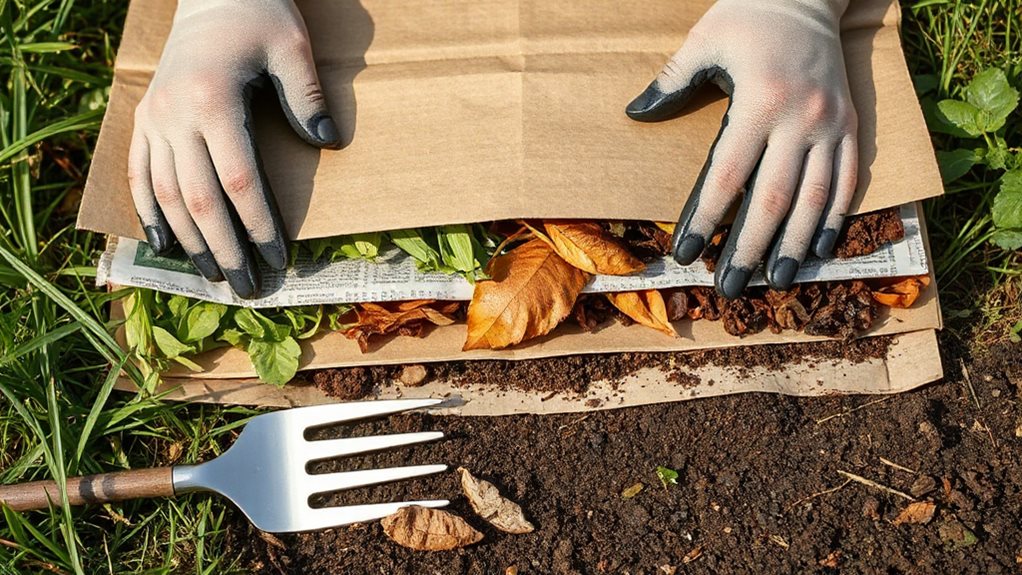
Start by laying down your materials in the right order—begin with browns, add greens, and keep alternating to build a balanced pile.
Wet each layer as you go, since moisture helps break down the materials and keeps the process moving smoothly.
Choose materials that match your space and crop needs, and consider container depth and drainage (such as drainage features) to prevent waterlogging and support healthy root growth.
Layer Order Matters
Because the success of your lasagna garden hinges on proper layering, placing greens and browns in the right order guarantees efficient decomposition and rich soil development.
Start with cardboard or newspaper, then alternate layers—greens like kitchen scraps followed by browns like leaves.
Keep a 2:1 browns-to-greens ratio, water thoroughly, and finish with a fluffy brown layer to insulate and protect your thriving, no-dig garden bed.
Moisture Aids Breakdown
While building your lasagna garden, keeping the layers properly moist plays a vital role in speeding up decomposition and creating fertile soil.
Water each layer thoroughly, aiming for a wrung-out sponge consistency. Use a 4:1 browns-to-greens ratio to balance moisture, and water after adding each layer.
Maintain even dampness to support microbes, prevent drying, and encourage earthworms—all essential for efficient breakdown.
Build Your Lasagna Garden in 5 Steps
When choosing where to establish your lasagna garden, prioritize a spot that receives at least six hours of direct sunlight each day, since most vegetables thrive under these conditions, and make sure the ground drains well to avoid soggy roots.
Prep by mowing low or using a tarp, then layer cardboard and compost to start building rich soil.
Add chopped twigs and leaves for drainage and moisture retention.
Alternate green and brown materials in thick layers, maintaining a balanced carbon-to-nitrogen ratio to fuel decomposition.
Top with compost and soil, plant after the last frost, and let nature do the rest—no tilling needed.
For faster breakdown you can incorporate a composting system such as a dual-chamber tumbler to pre-process materials before layering.
Watering Your Lasagna Garden: Keep Layers Moist
Keep your lasagna garden moist, not soggy, so the layers break down efficiently and nourish your plants.
Water each brown layer as you build, especially cardboard or dry materials, to help them settle and start decomposing.
During dry spells, give the bed a light soak—most of the time, rain covers it, but a little extra keeps the process going strong.
Avoid using harsh chemicals near the bed and instead use eco-friendly cleaners when nearby concrete or hardscapes need cleaning to protect surrounding soil and plants.
Moisture For Optimal Breakdown
Because moisture plays a crucial role in breaking down organic layers efficiently, you’ll want to make certain each layer of your lasagna garden stays consistently damp—like a wrung-out sponge—to fuel microbial activity and speed decomposition.
Water each layer as you build, especially in drier seasons, and cover the bed with plastic to lock in moisture, ensuring steady breakdown and rich, fertile soil over time.
Water During Dry Spells
You’ve laid the foundation for a thriving lasagna garden, and now it’s time to maintain the moisture balance when dry spells hit. Water weekly with 1 inch, especially during dry periods, and refill buried jugs with pinholes for steady seepage.
Mulch thickly to reduce evaporation, water after adding brown layers, and keep materials moist but not soggy to sustain decomposition and plant health.
Can You Plant Immediately in a Lasagna Bed?
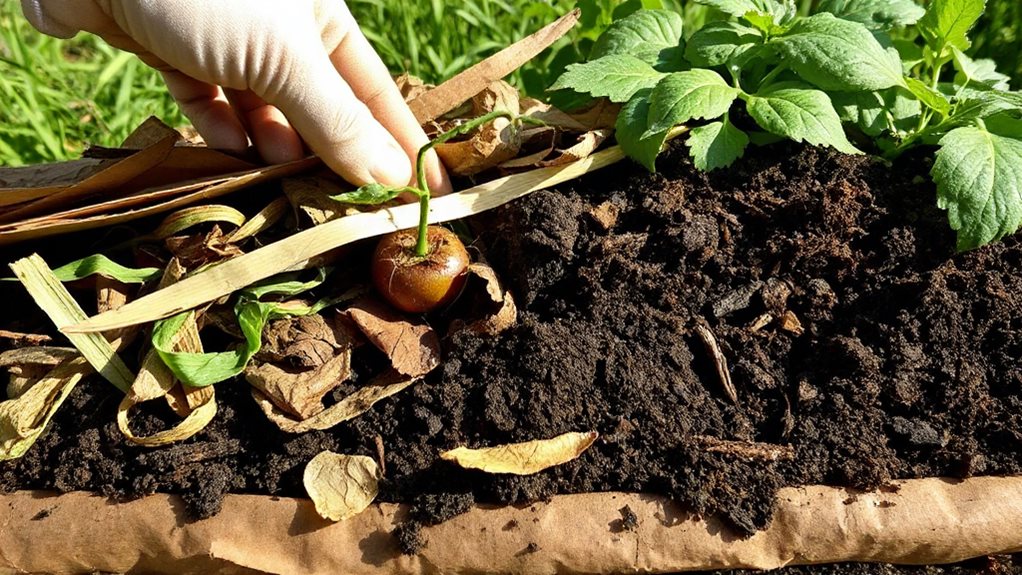
You can jump right into planting your lasagna bed if you set it up with immediate use in mind, though a few key adjustments will make all the difference.
Lay down a single layer of cardboard or newspaper, puncture it, then top with 2 inches of compost for instant planting.
Add high-nitrogen fertilizer to counteract decomposition draw, plant seeds or transplants, and mulch after growth begins.
Best Vegetables for Lasagna Garden Beds
When it comes to choosing the right crops for your lasagna garden, heavy feeders like tomatoes, squash, and brassicas take full advantage of the rich, humus-packed layers that develop as your bed breaks down.
You’ll also enjoy strong potato yields and hearty eggplant—just avoid planting it after potatoes.
Add garlic for early harvests, and include asparagus or berry shrubs to make the most of your layered space.
Start in Fall: Timing for Spring Harvests
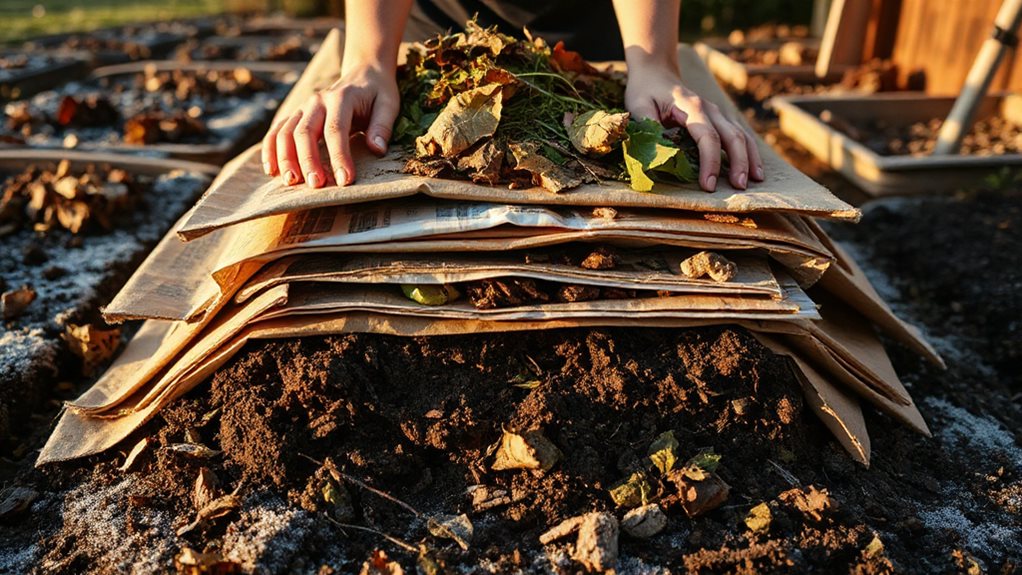
Though spring marks the start of the growing season, the best time to begin building your lasagna garden is months earlier—during the fall. You’ll utilize falling leaves and garden debris, layering browns and greens over cardboard to suppress weeds.
Winter rains and snow keep it moist, while microbes break it down. By spring, your bed is rich, crumbly, and ready—no tilling, no waiting, just planting.
How Long Until Your Lasagna Garden Is Ready?
Building a lasagna garden sets the stage for rich, fertile soil, but timing determines when you can start planting.
If you build in fall, your bed will be ready by spring—about 4–6 months—once layers decompose and stop heating.
You’ll see crumbly compost and reduced height, signaling it’s time.
For spring or summer builds, wait a few months before planting, especially for tomatoes or potatoes, and use aged manure or compost to speed things up.
Avoid These 5 Lasagna Gardening Mistakes
While layering organic matter seems straightforward, skipping key steps can undermine your lasagna garden’s potential.
You might pile only browns like whole leaves, but without greens such as manure or coffee grounds, nitrogen drops, slowing decomposition.
Avoid soggy greens or dry newspapers by alternating moist and dry layers, maintaining balance, moisture, and proper timing so your bed thrives by planting season.
Why Lasagna Gardening Beats Tilling and Weeding
Skip the backbreaking work of tilling and say goodbye to endless weeding—lasagna gardening puts nature to work for you by building healthy soil from the top down.
You preserve soil structure and microbial life, while thick layers of cardboard and mulch suppress weeds effortlessly.
Final Note
You’ve built your lasagna garden with care, layering greens and browns to create rich, fertile soil. By avoiding common mistakes and keeping the pile moist, you’ll accelerate decomposition. Starting in fall gives ample time for materials to break down before spring planting. This no-till method conserves moisture, suppresses weeds, and improves soil structure. With patience and proper layering, you’ll grow healthier plants using less effort—making lasagna gardening a smart, sustainable choice for your garden’s long-term success.