First, spot the signs—yellowing leaves at the base, soft limp foliage, or water‑soaked blisters turning brown. Then halt all watering, dump any saucer water, tilt the pot to drain, and wipe the surface. Move the plant to shade, poke holes in the soil to aerate, and place the root ball on newspaper to absorb excess moisture; add perlite or a pinch of lime for better drainage. Prune any yellow or mushy stems and blackened root tips with sterilized shears, wearing gloves. Repot into a slightly larger container with fresh, well‑draining mix, position it in bright indirect light, and resume watering only after the top inch dries, feeding lightly once new growth appears. Continue for, and you’ll discover deeper care steps.

TLDR
- Identify overwatering signs: yellowing leaves, soft limp foliage, water‑soaked blisters, and mold or fungus gnats.
- Stop watering immediately, drain excess water from saucers, tilt pots to empty, and move the plant to a bright, well‑ventilated spot.
- Dry out the soil and roots by aerating the mix, adding perlite or hydrated lime, and placing the root ball on newspaper to absorb moisture.
- Prune damaged foliage and mushy roots with sterilized shears, removing no more than one‑third of the plant’s leaves.
- Repot in a slightly larger container with fresh, well‑draining soil, then resume watering only after the top inch dries and monitor new growth.
Identify Overwatering Signs
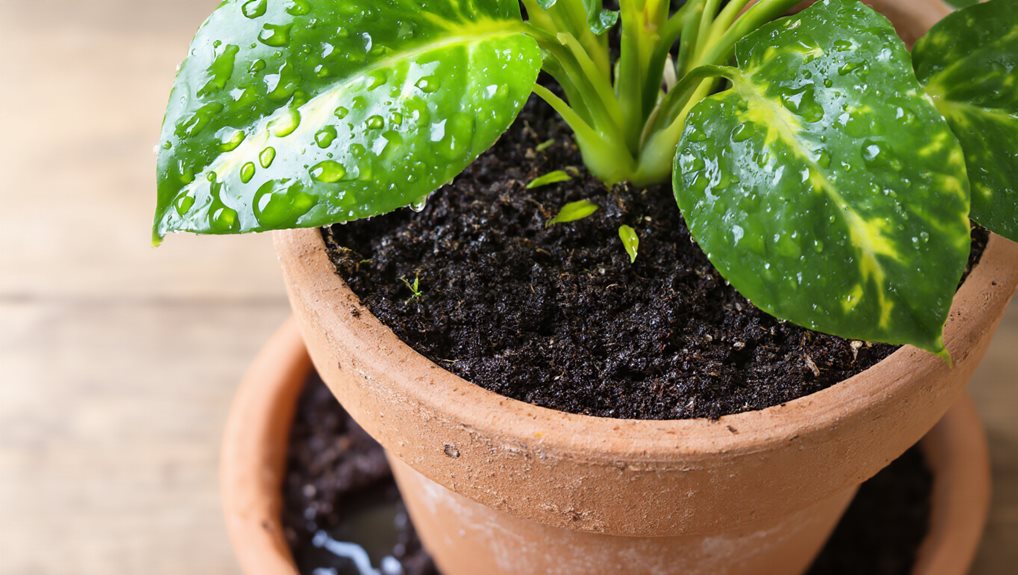
How can you tell if your plant is suffering from too much water? You’ll notice yellowing leaves starting at the base, interveinal yellow with green veins, and a soft, limp feel despite consistently moist soil; wilting and drooping affect both old and new foliage, while water‑soaked blisters turn into brown spots or lesions, and fuzzy mold or fungus gnats appear, signaling root rot and nutrient uptake failure. Overwatering creates waterlogged soil that displaces oxygen, leading to root hypoxia and decay.
Stop Watering an Overwatered Plant and Drain Excess Moisture
After spotting the yellowing, limp leaves and other signs of overwatering, the next step is to halt all watering and eliminate any standing water that may be suffocating the roots. Dump excess water from saucers, tilt pots to drain, and wipe surfaces with paper towels.
Raise the pot on a block, clear drainage holes, and move the plant to a well‑ventilated, bright‑indirect spot.
Over time, ensure the soil dries to an appropriate moisture level before resuming light watering, and monitor for signs of root stress or recovery in the surrounding garden environment. drainage improvements
Dry Out Soil & Roots of an Overwatered Plant
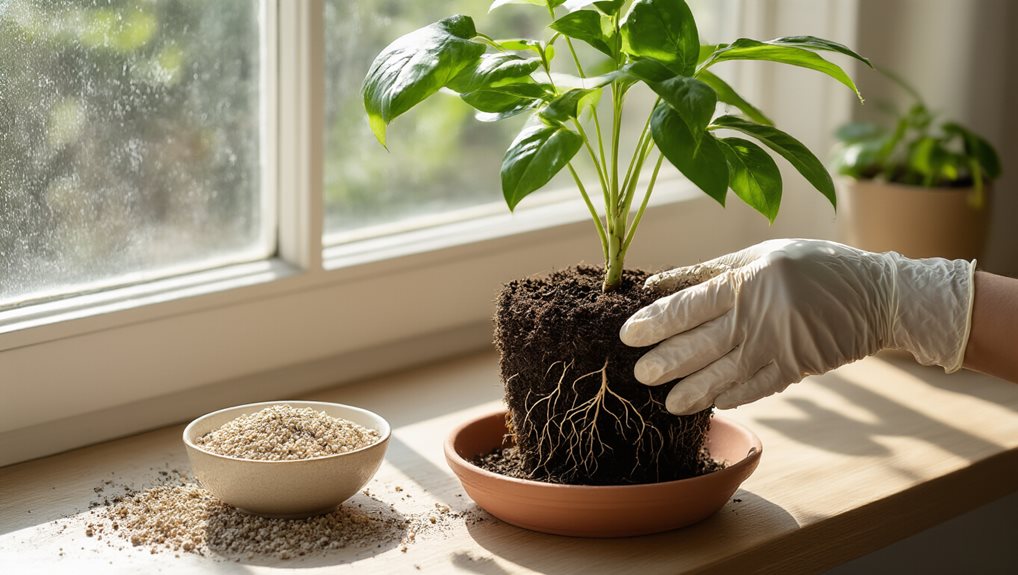
Move the plant to shade, reducing transpiration and stress on waterlogged roots, then aerate the soil by poking holes with a skewer, tilting the pot, and turning the mix to break compaction.
Place the root ball on newspaper to absorb excess moisture, and add perlite or hydrated lime to improve drainage and airflow.
Additionally, consider applying a light organic mulch around the plant to help stabilize moisture levels and shield roots from temperature fluctuations, while continuing to monitor soil moisture to avoid future overwatering. Square Foot Garden
Prune Damaged Parts of an Overwatered Plant
Why should you prune damaged parts of an overwatered plant? You remove yellow or brown foliage, cut stems back to healthy tissue, and trim mushy, black root tips, redirecting energy to vigorous growth and preventing disease spread. Use clean, sterilized shears, wear gloves, and avoid stripping more than one‑third of foliage. After pruning, let the plant air out, place it in bright indirect light, and withhold fertilizer until roots recover.
Repot an Overwatered Plant in Fresh, Well‑Draining Soil
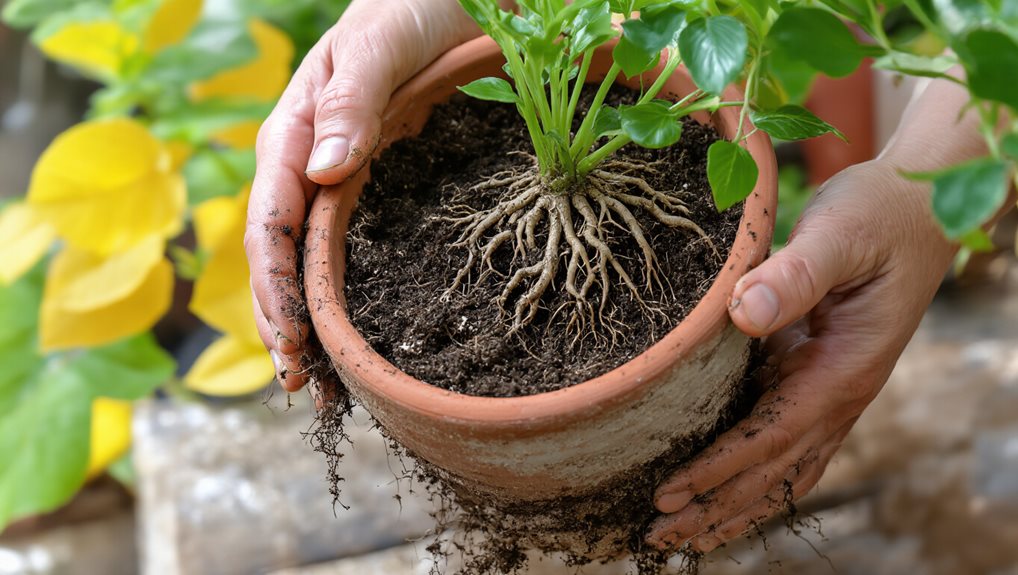
Start by selecting a pot that has adequate drainage holes and is just a bit larger than the current one, because proper drainage prevents water from pooling and gives the roots room to breathe while nurturing healthier growth.
Fill it with a fresh, well‑draining mix amended with perlite or sand, gently loosen the root ball, place the plant at the same depth, backfill, and tap lightly to settle soil without compacting it.
Move Plant to Better Light & Air
How can you give an overwatered plant the light and airflow it needs to recover?
Place it in bright indirect light—filtered morning sun or a full‑spectrum grow light within three feet—while avoiding harsh direct rays that could stress weakened foliage.
Ensure good ventilation by positioning the pot near a gentle fan or airy window, separating it from crowded plants, and, if needed, poking small holes in the soil to promote root oxygen and faster drying.
Resume Watering & Feeding an Overwatered Plant
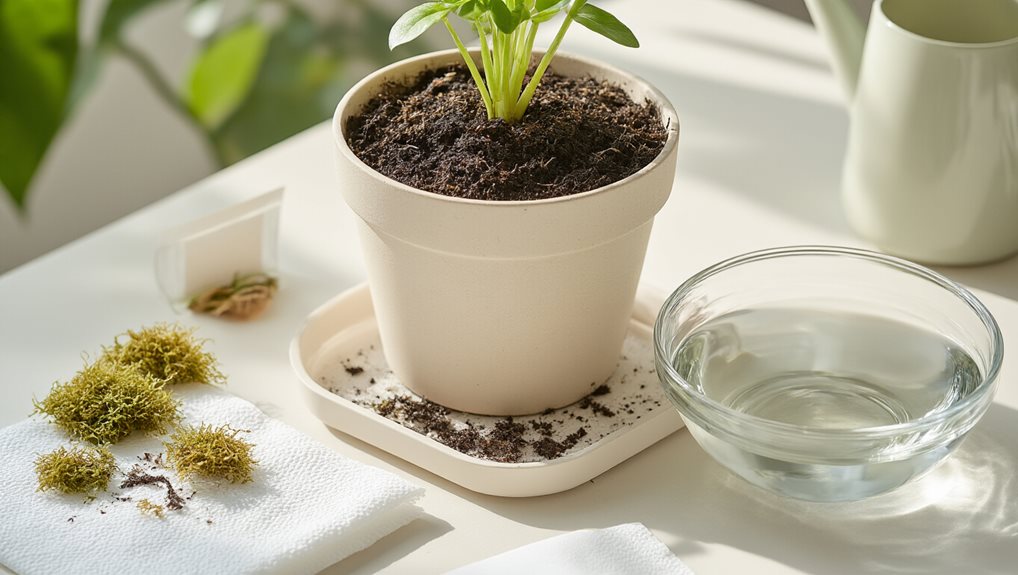
Although the plant has endured excess moisture, you can now begin to reintroduce water and nutrients—just be sure to do it carefully. Wait until the top inch feels dry, then water deeply enough that it drains, emptying saucers promptly.
Hold off fertilizer until new shoots appear, then use a mild water‑soluble feed for a few cycles, and keep monitoring soil and leaf response.
Final Note
By recognizing overwatering signs, halting irrigation, and allowing the soil and roots to dry, you prevent further damage. Pruning dead tissue removes infection sources, while repotting in well‑draining medium restores aeration. Relocating the plant to brighter, airflow‑rich conditions supports recovery, and resuming a measured watering schedule with appropriate fertilization ensures long‑term health. Follow these steps methodically, and the plant can rebound, thriving once more.