Repot your houseplant in early spring—or early fall for temperate zones—when daylight and growth are up, and watch for roots pushing out drainage holes or soil drying quickly. Choose a pot only 1–2 inches larger, keep drainage holes, and fill it with fresh aroid mix, leaving the crown half an inch below the rim. Gently loosen the root ball, tease tangled roots, and trim only the lower third of feeder roots if they’re circling; then set the plant at the same depth, press soil lightly, and water thoroughly. Follow these steps and you’ll avoid shock, and the next section reveals more detailed care.

TLDR
- Repot in early spring (or early fall in temperate zones) when growth is active, avoiding winter unless urgent.
- Choose a pot only 2.5–5 cm larger for small plants, up to 10 cm for larger ones, with drainage holes and soil level half an inch below the lip.
- Gently loosen the plant by tapping the rim or squeezing the pot, then slide a butter‑knife around the edge to free the root ball.
- Trim the lower third of the root ball, removing circling feeder roots with a clean, sanitized knife before replanting.
- Place the root ball at the same depth, fill with moistened premium mix, leave a 1‑inch top gap, water thoroughly, and keep in indirect light for several days.
How to Repot a Plant: Timing and Seasonal Tips
When should you repot your houseplant? You’ll find the best window in early spring, when longer days signal active growth, allowing roots to establish quickly in fresh soil; early fall works in temperate zones, while winter should be avoided unless urgent issues arise. Look for roots pushing through drainage holes, soil drying in one to two days, or stunted growth as clear cues. Repotting every 12‑18 months, or annually for fast growers, keeps your plant thriving. A fresh start can also rejuvenate stressed or stagnant plants. Know-how and proper timing help ensure successful repotting and continued plant health.
How to Repot a Plant: Pick the Right Pot and Soil
Choosing the right pot and soil is the cornerstone of a successful repot, because the container’s size and the growing medium’s composition directly affect root health, water management, and nutrient availability.
Pick a pot 2.5‑5 cm larger for small plants, 5‑10 cm for larger ones, and never exceed 2‑3 inches extra to avoid waterlogging.
Ensure drainage holes, use a fresh aroid mixting and leave the soil level half‑inch below the lip for optimal growth. PVC cement
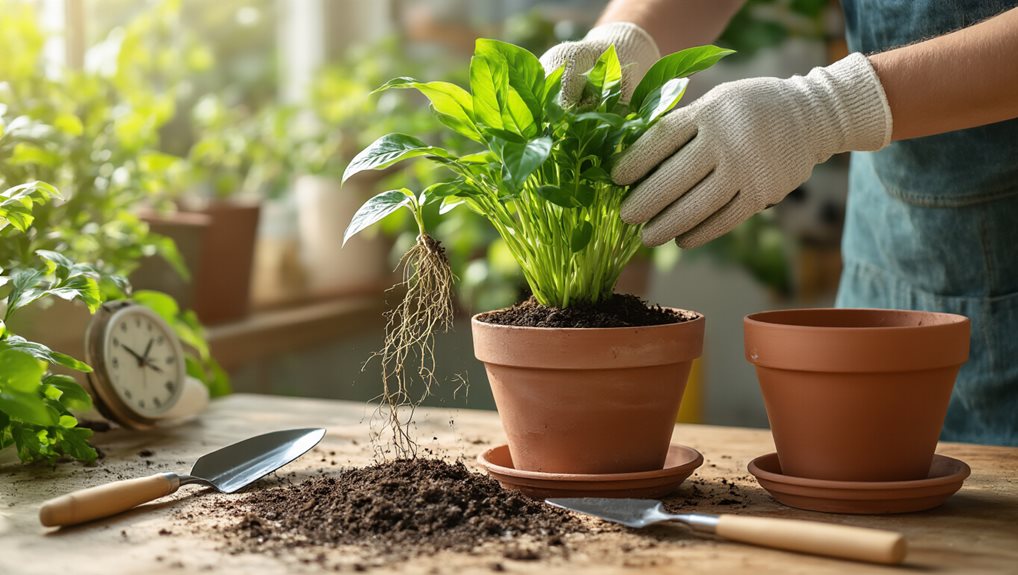
How to Repot a Plant: Safely Remove the Plant and Untangle Roots
After selecting the proper pot and soil, the next step is to get the plant out of its current container without harming the root system. Tilt the pot, gently squeeze plastic sides, or tap a ceramic rim after watering; slide a butter‑knife around the edge, then coax the root ball free, shaking off excess soil. Massage the ball, tease tangled coils, and loosen circling roots without jerking, preserving healthy growth. When replanting, ensure you place the root ball at the same depth as before to avoid staking shocks and promote steady acclimation. leveling the pot and root depth
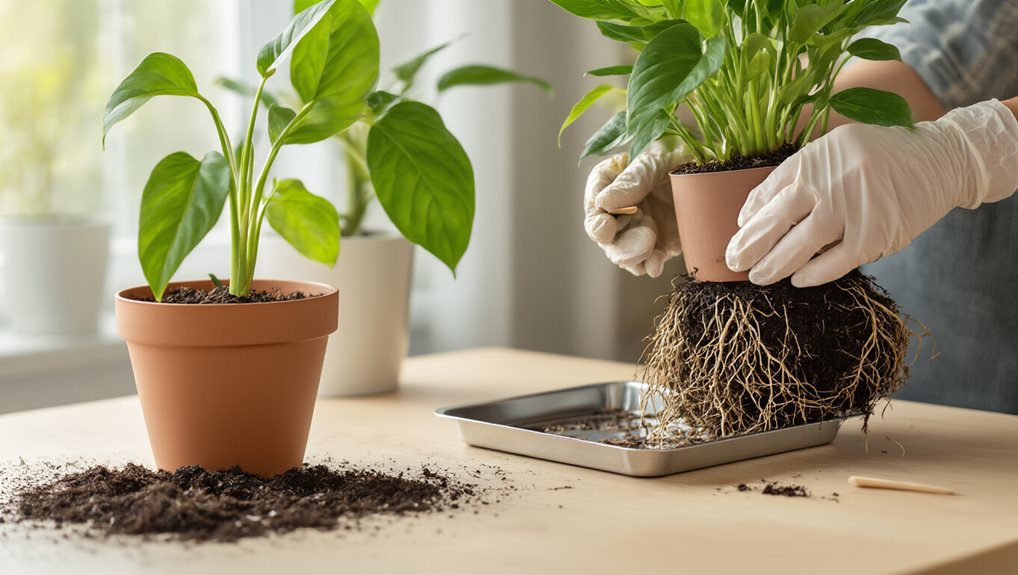
How to Repot a Plant: Trim and Treat Roots for Healthy Growth
Ever wondered why a houseplant suddenly looks wilted despite perfect watering?
Trim the lower third of the root ball with a clean, sanitized knife, focusing on feeder roots while sparing main structures, and cut circling roots to promote outward growth.
Replant in fresh potting mix, add an organic fertilizer or kelp tonic, water thoroughly, and keep the plant in indirect light for several days to aid recovery. Additionally, monitor for signs of root damage or stress and consider gradual acclimation back to normal light levels to prevent shock. root health
How to Repot a Plant: Fill, Settle, and Care for the Repotted Plant
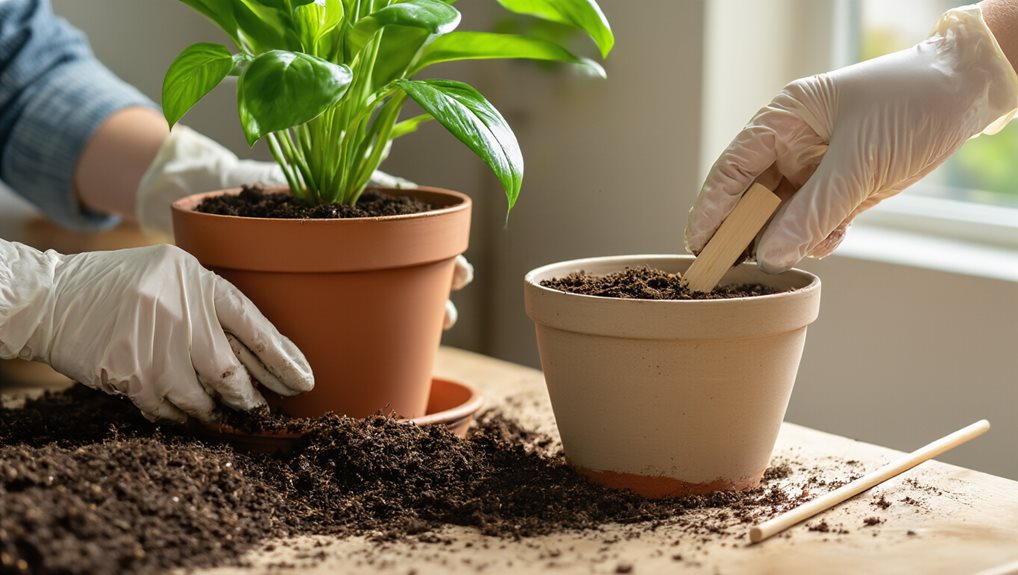
After trimming and treating the roots, the next step is to fill the new pot correctly, settle the soil, and give the plant proper care.
Add 1‑2 inches of moistened premium mix, position the plant so the crown stays 0.5‑1 inch below the rim, then gently press soil around roots, leaving a one‑inch top gap.
Water thoroughly, let excess drain, and monitor for settling, adjusting as needed.
Final Note
By following the seasonal timing, selecting an appropriately sized pot with well‑draining soil, gently removing the plant, and carefully trimming and treating the roots, you’ll minimize transplant shock and promote vigorous growth. After filling and settling the new mix, water thoroughly, then place the plant in indirect light and monitor moisture levels. Consistent care and attention to these steps will assure your houseplant thrives in its new home.