Transplant on cool, overcast days or in the evening to reduce stress, and choose hardy plants like kale or broccoli for best results. Prepare loose, well-aerated soil mixed with compost, and dig a wide, shallow hole to encourage root spread. Remove all container materials, trim circling roots, and water deeply right after planting. Apply a balanced starter fertilizer and mulch around—never against—the base. Shield new transplants from harsh sun, wind, and frost. With the right care, they’ll establish quickly and grow strong. There’s more to mastering this process than just timing and technique.
TLDR
- Transplant during cool, overcast weather or in the evening to minimize heat and sun stress.
- Harden off seedlings gradually over 1–2 weeks to acclimate them to outdoor conditions.
- Prepare a wide, shallow planting hole and loosen roots to encourage outward growth.
- Water deeply immediately after planting to eliminate air pockets and support root-soil contact.
- Apply mulch around the plant (but not against the stem) to conserve moisture and stabilize soil temperature.
Transplant When It’s Cloudy or Cool

When the sky is overcast and the air feels cool, you’ve got the perfect opportunity to transplant your seedlings with minimal stress.
Cloudy days reduce sun exposure, while cooler temperatures lower water demand, helping damaged roots recover. Aim for mild, overcast conditions or light rain, and transplant in the evening so plants settle in overnight, giving them a better chance to thrive in their new home. Transplanting just before a wet, cloudy period can significantly reduce transplant shock and stunting, especially for hardy vegetables like kale, lettuce, and broccoli. Core aeration improves soil structure and can reduce transplant stress by enhancing water infiltration to the root zone.
Prepare Soil With Compost and Aeration
Loosen your soil with core aeration to break up compaction and let roots breathe, making room for healthy growth.
Mix in compost to enhance nutrient retention, improve drainage, and feed beneficial microbes that support strong root development.
Dual-chamber tumblers provide continuous composting while one side cures, offering a steady supply of finished compost and continuous production for your garden.
Soil Loosening Techniques
To give your transplanted plant the best chance of thriving, start by preparing the planting site with care—dig a hole two and a half times wider than the root ball and just as deep, ensuring roots have ample room to spread without being cramped or bent.
Rough up the hole’s sides to help roots penetrate the surrounding soil, since compacted walls can restrict growth and reduce oxygen flow, especially in clay.
Pre-water the site a few days before planting to set ideal moisture levels, giving roots a smoother shift into their new home.
Compost Integration Tips
Now that you’ve loosened the soil and shaped the planting hole to welcome new roots, it’s time to enhance the environment with well-integrated compost.
Mix native soil with compost in a 1:1 ratio, add a 6-2-4 organic starter fertilizer, and avoid pure compost backfill—especially in clay.
This balanced blend supports steady root development, prevents nutrient shock, and encourages healthy soil biology, giving your transplants the stable, nourishing start they need to thrive.
Root Zone Aeration
With compacted soil posing a silent threat to young transplants, you’ll want to guarantee the root zone breathes as freely as the plant needs to grow.
Loosen the soil twice the width of the root ball, mix in amendments beyond the hole, and tease apart circling roots.
Use gritty mixes with 3–8mm particles, soak the root zone weekly, and water deeply to encourage strong, deep root growth.
Dig a Wide, Shallow Planting Hole
Think of the planting hole not just as a space to tuck in your new plant, but as the foundation for its long-term health and stability.
Dig it three to four times wider than the root ball—up to 72 inches for a 24-inch root mass—but only slightly deeper. This wide, shallow shape encourages roots to grow outward, reduces stress, improves drainage, and promotes strong establishment in native soil. Soil temperatures between 50 to 75 degrees Fahrenheit encourage healthy root growth and establishment optimal soil temperature.
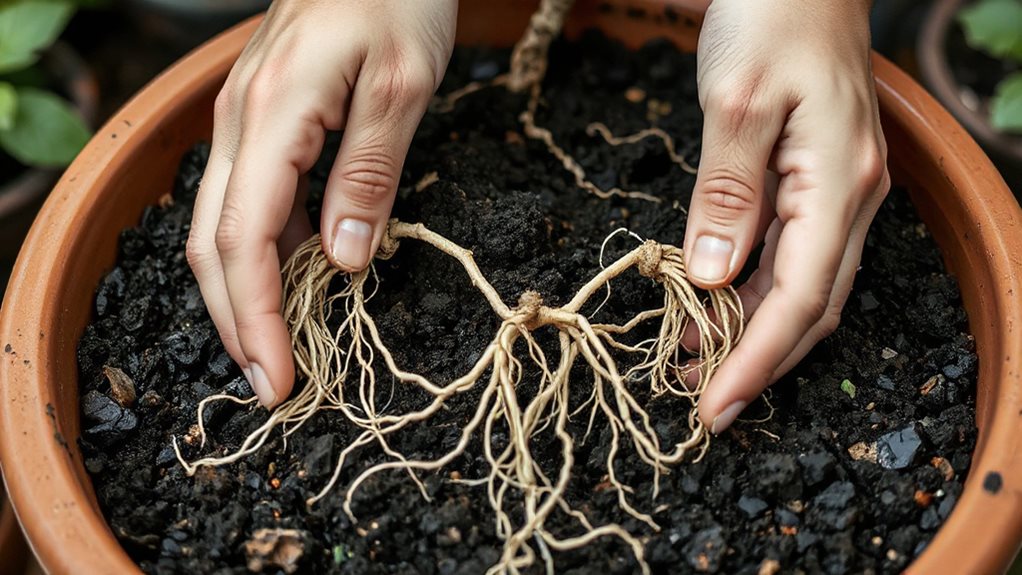
Free Roots From Pots and Burls

Break free the roots from their container or wrapping to give your plant the best shot at thriving after transplant. Soak the root ball, then gently tease apart circling roots with your fingers.
Make vertical cuts only if needed, and always remove burlap, twine, or wire. Keep roots moist and protected—this simple care helps your plant settle in, reduce shock, and grow strong where it belongs. Allowing access to fresh soil and inspecting roots for issues like root rot can help the plant recover more quickly and establish healthy growth; learn more about root inspection.
Cut Away Container Debris Completely
Before you place your plant in the ground, take a moment to clear away every trace of container debris—because even small remnants can compromise its long-term health.
Remove twine, wires, tags, and burlap completely, so roots can spread freely.
Cut circling roots to encourage outward growth, and sanitize tools to prevent infection.
Eliminating all foreign material guarantees better soil contact, moisture balance, and nutrient uptake, giving your plant the strong start it deserves.
Also, ensure the planting site has well-draining soil to prevent root rot and support healthy root establishment.
Spread Roots in Loose, Damp Soil
Loosen the soil thoroughly around the planting hole so roots can spread easily into well-aerated ground, especially in clay or compacted areas.
Gently position your plant’s roots outward, avoiding tight circling by teasing them apart or making vertical cuts if needed.
Keep conditions moist by planting in damp soil and covering bare roots with a wet towel until placed, so they never dry out.
Loosen Soil Thoroughly
When transplanting, starting with a foundation of loose, damp soil makes all the difference in helping your plant recover quickly and thrive.
Loosen the planting hole’s sides to encourage root penetration, and avoid amending backfill to prevent compaction.
Use a well-draining mix with compost, coir, and vermiculite, ensuring roots spread easily in an aerated, moist environment that supports healthy establishment.
Position Roots Gently
Take care to spread your plant’s roots gently as you set it into the prepared hole, ensuring they fan out naturally in the loose, damp soil.
Loosen tangled roots from containers to prevent girdling, and avoid forcing them.
Position bare roots evenly, minimizing air exposure.
Proper placement supports quick establishment, reduces shock, and encourages healthy growth, helping your plant thrive in its new home.
Maintain Moist Conditions
You’ll almost always see better results when you plant into soil that’s already wet, not dry, since moist conditions protect delicate roots from drying out within seconds of exposure.
Keep the root ball damp, soak it before planting, and water slowly to reach 3–4 inches deep.
Use loose, damp soil to help roots spread, eliminate air pockets, and support steady recovery.
Water Deeply Right After Planting

Always water deeply immediately after planting to guarantee the roots make solid contact with the surrounding soil.
Saturate the entire root ball and planting hole to eliminate air pockets, helping roots expand smoothly.
In clay soil, one thorough soak can last a week.
Deep watering reduces stress, supports hydration, and encourages strong establishment—key steps every caring gardener should take.
Keep Soil Moist the First Season
Consistently keeping the soil moist during the first growing season is essential for helping newly transplanted plants overcome establishment stress and develop a strong root system.
You’ll want to water deeply every 7–10 days, ensuring moisture reaches the entire root zone.
Avoid frequent light sprinkling, which encourages shallow roots, and instead maintain even moisture to support nutrient uptake, reduce stress, and promote healthy, deep root growth.
Add Nutrients Safely at Transplant Time
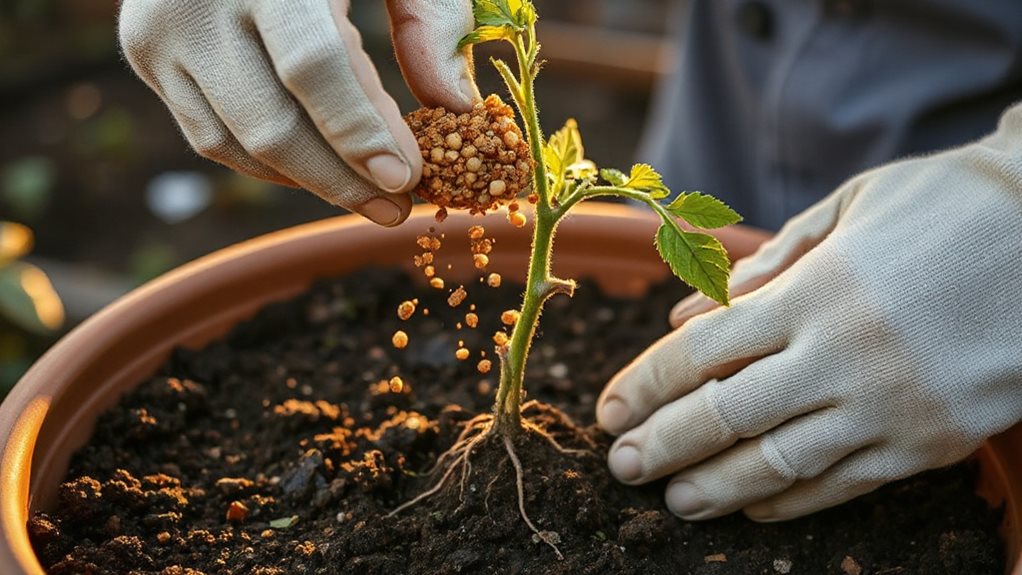
Kick off the transplant process with a smart nutrient strategy that primes roots for resilience and rapid establishment. Apply low-nitrogen, high-phosphorus solutions with seaweed extract and humic acids to reduce shock.
Use bioavailable silicon and B vitamins to strengthen cells and support repair. Drench flats with diluted “transplant soup” for even delivery, and incorporate molasses to enhance soil biology and root development.
Mulch With a Trunk-Free Bagel
After giving your transplants a strong start with a balanced nutrient lift, it’s time to lock in those benefits by protecting the root zone with proper mulching.
Apply 2–3 inches of organic mulch, like wood chips or pine straw, from beyond the rootball to the drip line.
Keep a 2–3 inch mulch-free zone around the trunk—shaped like a bagel—to prevent rot, curb pests, and avoid moisture buildup.
This simple barrier conserves water, stabilizes soil temperature, and shields tender bark from mower damage, giving your plants a consistent, supportive environment during critical establishment.
Protect From Sun, Wind, and Frost
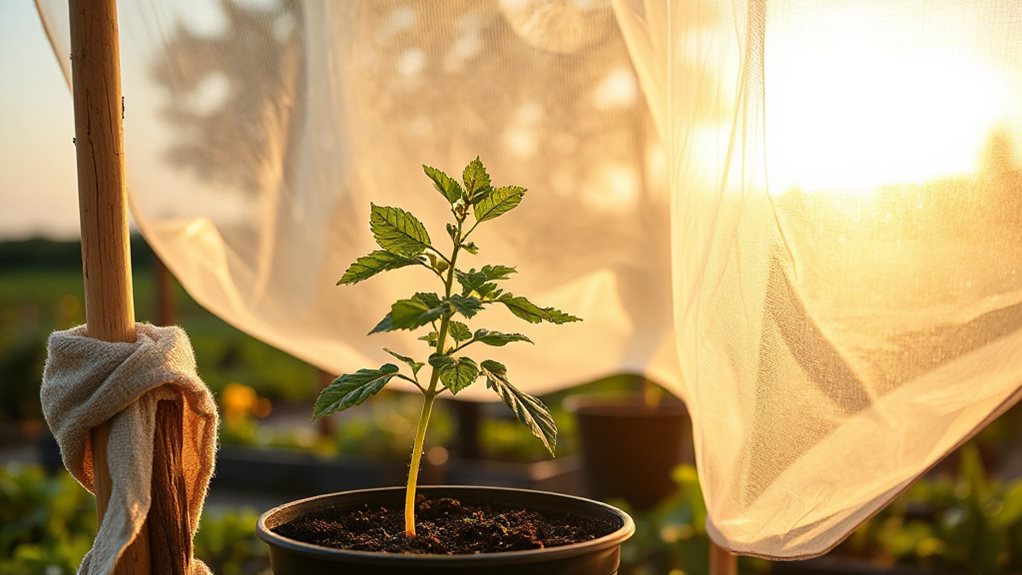
When transplanting during peak daylight or in harsh weather, your plants face immediate stress from sun, wind, and frost—so taking proactive steps to shield them is essential.
Use shade cloths or burlap barriers to block intense sun and drying winds, especially in the first week. Gradually expose plants to outdoor conditions over 1–2 weeks, and cover them at night if frost is expected.
These steps reduce shock, support root establishment, and promote steady growth.
Avoid Heat and Cold Stress Early
Shielding your plants from extreme weather right after transplanting sets the stage for stronger establishment, and now it’s time to focus on how temperature extremes—both hot and cold—can undermine that progress in the critical early days.
Transplant during cool, cloudy periods or in the early morning to reduce heat stress, and avoid frost-prone days.
Harden off seedlings gradually, letting them adapt to outdoor temperatures.
Use mulch to buffer soil temperature swings, and never plant when the ground is frozen or scorching.
Keep roots insulated and hydrated, and skip fertilizing until plants stabilize.
Final Note
You can markedly reduce transplant shock by timing your move carefully and preparing the site well. Loosen roots, remove all container debris, and plant in aerated, compost-rich soil. Mulch thoughtfully—keeping it away from the trunk—and shield new transplants from extreme sun, wind, or frost. Avoid fertilizing too soon, and monitor moisture closely. With these steps, your plants will establish faster and grow stronger, giving you healthier results in the long run.