Choose rot-resistant cedar or composite lumber, cut four-foot boards to a 2-by-6-foot rectangle, and pre-drill holes for corrosion-resistant deck screws and powder-coated aluminum corner brackets; align the brackets to keep the frame square, then fasten the boards, ensuring square edges and a tight fit. Prepare a level base with compacted gravel, sand, or pavers, and add a soil-retaining lip to metal panels if you use them. Fill the frame with a balanced soil mix, top-dress with compost, and spread a two-to-three-inch mulch layer for moisture retention; you’ll then discover how to fine-tune watering, irrigation, and seasonal care.
TLDR
- Choose rot‑resistant material (cedar, cypress, composite, or HDPE) and cut boards to equal 4‑foot lengths for a rectangular frame.
- Drill pilot holes and secure boards with corrosion‑resistant deck screws and powder‑coated aluminum corner brackets, ensuring a square, stable structure.
- Prepare a level base of compacted gravel or sand, then add a soil‑retaining lip or metal edge and a stainless‑steel or fabric liner to prevent soil loss.
- Fill the bed with a mix of topsoil, compost, and a 2‑3 inch mulch layer to improve moisture retention and fertility.
- Install drip irrigation, aiming for one inch of water per week (adjust frequency for heat and season) to maintain moisture depth of six‑to‑eight inches.
Pick the Best Material for Your Raised Garden Bed
Choosing the right material for your raised garden bed is a decision that balances durability, cost, and safety, because each option—wood, steel, stone, composite, or plastic—offers distinct advantages and trade‑offs. Cedar or cypress give rot‑resistance and affordability, while Corten steel adds weathered style and quick soil warming. Stone delivers unmatched longevity, composite mimics wood without decay, and HDPE plastic provides ultra‑lasting, low‑maintenance resilience. Naturalness is important for an organic garden environment. Introducing cost considerations, open-cell vs. closed-cell foam discussions remind us that material quality significantly affects overall outcomes and long‑term value, even in garden bed construction where moisture and durability matter. Material quality can influence both upfront cost and performance.
Measure and Mark Your Bed’s Footprint on the Garden
After selecting a durable material, the next step is to map out exactly where the bed will sit. Measure a width between three and four feet, ensuring a two‑foot arm‑reach from either side, and a length of six to eight feet for balanced planting space. Mark the outline with string or spray paint, aligning corners with existing pathways or garden borders.
Gather Tools & Fasteners for a Raised‑Garden‑Bed Frame
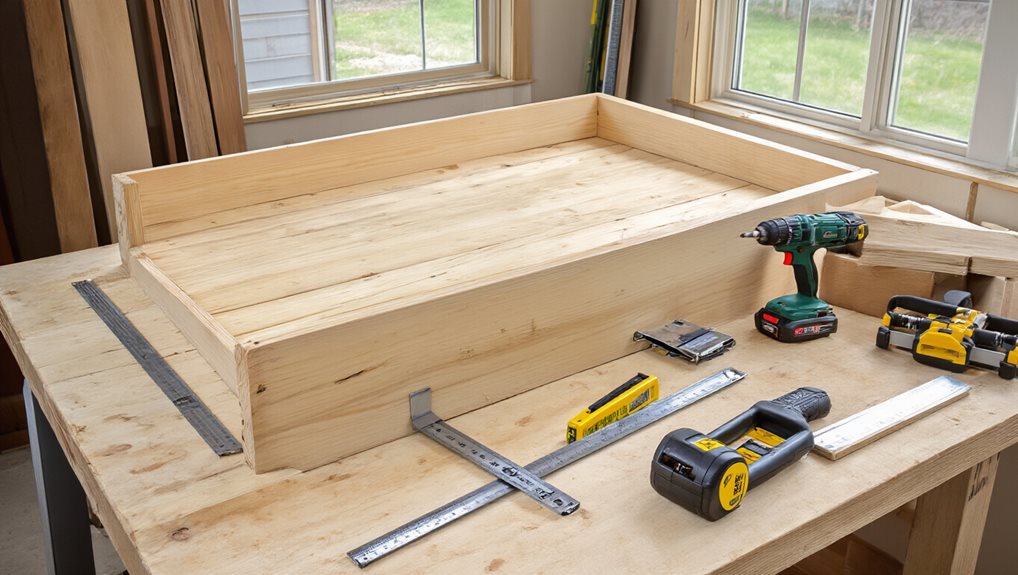
Where do you start when assembling a raised‑garden‑bed frame? Gather a cordless drill, hammer, measuring tape, carpenter’s square, and safety glasses, then choose corrosion‑resistant deck screws for the strongest hold, galvanized or powder‑coated fasteners to prevent rust, and powder‑coated aluminum corner brackets for extra rigidity. Snap‑lock modular components and anchor stakes complete the kit, ensuring every piece fits securely. Smaller nozzle openings concentrate water flow for stronger impact high‑pressure shower—just kidding this is about garden beds; ensure you use anti‑corrosion fasteners to maintain a durable frame over time.
Cut and Assemble the Frame Using Cedar or Composite Lumber
How do you turn raw cedar or composite boards into a sturdy, square‑edge raised‑garden frame? Measure your desired dimensions, then cut the boards into equal 4‑foot lengths using a circular saw, ensuring straight, clean edges.
Overlapping board ends at each corner and secure them with coated outdoor screws into pre‑drilled aluminum angle brackets, aligning the brackets for a square, stable frame that fits your garden community. Pocket Pivot swivel provides added protection against spigot strain and creasing when attaching hoses during watering.
If Using Metal Panels, Add a Soil‑Retaining Lip (Optional)
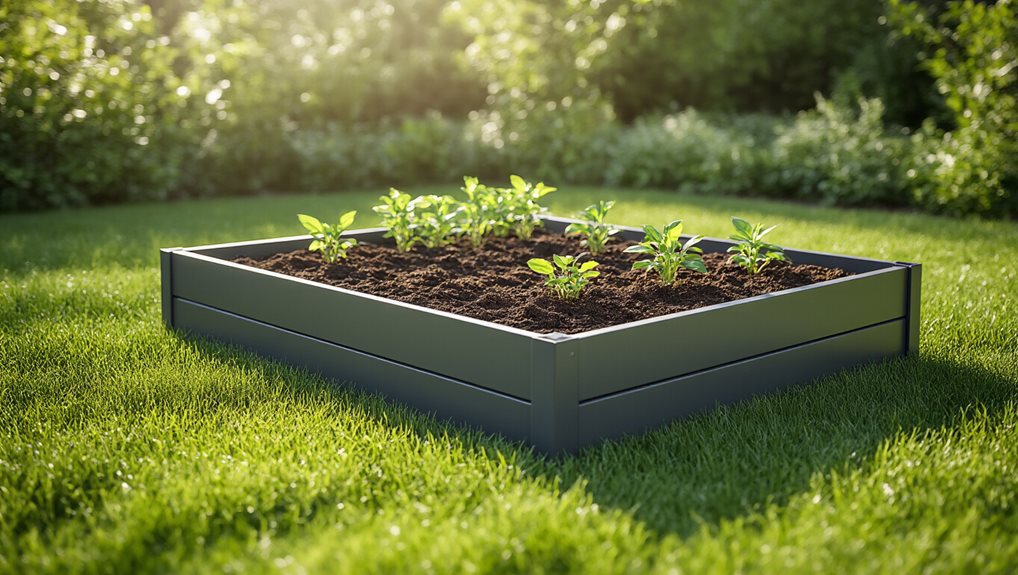
Do you want a raised‑garden bed that stays square and holds soil without extra bracing? Bend each corrugated panel’s bottom edge inward, forming a lip that rests against the interior of your cedar or composite corner posts, creating a mechanical lock that resists outward pressure. This simple, rust‑resistant lip distributes soil weight, prevents lateral sliding, and eliminates the need for additional bracing, ensuring long‑term stability and durability. For added long‑term performance, apply a high‑quality primer and a protective topcoat to exposed metal edges and corners to prevent corrosion and maintain a clean, square outline over time. durable performance
Attach a Wire or Fabric Liner to Prevent Soil Loss
Ever wondered how a simple liner can keep your raised‑garden bed from losing soil and staying intact?
Choose stainless steel gopher wire or a 0.5 mm fabric liner, cut to fit, then secure with landscape staples, cap nails, or galvanized screws, tucking excess over edges.
This barrier buffers logs, blocks weeds, stabilizes fill, and extends the bed’s lifespan.
Prepare a Level Base With Pavers, Gravel, or Soil Fill
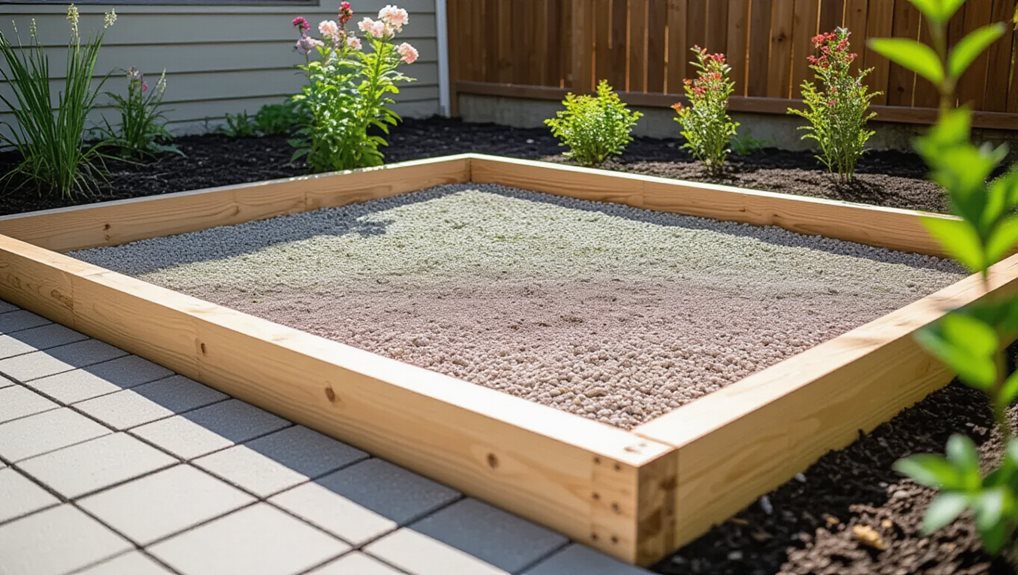
Clear a suitable area free of grass, weeds, and debris to ensure a clean base, then lay a compacted layer of gravel or sand, position pavers or a soil fill, and check each piece with a level to ensure uniform height and stable support for the raised-bed structure; verify that drainage remains even while you compact the base beneath the surface. proper ventilation
Fill the Bed With a Balanced Soil Mix for Your Plants
You’ll want to choose a balanced soil ratio—such as 50% topsoil mixed with 50% compost or a 2‑2‑1 blend of compost, topsoil, and coarse sand—to give your plants both nutrients and structure.
Adding a drainage layer of coarse sand or perlite ensures excess water moves through the mix, preventing root rot while maintaining moisture where roots need it.
Balanced Soil Ratios
Mixing the right soil blend is the foundation of a thriving raised garden bed, and you’ll want to combine quality topsoil, compost, and a soilless component in proportions that supply nutrients, structure, and drainage.
Aim for a balanced mix such as 60% topsoil, 30% compost, 10% perlite or coco coir, or try 50/50 topsoil‑compost for simplicity.
Adjust with organic matter like worm castings to enhance fertility, ensuring the blend feels cohesive and supportive for all your plants.
Proper Drainage Layers
A solid drainage system starts with a layered base that occupies roughly a third of the bed’s height, using coarse woody cuttings like twigs or bark first, then a finer layer of wood chips or shredded leaves, followed by a mix of coarse sand, gravel, or small rocks to create air pockets and promote water percolation.
This structure keeps roots aerated, prevents rot, and mirrors natural soil, fostering a thriving, shared garden community.
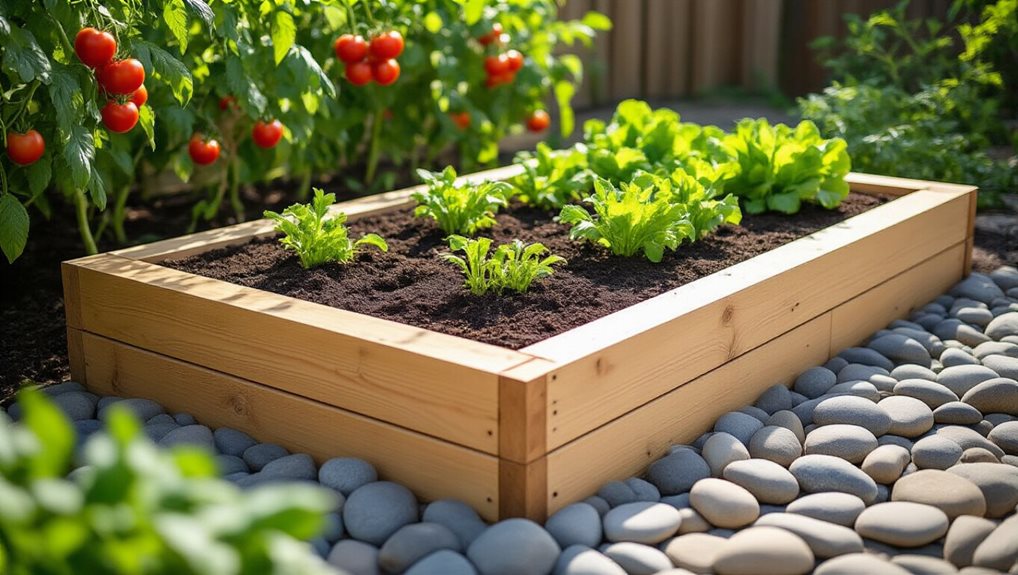
Plant Your Crops or Perennials and Spread Mulch
Pick the varieties that match your bed depth—cool‑season greens in a 6‑inch bed, beans or broccoli in a 12‑inch bed, and tomatoes or squash in an 18‑inch or deeper bed—so each plant gets enough root space and nutrients. After planting, arrange the rows or squares according to your layout plan, spacing seedlings to allow airflow and easy harvesting while keeping the design efficient for watering and weeding. Finally, spread a uniform layer of mulch, such as shredded leaves or composted straw, to conserve moisture, suppress weeds, and moderate soil temperature throughout the growing season.
Choose Suitable Plant Varieties
Which varieties will thrive in your raised bed depends on climate, space, and season, so start by matching plants to your local hardiness zone and the typical temperature ranges you’ll encounter.
Choose compact, cool‑season greens like spinach, kale, lettuce, and arugula for early planting; add fast‑root crops such as radishes, beets, and carrots for quick harvests.
For warm months, grow tomatoes, peppers, bush beans, and zucchini, pairing pole beans with trellised squash to maximize vertical space and soil fertility.
Apply Mulch Evenly
When the soil has warmed and the seedlings are set, you’ll spread the mulch evenly, keeping a clear gap around each stem to prevent rot while maintaining the recommended 2‑to‑4‑inch depth for ideal moisture retention and weed suppression.
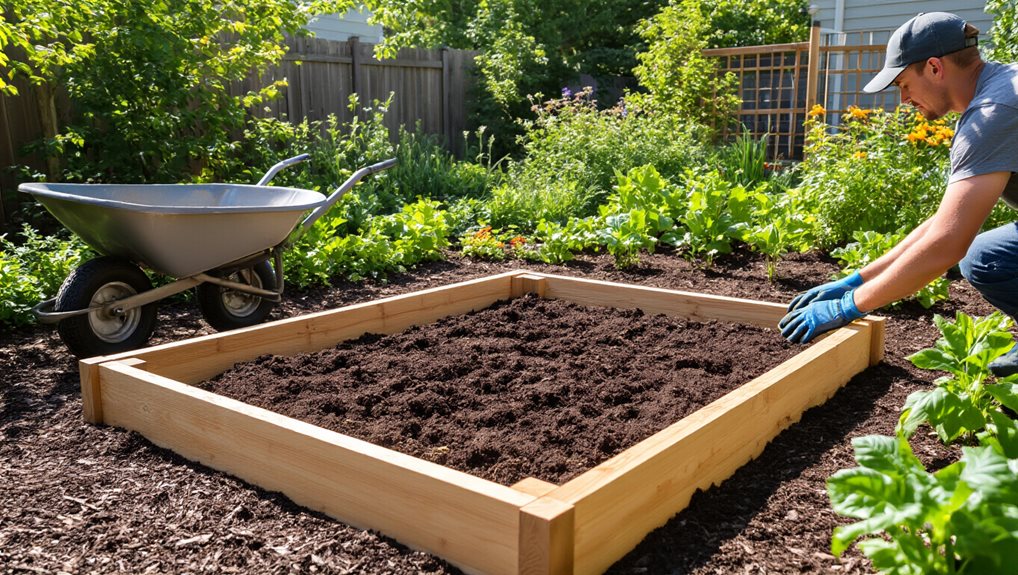
Use a wheelbarrow and fork to distribute organic straw, shredded leaves, or compost, raking to 2‑3 inches, avoiding plant bases, and adjust thickness for material type to ensure balanced protection and healthy growth.
Keep Your Bed Healthy: Water, Top‑Up Soil, and Seasonal Care
How often should you water your raised garden bed, and what steps can you take to keep the soil thriving throughout the year?
Aim for one inch weekly, checking one inch deep for dryness; in hot summer mornings or evenings water once or twice daily, using drip irrigation to reach six‑to‑eight inches. Top‑dress with compost, add two‑to‑three inches of light mulch, and adjust frequency seasonally—daily in peak heat, every few days in cooler months.
Final Note
By selecting sturdy material, measuring accurately, and assembling a level frame, you’ve created a durable raised garden bed that supports healthy plant growth. Fill it with a balanced soil mix, plant your crops or perennials, and apply mulch to retain moisture. Maintain the bed by watering consistently, topping up soil as needed, and adjusting care seasonally. This practical approach maximizes yields while minimizing effort, ensuring a thriving garden for years to come.