Pick a dry, cool, well‑ventilated indoor spot—garage, basement, or climate‑controlled unit—and elevate each piece on weather‑resistant blocks or pallets so air circulates beneath. Clean wood, wicker, metal, and plastic thoroughly, rinse, and dry completely; then apply a rust‑inhibiting primer and paint to metal frames. Store cushions in breathable mesh bags with TPU backing, placing them on shelves or pallets to avoid dampness. Disassemble large items, label all hardware, and keep parts in waterproof bins. Finally, lubricate hinges and pivots with non‑toxic silicone. Follow these steps and you’ll find even more detailed guidance ahead.

TLDR
- Choose a dry, cool indoor spot (garage, basement, or climate‑controlled unit) and elevate furniture on weather‑resistant blocks to promote airflow.
- Clean each piece thoroughly (soap & water for wood/wicker, mild solution for metal, brush for plastic) and dry completely before storage.
- Inspect and repair hardware; remove rust, lubricate hinges, and label all screws, bolts, and brackets for easy reassembly.
- Store cushions in breathable mesh bags with TPU backing, place them on pallets or shelves, and avoid stacking heavy items on them.
- Keep storage area organized with airflow gaps, use UV‑stable, waterproof covers, and perform periodic checks for moisture, mold, and rust.
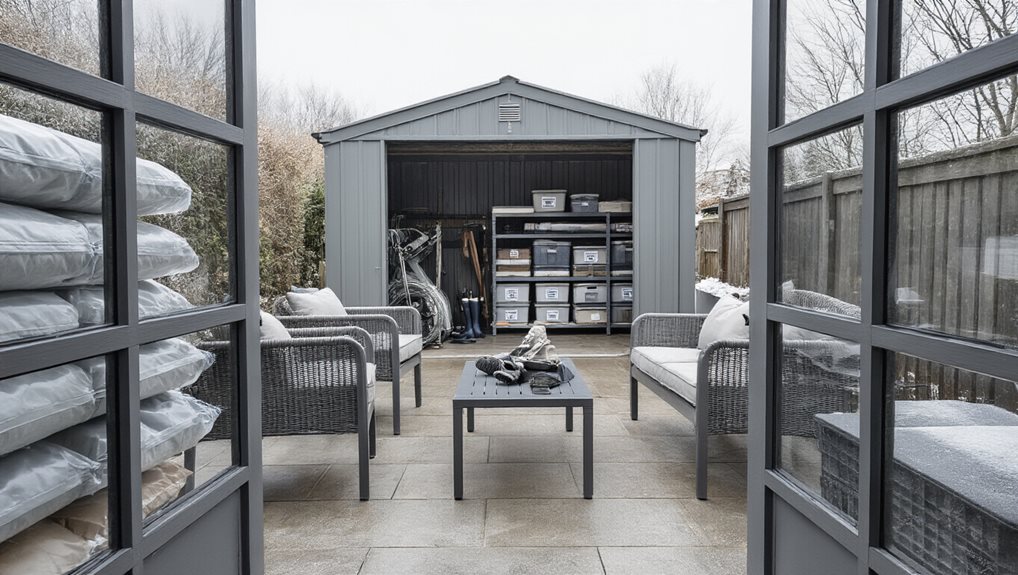
Choose the Best Spot for Patio Furniture Winter Storage

Where should you place your patio furniture for winter storage? Choose a dry, cool indoor spot—garage, basement, or climate‑controlled unit—where you can stack chairs, foldables, and covered pieces neatly, keeping heavier items at the bottom and delicate ones on top.
If indoor space is limited, a sheltered shed with weatherproof, UV‑resistant covers works, ensuring moisture stays out and security remains high. Ensure furniture is completely dry before storing to prevent mold and mildew.
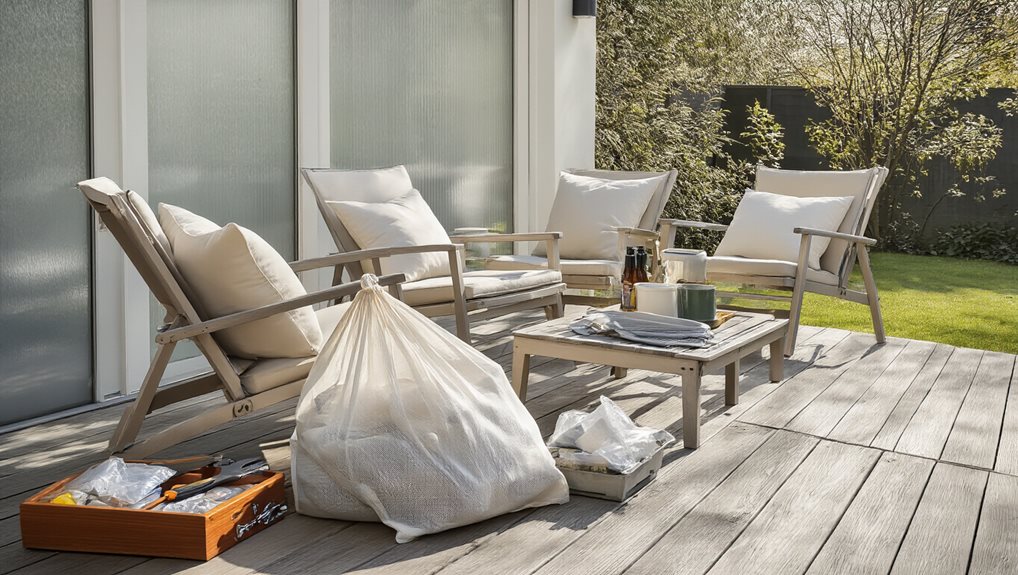
Clean Every Patio Piece Inside and Out Before Winter
After you’ve secured a dry, cool spot for your patio set, the next step is to clean every piece inside and out.
Mix mild soap with warm water, scrub wicker and wood with a soft brush, rinse thoroughly, and let dry completely; for metal, remove debris, use a mild‑soap solution, apply a baking‑soda paste on stains, then wax and dry; plastic and polymer require a warm‑water bucket, nylon brush, and full rinse before air‑drying.
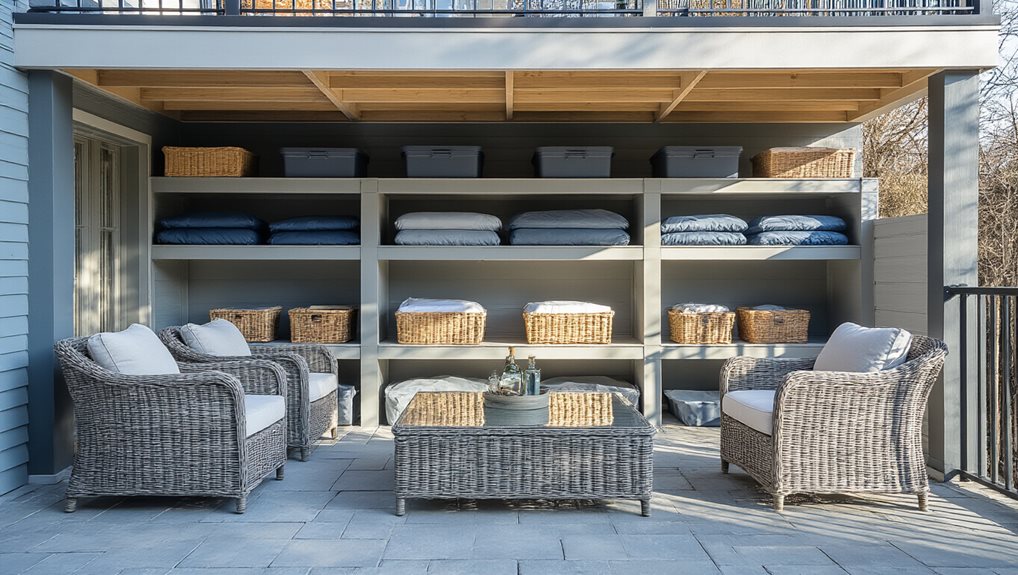
Dry and Protect Cushions With Breathable Storage Bags
Pick a breathable bag with mesh vents and a TPU‑laminated backing, then place your cushions inside and seal the sturdy YKK zipper. Store the bag in a cool, dry spot—like a garage or basement—so air circulates and moisture can’t accumulate.
Keep the cushions raised on a shelf or pallet to prevent any lingering dampness from seeping in.
Choose Breathable Bags
Because winter weather can trap moisture inside a storage bag, choosing a breathable option is essential for keeping patio cushions dry and mold‑free.
Opt for bags with TPU‑laminated backs and mesh vents, which let air circulate while shedding rain, two‑layer polyester with polyester andistant ripstop, and rust‑proof YKK zippers for easy access; sturdy handles and sand‑colored fabric add durability and a sense of community pride.
Store in Cool, Dry Area
Where can you keep patio cushions so they stay dry and mold‑free all winter? Choose a cool, dry spot like a garage, shed, or climate‑controlled unit, where moderate temperatures and low humidity prevent mildew and material breakdown.
Use breathable storage bags to allow airflow, and keep cushions off the floor with a shelf or pallet to avoid dampness, ensuring they remain fresh for spring.
Keep Cushions Elevated
After placing your cushions in a cool, dry spot, the next step is to keep them uplifted and stored in breathable bags.
Choose water‑resistant, vented bags that let air circulate, then position each cushion upright on a rack or glides to avoid floor moisture.
Store them vertically on shelves, never stacking heavy items, and check regularly for dampness or mold.
Give Metal Frames a Rust‑Proof Coat
How can you keep metal patio frames from rusting through winter? First clean them with mild soap, rinse, and dry completely; then sand any chips or rusted spots, apply a rust converter if needed, and spray a ceramic sealant or powder‑coat for a durable, moisture‑repelling barrier. Finish with a rust‑inhibiting primer and metal paint, touching up any cracks to maintain protection.
Wrap and Shield Plastic or HDPE Furniture for Outdoor Exposure
Ever wondered how to keep your plastic or HDPE patio pieces safe from winter’s relentless moisture and temperature swings? Clean them thoroughly, rinse, and dry completely; then choose a breathable, waterproof, UV‑resistant cover that fits snugly yet allows airflow.
Stack pieces on pallets or blocks, secure the cover against wind, and keep a small gap between items for circulation, preventing condensation and mold.
One important tip is to ensure the cover materials are fade-resistant and weatherproof to align with the guidance on durable, UV-resistant fabrics and coastal-suitable options. UV-resistant fabrics
Disassemble Large Items to Save Space and Prevent Damage
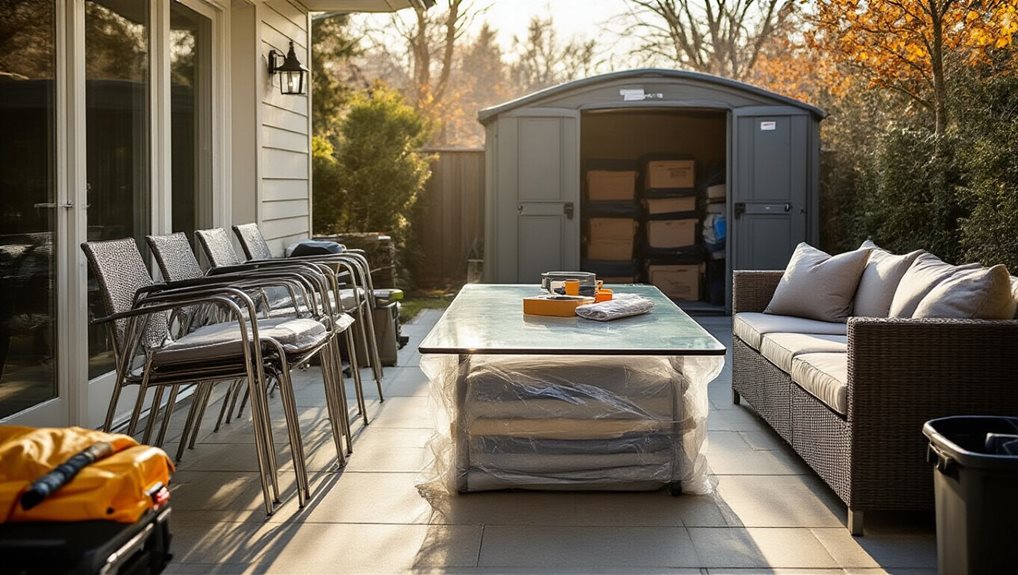
Before you store your patio set, take the time to disassemble the pieces, removing cushions and fabric covers first to keep moisture away. As you take apart tables, chairs, and legs, label each bag of screws, bolts, and nuts right away so you’ll know exactly where everything belongs when it’s time to reassemble. Proper handling reduces the risk of damage from moisture exposure and helps prevent loss of small parts toad poisoning in pets.
Disassemble Before Storing
Why not start by taking apart your patio set before it goes into storage? Disassembling shrinks the footprint, letting you stack legs, frames, and cushions efficiently in a garage or shed, cutting trips and avoiding cramped stairways.
It shields metal joints from rust, wood from cracking, and fabric from mildew, while preventing scratches and broken screws during handling.
This preparation ensures a tidy, protected space for winter.
Label Parts Immediately
After you’ve taken the set apart, grab a permanent marker and a set of waterproof labels, then tag each bag, box, and component before anything gets stacked or shoved into a corner. Label small hardware and larger pieces, use rust‑inhibiting lubricant on metal parts, and store photos digitally for reference. Create a concise inventory list, color‑code labels, and keep everything organized so reassembly in spring feels effortless and familiar.
Wrap and Protect Disassembled Parts for Winter
How do you keep disassembled patio pieces safe through winter? Wrap each frame segment in breathable fabric covers or heavy‑duty vinyl tarps, securing them with ties to block wind yet allow ventilation, and label every bag of bolts, screws, and brackets clearly. Store cushions and fabric in dry, climate‑controlled bins, ensuring everything’s dry before covering, so you’ll avoid mold, rust, and lost parts. Assess surface condition under bright light for cracks, chips, and scratches preparing inspection, and plan routine maintenance and sealing every few years to extend longevity.
Elevate Furniture Off the Ground to Avoid Moisture
You’ll want to place weather‑resistant blocks or risers under each leg, lifting the furniture several inches off the ground so moisture can’t wick upward into the material.
By creating a gap that allows air to circulate beneath the pieces, you reduce condensation, rust, and mold growth that thrive in damp contact.
This simple elevation, combined with stable supports, keeps a dry microenvironment and extends the furniture’s lifespan through the winter.
Proper ventilation and air circulation around stored pieces also help minimize moisture buildup and temperature-related stress on the furniture. air circulation
Use Weather‑Resistant Blocks
Why risk rot and rust when a simple lift can keep your patio furniture dry? Use weather‑resistant blocks—resin or galvanized steel—to raise storage units, ensuring moisture never contacts cushions or frames. These blocks provide stable, load‑bearing support, prevent soil seepage, and integrate seamlessly with Keter, Suncast, or Emperic resin boxes, giving your community a reliable, shared solution for winter protection.
Create Airflow Gaps Beneath
Ever wonder how a simple lift can keep winter moisture from ruining your patio set? Elevating your pieces on sturdy blocks or risers creates airflow gaps beneath, preventing water wicking, rust, and rot.
The space allows air circulation, discourages mold, blocks pests, and maintains a drier microclimate, extending material lifespan and reducing repair costs while keeping your outdoor oasis ready for spring.
Label, Inventory, and Store Hardware for Easy Reassembly
Where should you start when preparing patio furniture for winter storage? Begin by labeling every bolt, screw, and bracket in a bag or container, using a label maker or clear handwriting, then group those bags by furniture piece.
Create a concise inventory list that maps each labeled bin, and photograph the disassembly from multiple angles, storing the images alongside the hardware for effortless spring reassembly.
Additionally, consider documenting the specific hardware types and sizes used for each piece to avoid mixing parts during reassembly, similar to how outdoor lighting groups emphasize consistent, durable hardware for long-term use. hardware labeling
Inspect & Lubricate Hardware Before Winter Storage
After labeling and inventorying each bolt, screw, and bracket, you should move on to inspecting the hardware for wear, rust, and looseness before applying any lubricant.
Scan all joints, hinges, and moving parts for cracks, stiffness, or moisture‑induced warping, scrub rust with a wire brush or vinegar solution, dry thoroughly in sunlight, then coat hinges, locks, and pivots with a non‑toxic silicone lubricant to repel moisture and ensure smooth operation.
Final Note
By following these steps—selecting a dry, protected spot, thoroughly cleaning and drying each piece, using breathable bags for cushions, applying rust‑proof coating to metal, wrapping plastic or HDPE furniture, securing disassembled parts, elevating items off the ground, labeling hardware, and lubricating hinges—you’ll safeguard your patio set against moisture, corrosion, and UV damage. This systematic approach guarantees the furniture remains in excellent condition, ready for effortless reassembly when warmer weather returns.