To cut glass wine bottles safely, you’ll need protective gear, a bottle cutter kit, and proper cleaning supplies. Start by removing labels and thoroughly cleaning the bottle. Score the glass using your cutter while maintaining consistent pressure, then alternate between hot and cold water to create a clean break. Finish by sanding the edges progressively with different grits of sandpaper until smooth. Following proper techniques and safety protocols will help you excel at this rewarding craft.
TLDR
- Clean bottles thoroughly with hot soapy water and remove all labels before marking your cutting line with a rubber band guide.
- Use a bottle cutter kit with rubber-coated components, applying consistent pressure while scoring the glass to create an even line.
- Apply alternating hot and cold water to the scored line to create thermal shock, which helps separate the bottle cleanly.
- Sand the cut edges progressively with wet sandpaper from 80-grit to 2000-grit for a smooth, safe finish.
- Transform cut bottles into various projects like charcuterie boards, lanterns, vases, or garden decorations after proper finishing.
Essential Safety Precautions Before Starting
When working with glass bottles, establishing proper safety measures isn’t just a recommendation—it’s an absolute necessity.
You’ll need to wear protective gloves and safety glasses throughout the process, while ensuring your workspace is clean and well-ventilated. Additionally, be aware of the health risks associated with working in environments with fine particles, as they can irritate your respiratory system.
Keep emergency supplies nearby for minor cuts, and always handle glass with extreme care, as it’s both slippery and potentially sharp. Working with a glass-cutting blade requires extra attention to prevent accidents.
Required Tools and Materials
Success in cutting glass bottles relies on having the right combination of tools and materials at your disposal.
You’ll need a bottle cutter like Ephrem’s or Creator’s kit, protective gear including thick gloves and safety glasses, and finishing materials such as high-grit sandpaper. Additionally, ensure that you are aware of the risks of insect consumption as some supplies may be sourced from environments where pests are present.
For breaking scored glass, you’ll also require containers for hot and cold water application.
The choice of your bottle cutter matters significantly, as designs with rubber-coated components offer better grip and control during the scoring process.
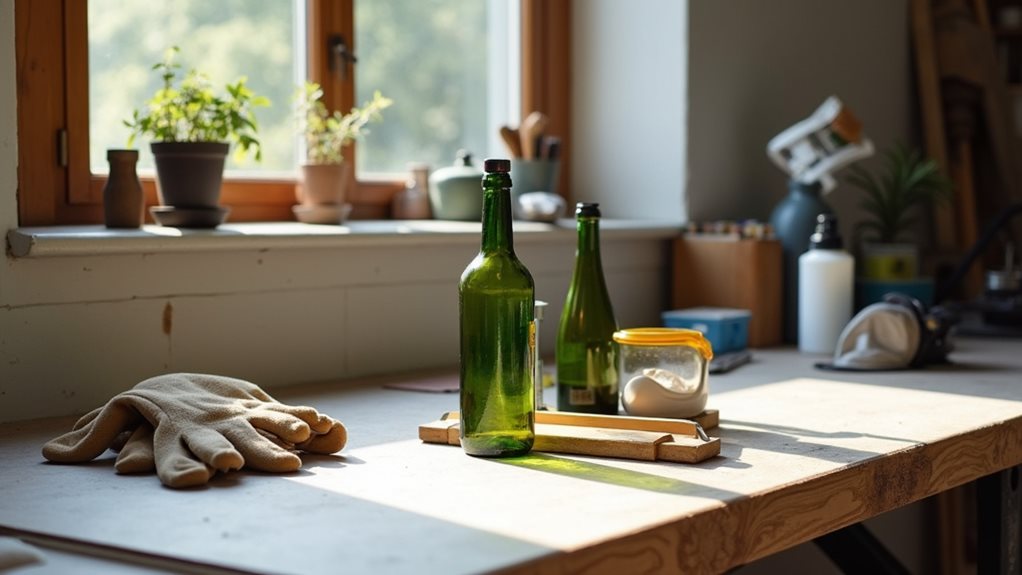
Preparing Your Workspace
A safe and well-organized workspace serves as the foundation for successful glass bottle cutting.
Before you begin, designate a specific work area with adequate lighting and ventilation. Set up your tools within easy reach on a stable surface, and make certain you’ve got safety glasses and gloves ready.
Keep a first aid kit nearby, and position your materials to create an efficient workflow. Additionally, consider using essential gardening tools to repurpose the glass bottles creatively in your garden projects.
Cleaning and Marking the Bottle
Proper preparation of your wine bottle’s surface is essential to achieving a clean, precise cut, so you’ll need to remove all labels and adhesive residue using hot soapy water and specialized cleaners.
Once your bottle is completely clean and dry, you can begin marking your score line, which will serve as your guide for the cutting process. It’s important to ensure that the bottle is free from any loose dirt and dust that could interfere with the cutting process.
You’ll want to measure and mark your cutting line carefully with a marker, ensuring it’s straight and level all the way around the bottle’s circumference.
Bottle Surface Preparation
Effective bottle surface preparation serves as the foundation for successfully cutting glass wine bottles.
You’ll need to soak the bottle in warm, soapy water to remove labels, using a razor to scrape off stubborn residue.
Before cutting, verify you’re wearing safety goggles, gloves, and a dust mask.
Check the glass quality, as thicker bottles require more preparation and regular glass is easier to cut than specialty types.
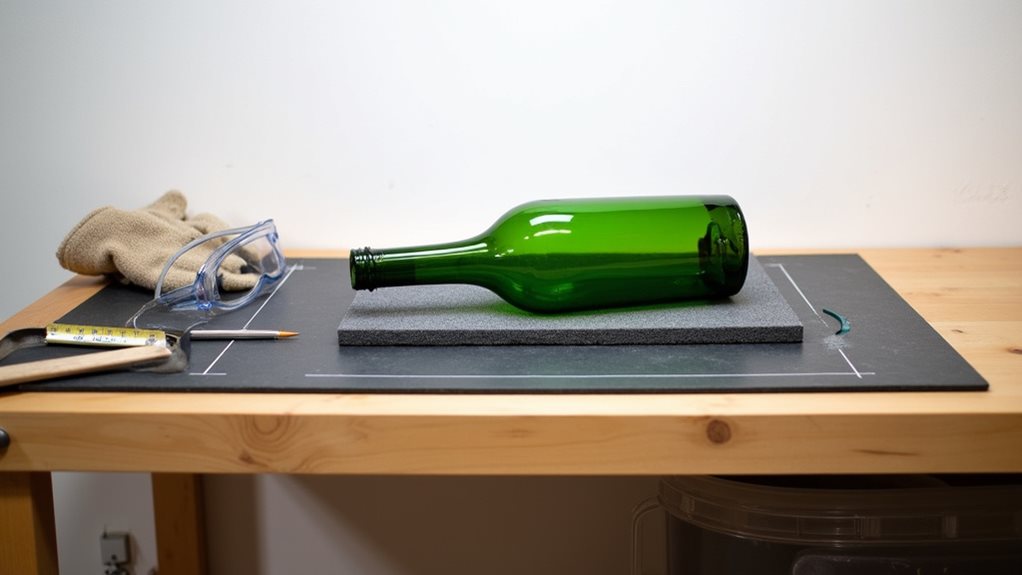
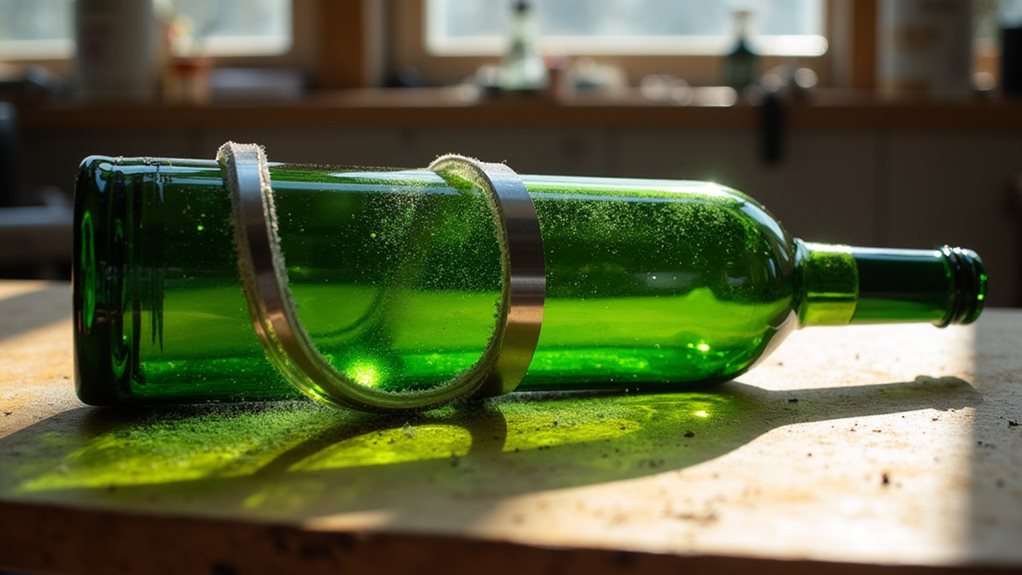
Score Line Placement Guide
Creating precise score lines begins with thorough cleaning and strategic marking of your wine bottle.
Determine your cutting height by measuring how much of the neck you’ll keep, then wrap a rubber band around the bottle to establish your guide line.
You’ll want to guarantee this marking creates a continuous circle, as it’ll serve as your path for scoring and eventual clean break.
Step-by-Step Scoring Technique
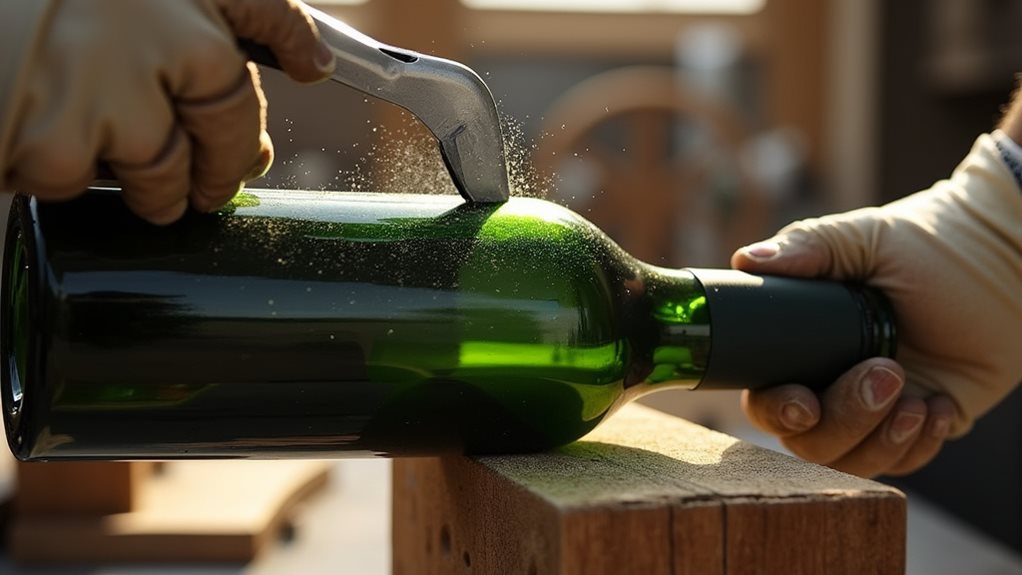
Using a ruler and marker, you’ll want to make your cutting line precise and level around the bottle’s circumference.
Once you’ve got your line marked, position your glass cutter at a 90-degree angle and apply firm, consistent pressure as you score along the line, making sure not to go over the same spot twice.
You’ll need to rotate the bottle steadily while maintaining that pressure, letting the cutter’s wheel do the work until you’ve completed a single, continuous score that meets perfectly where you began.
Mark Your Cutting Line
Before making your first cut, proper marking of the cutting line serves as the foundation for achieving a clean, professional separation of your wine bottle.
You’ll need to start by thoroughly cleaning and drying the bottle, then use binding wire or string to create your guide.
Center the bottle in your cutting tool, ensuring it’s stable, and establish a consistent reference point for accurate scoring.
Perfect Score First Try
A successful glass bottle cut starts with the perfect score line, which serves as the foundation for a clean break.
Using a light, steady pressure, guide your glass cutter or v-bit along your marked line, maintaining consistent contact.
You’ll want to create one continuous, uninterrupted score around the bottle, meeting your starting point precisely to guarantee the cleanest possible break.
Rotate With Steady Pressure
While achieving the perfect score line marks the first milestone, excelling in the proper rotation technique will determine your success in bottle cutting.
You’ll need to maintain steady, even pressure as you rotate the bottle against your scoring tool, listening for that distinctive crackling sound.
For the best results, use a rotating platform or bottle cutter with metal components rather than plastic ones.
Applying Heat to the Score Line
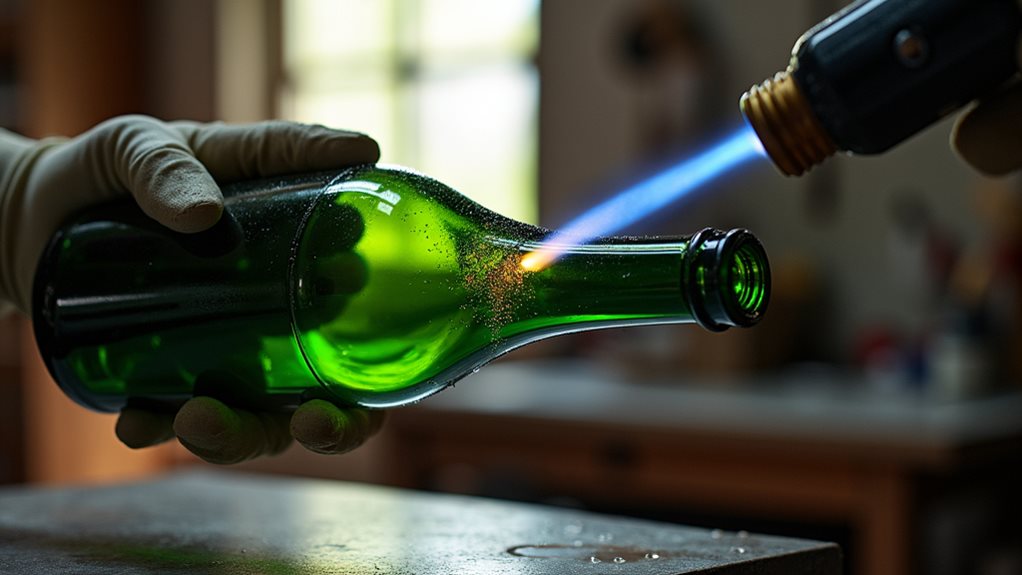
Once you’ve created a proper score line around your wine bottle, applying heat becomes the essential next step in achieving a clean break.
You can use a candle flame, rotating the bottle steadily to guarantee uniform heating along the score, or heat the bottle in an oven at 225°F for about 5 minutes.
For an alternative method, try pouring hot water directly over the score line while rotating.
Creating the Perfect Break
Creating a perfect break in your glass bottle requires careful attention to several critical factors that work together.
After scoring your line, you’ll need to maintain consistent pressure while rotating the bottle to guarantee an even break.
Using your guide or fixture, keep the bottle steady and avoid multiple scoring passes, as this can lead to unwanted fractures in the glass.
Smoothing and Finishing the Edges
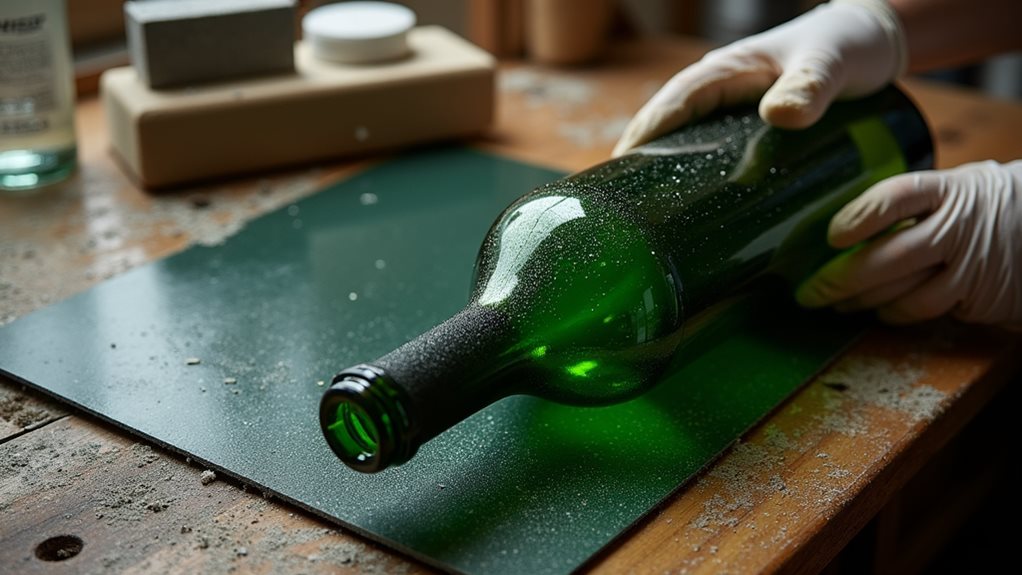
The smoothing process marks a critical phase in altering your cut wine bottle into a polished, functional piece.
Start with 80-grit wet sandpaper, working in circular motions while keeping the surface wet to minimize dust.
Don your safety gear, including eye protection, dust mask, and thick gloves.
Progress through increasingly finer grits, from 150 to 2000, until you’ve achieved a smooth, glossy finish.
Common Mistakes to Avoid
While cutting glass bottles can be a rewarding DIY project, several common mistakes can derail your efforts and compromise safety.
Don’t rush into scoring without proper preparation, and avoid using incorrect tools or applying multiple score lines.
You’ll need to maintain consistent pressure when scoring, guarantee proper thermal shock techniques, and always provide adequate support during the cutting process.
Creative Project Ideas and Applications
Once you’ve perfected the proper cutting techniques, a world of creative possibilities opens up with your newly crafted glass bottles.
You can convert them into stylish pendant lights, unique bird feeders, or decorative vases for your home.
Consider creating charcuterie boards from flattened bottles, crafting sea glass-inspired decor with specialty paints, or designing solar-powered lanterns for eco-friendly outdoor lighting.
Tips for Professional-Looking Results
Creating professional-looking results with cut glass bottles depends heavily on mastering essential techniques and using proper tools throughout the process.
You’ll need to maintain consistent pressure when scoring, listen for the distinct scratching sound that indicates proper depth, and use controlled temperature changes.
Follow up with systematic grinding, progressing from coarse to fine grits, while protecting yourself with proper safety equipment.
Final Note
By following these steps and safety guidelines, you’ll be well-equipped to convert ordinary wine bottles into unique DIY creations. Remember to prioritize safety with proper protective gear, take your time with the scoring process, and pay special attention to edge finishing. Whether you’re making candle holders, wind chimes, or decorative vases, your newly acquired glass-cutting skills will open up endless possibilities for sustainable and artistic projects.