To drill into masonry without cracking, always start with a small pilot hole using a masonry bit and drill at low speed while maintaining steady pressure. You’ll need proper safety gear, including protective glasses and a dust mask, along with a hammer drill equipped with carbide-tipped bits. Keep the drill perpendicular to the surface, periodically clear debris, and avoid excessive force that could damage the material. Understanding specific masonry types and techniques will guarantee ideal results for your project.
TLDR
- Start with a small pilot hole using the lowest drill speed to prevent surface glazing and initial cracking.
- Maintain steady, moderate pressure while keeping the drill perfectly perpendicular to the masonry surface.
- Use the appropriate masonry bit size and always drill into the center of bricks rather than near edges.
- Extract the drill bit periodically to clear debris and prevent overheating, which can cause material stress.
- Activate the hammer function only after establishing the hole, and maintain a controlled drilling pace throughout.
Understanding Different Types of Masonry

Before you begin drilling into any masonry surface, you’ll need to understand the distinct characteristics of different masonry materials, as each type requires specific drilling techniques and tools.
Brick masonry offers uniform construction but less tensile strength, while stone masonry provides superior durability but demands skilled labor. Understanding the optimal growing conditions for the materials can also enhance the longevity of your masonry projects.
Concrete blocks deliver excellent insulation and weather resistance, and veneer masonry combines aesthetic appeal with practical benefits. Gabion structures create revetment or retaining walls that provide exceptional resistance to horizontal pressure while maintaining proper drainage.
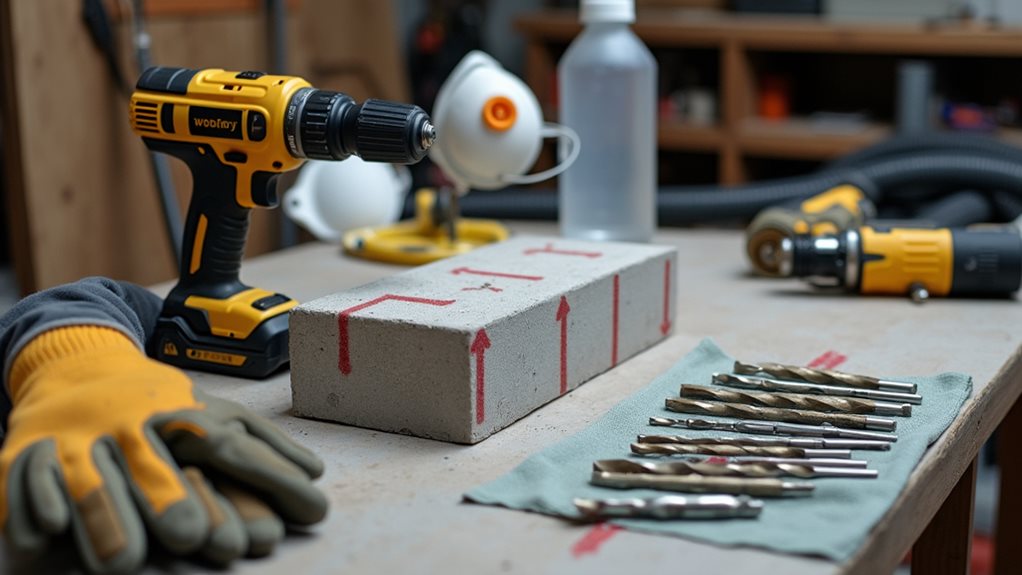
Essential Tools and Equipment Needed
Successfully drilling into masonry starts with assembling the right tools and equipment for your project.
You’ll need a hammer drill with adjustable speed settings and appropriate masonry bits, preferably carbide-tipped or SDS-Plus for tougher materials. Additionally, ensuring the use of proper curing techniques enhances the durability of any surrounding materials.
Don’t forget essential safety gear, including protective glasses, a dust mask, and work gloves, along with depth gauges or painter’s tape for precise measurements.
Using the drill’s hammer mode function ensures effective penetration through dense masonry materials while minimizing the risk of cracking.
Safety Gear and Workspace Preparation
Proper safety precautions and workspace organization form the foundation of any successful masonry drilling project.
You’ll need safety glasses, a dust mask, and earplugs to protect your eyes, lungs, and hearing. Don’t forget to wear work gloves and long sleeves to shield your skin from debris.
Clear your workspace of obstacles, guarantee proper lighting, and secure your workpiece with clamps before starting. Additionally, ensure your tools are in good condition, as regular maintenance can enhance their performance and safety during use.
Selecting the Right Drill Bits for Your Project
With your safety equipment ready and workspace prepared, choosing the right drill bit becomes your next important step.
You’ll need to decide between standard masonry bits for cordless drills, SDS bits for hammer drills, or multi-material bits depending on your project.
Look for bits with tungsten carbide tips, as they’re more durable and efficient at cutting through dense masonry materials. Additionally, ensuring proper surface preparation can enhance the effectiveness of your drilling efforts.
Step-by-Step Drilling Technique
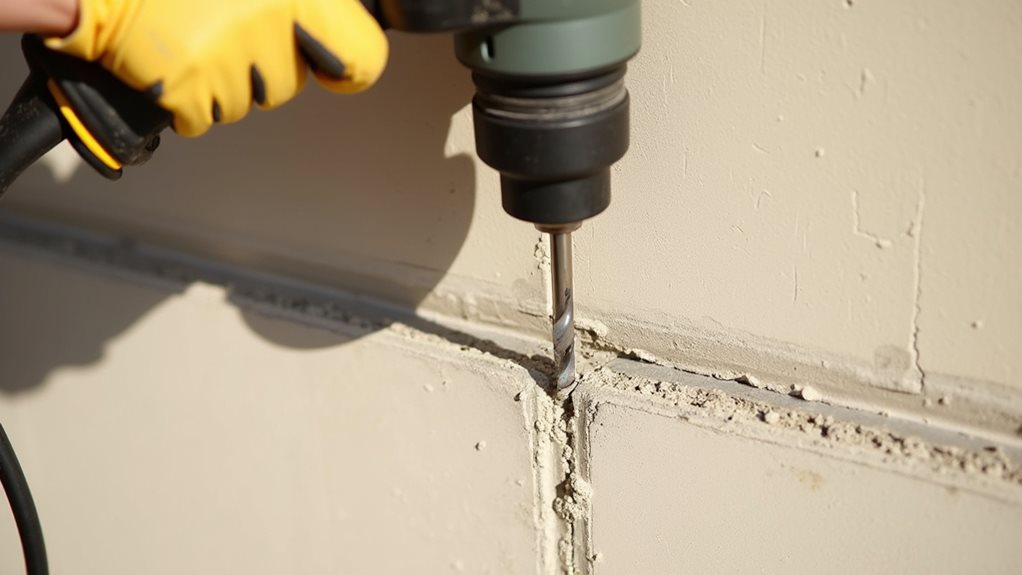
Perfecting the step-by-step drilling technique guarantees clean, precise holes in your masonry project while protecting both your tools and the material.
Begin with a small pilot hole using a masonry bit, then gradually apply pressure while maintaining perpendicular alignment.
Don’t forget to extract the bit periodically to clear debris and prevent overheating.
You’ll achieve excellent results by engaging your drill’s hammer function during the process.
Common Mistakes to Avoid
You’ll need to maintain a steady, controlled pace when drilling into masonry, as excessive force can crack the material and damage both your drill bit and the surface.
When you’re working with masonry, the correct drill speed is essential because too fast can overheat the bit while too slow won’t effectively penetrate the surface.
Your success depends on finding the right balance between pressure and speed, letting the drill’s weight and hammer action do most of the work rather than forcing it through the material.
Excessive Force Ruins Masonry
While drilling into masonry requires adequate pressure, applying excessive force can lead to serious problems that compromise both safety and results.
You’ll risk shattering drill bits, overworking your tools, and creating uneven or cracked holes. Instead, let your hammer drill’s mechanical action do the work, using firm but controlled pressure.
Focus on drilling into brick centers rather than edges to prevent damage.
Wrong Drill Speed Issues
Selecting the correct drill speed stands as one of the most critical yet commonly misunderstood aspects of masonry drilling.
You’ll need to adjust your speed based on both material type and bit size, with slower speeds recommended for larger bits and harder surfaces.
Don’t start at high speeds, as this can lead to overheating, glazed surfaces, and potential cracking of the masonry.
Proper Hole Cleaning and Maintenance
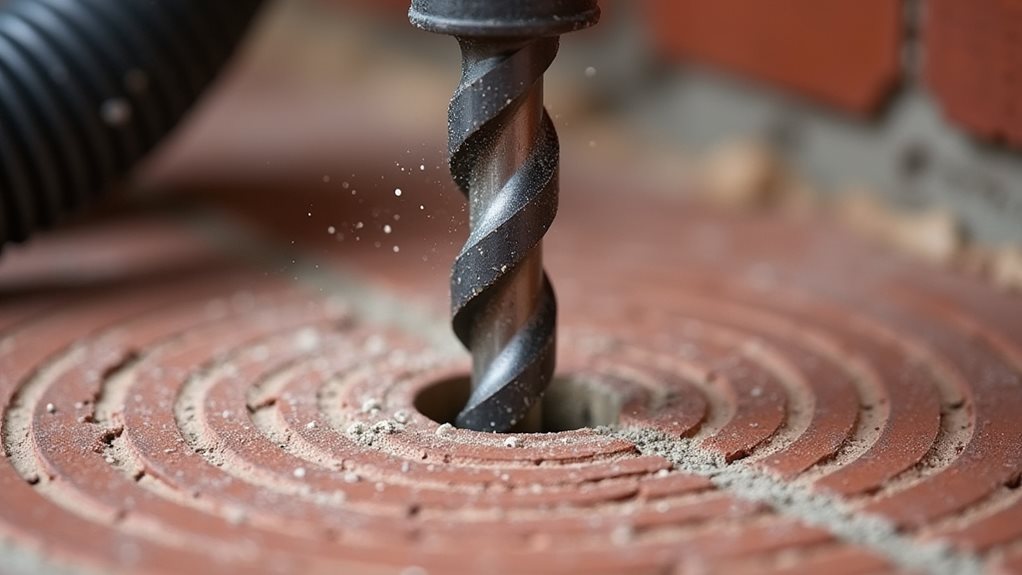
Once you’ve successfully drilled into masonry, proper hole cleaning and maintenance become critical steps that can’t be overlooked.
You’ll need to use compressed air at 90 psi minimum, combined with wire brushes and vacuum systems, following a systematic blow-brush-blow sequence.
Regular cleanliness checks and proper safety gear, including respirators, are essential to guarantee quality bonding and meet OSHA standards.
Tips for Professional-Looking Results
To achieve professional-looking results when drilling into masonry, you’ll need to combine proper technique with the right tools and careful attention to detail.
Mark your drilling points clearly, maintain a precise 90-degree angle, and use drill guides for perfect alignment.
Start with pilot holes to guide larger bits, and remember to drill at the slowest effective speed while applying steady, moderate pressure.
Final Note
By following these drilling techniques, you’ll safeguard your masonry from damage while achieving clean, precise holes for your mounting needs. Remember to maintain steady pressure, use the right drill bits, and keep your work area well-ventilated. Whether you’re installing fixtures or creating anchoring points, taking time to become proficient in these methods will guarantee professional results and preserve your masonry’s structural integrity for years to come.