To restore grout to like-new condition, start by sweeping debris and applying a baking soda paste or commercial cleaner with oleic acid. Scrub thoroughly with a firm-bristled grout brush, then use hydrogen peroxide for mold stains. After cleaning, wait 24-48 hours for complete drying before applying grout sealer. Work in small sections, ensuring even coverage and proper curing. Regular maintenance with pH-neutral cleaners will preserve your results, though recognizing early warning signs helps prevent future deterioration.
TLDR
- Sweep and vacuum loose debris, then scrub grout with hot water, dish soap, and a firm-bristled brush.
- Apply baking soda and hydrogen peroxide paste to deep stains, letting it sit before scrubbing thoroughly.
- Use oxygen bleach powder or commercial cleaners with oleic acid for stubborn discoloration and mold removal.
- Ensure grout is fully cured and wait 24-48 hours after cleaning before applying protective sealant.
- Maintain weekly cleaning with pH-neutral cleaners and re-seal periodically based on foot traffic levels.
Understanding Why Grout Gets Dirty and Stained

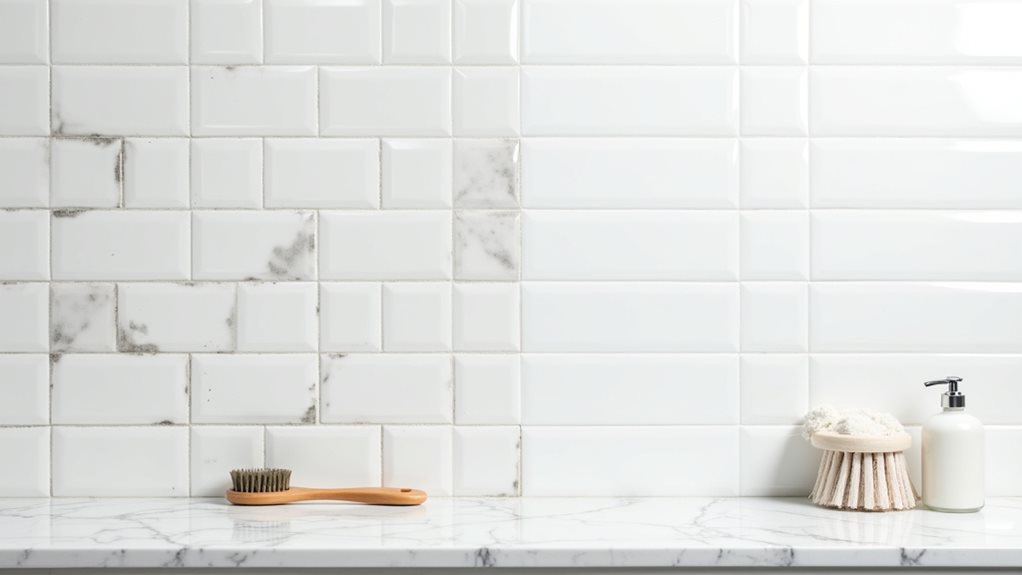
Because grout is inherently porous, it acts like a sponge that readily absorbs dirt, liquids, and various contaminants from your home’s environment. This porosity makes grout particularly vulnerable in high-traffic areas like kitchens and bathrooms, where frequent spills and foot traffic introduce grime that penetrates deep into the material, causing persistent discoloration that regular cleaning can’t address. The problem becomes even more pronounced in humid environments, where excess moisture creates ideal conditions for mould and mildew growth, resulting in dark stains that can spread quickly across grout lines. To prevent such issues, it is crucial to ensure proper curing of thinset mortar to maintain tile integrity and minimize grout staining.
Essential Supplies for Effective Grout Cleaning
Success in grout cleaning depends heavily on having the right supplies and tools at your disposal before you begin the restoration process.
You’ll need hot water, dish soap, hydrogen peroxide, and a firm-bristled grout brush for basic cleaning. Proper grout curing is essential for maintaining the integrity of your grout lines after cleaning.
For tougher stains, gather baking soda, vinegar, commercial cleaners, and specialty tools like steam cleaners and microfiber cloths. Look for products containing key ingredients like oleic acid and potassium hydroxide for the most effective cleaning results.
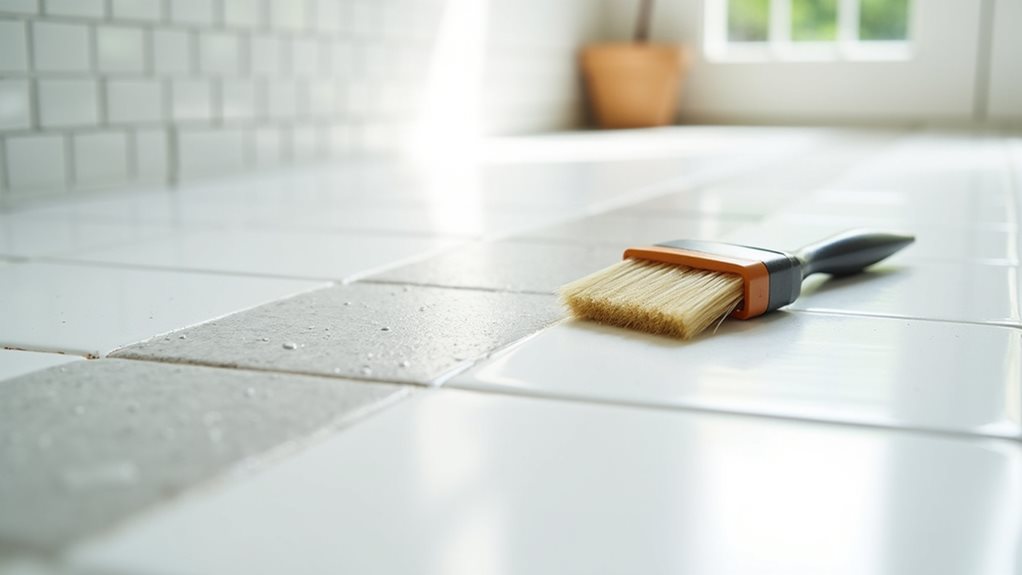
Step-by-Step Grout Cleaning Methods
Three distinct phases form the foundation of effective grout cleaning: preparation, active cleaning, and protection.
Begin by sweeping and vacuuming loose debris. Then apply a mild cleaning solution with a soft-bristle brush.
For deeper stains, use oxygen bleach powder mixed with boiling water or create a baking soda and peroxide paste for stubborn areas. Additionally, ensure that the grout is fully cured, allowing for at least 24 to 48 hours before applying any sealant for optimal results.
Tackling Stubborn Mold and Mildew Stains
While standard cleaning methods work well for everyday grime, stubborn mold and mildew stains require a more targeted approach that addresses both the visible growth and the underlying moisture conditions that allow these organisms to thrive.
Use hydrogen peroxide instead of bleach for safer mold removal, scrub with grout brushes, and guarantee proper ventilation to prevent regrowth.
Proper Drying and Preparation Techniques
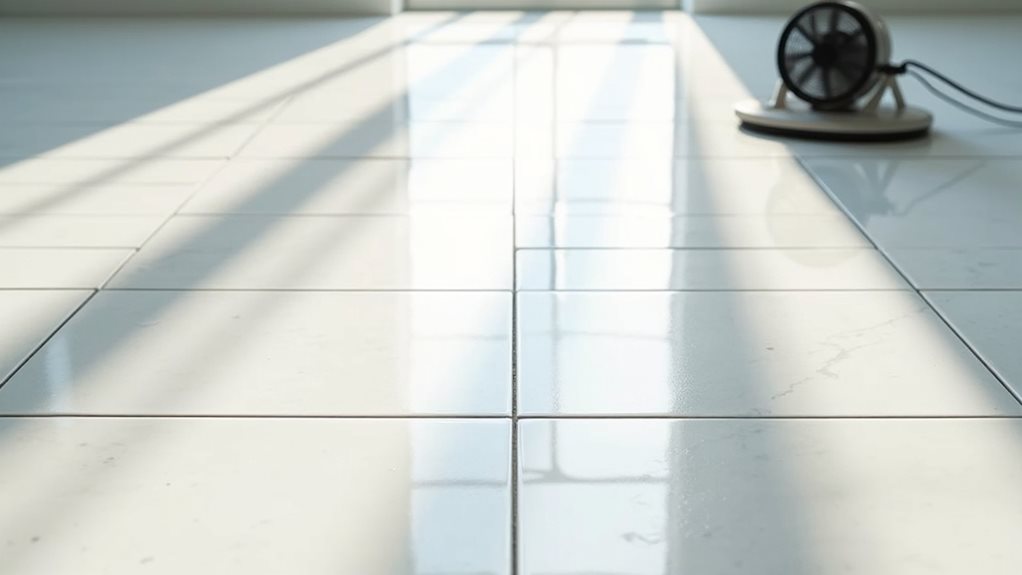
Once you’ve successfully removed mold and mildew stains, the next step requires careful attention to environmental conditions and surface preparation before applying any new grout or sealer.
You’ll need to maintain temperatures between 50°F and 70°F, guarantee proper ventilation without direct airflow, and allow complete drying for 24-72 hours.
Clean all surfaces thoroughly and avoid contamination during preparation.
Choosing the Right Grout Sealer for Your Space
After properly preparing your grout surface, selecting the appropriate sealer becomes essential for achieving long-lasting protection and maintaining your tile installation’s appearance.
You’ll need to choose between penetrating sealers, which soak invisibly into grout, and non-penetrating varieties that create surface coatings.
Consider your space’s moisture levels, desired appearance, and grout porosity when making your selection.
Professional Application Tips for Grout Sealer
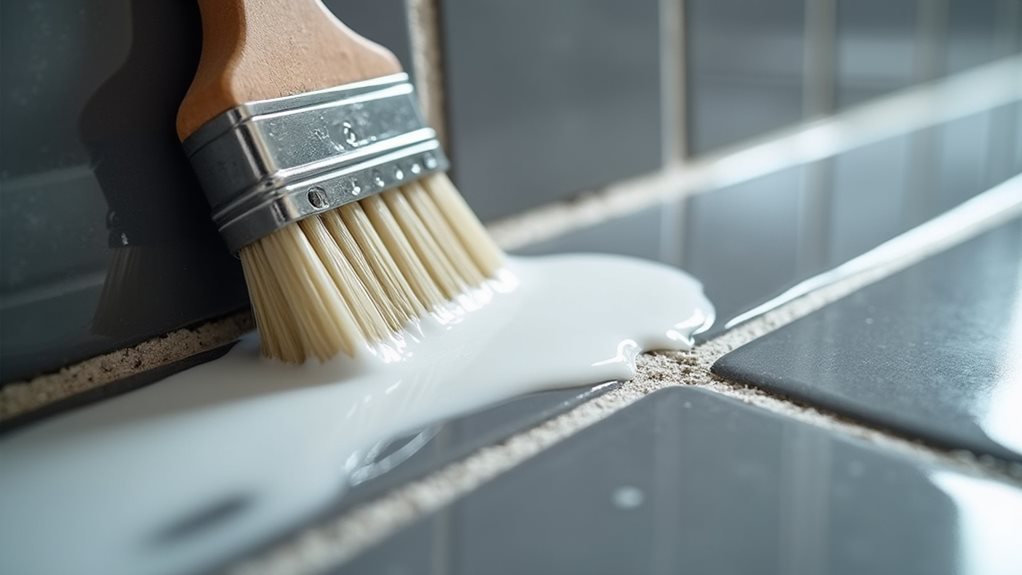
Since proper sealer application separates amateur results from professional-grade finishes, you’ll need to excel in both the preparation phase and the actual sealing technique to achieve durable, attractive grout lines.
Apply sealer on cool days away from direct sunlight, use brush tips for controlled application, and apply two to three coats with complete drying between each coat.
Timing and Curing Guidelines for Best Results
The timing between cleaning and sealing grout can make or break your entire project, as rushing through these critical phases often results in trapped moisture, poor adhesion, and premature sealer failure.
You’ll need to wait 24-48 hours after cleaning before applying sealer, allowing complete drying.
Once applied, avoid moisture exposure for 72 hours during curing.
Long-term Maintenance to Preserve Your Work
While your freshly cleaned and sealed grout looks pristine now, maintaining its appearance and protective qualities requires consistent care and attention over the months and years ahead.
You’ll need to establish weekly cleaning routines using pH-neutral cleaners, conduct regular inspections for cracks or damage, and schedule periodic re-sealing based on foot traffic and wear patterns.
Signs Your Grout Needs Attention or Repair
Before expensive repairs become necessary, your grout will typically display warning signs that indicate it’s time for cleaning, re-sealing, or replacement.
Watch for discoloration, cracking, or crumbling grout lines, which compromise tile protection.
Persistent stains, mold growth, and musty odors signal moisture infiltration, while loose tiles and surface roughness indicate structural deterioration requiring immediate attention.
Final Note
You’ve now perfected the complete process of cleaning and sealing grout for professional-quality results. Regular maintenance every six months will preserve your investment and prevent costly repairs down the road. Watch for discoloration, cracking, or water absorption as warning signs that require immediate attention. By following these proven techniques and maintaining consistent care, you’ll keep your grout looking pristine while extending its lifespan considerably.