Start by sweeping debris and evaluating your grout’s condition to choose appropriate cleaning solutions. Use circular motions with soft-bristle brushes and light pressure to avoid damage, then rinse frequently with warm water. For stubborn stains, apply baking soda and hydrogen peroxide mixtures or consider steam cleaning for chemical-free sanitization. After thorough cleaning, apply grout sealer following manufacturer instructions, ensuring complete coverage. Maintain results with weekly cleaning using mild detergent solutions and prompt spill cleanup. Continue below for extensive techniques and professional-grade methods.
TLDR
- Prepare the area by removing furniture, assessing grout condition, and gathering safety equipment like gloves and knee pads.
- Use soft-bristle brushes with circular motions and light pressure to avoid pushing debris deeper into grout lines.
- Apply appropriate cleaning solutions based on grout type, using natural alternatives like baking soda and hydrogen peroxide when possible.
- Clean grout in segments for consistent coverage, rinsing brushes frequently and wiping away loosened residue immediately.
- Maintain clean grout with weekly 10-15 minute cleaning sessions and prompt spill cleanup to prevent future staining.
Preparing Your Grout for the Cleaning Process
Before you begin the actual cleaning process, proper preparation secures both effective results and your safety throughout the project.
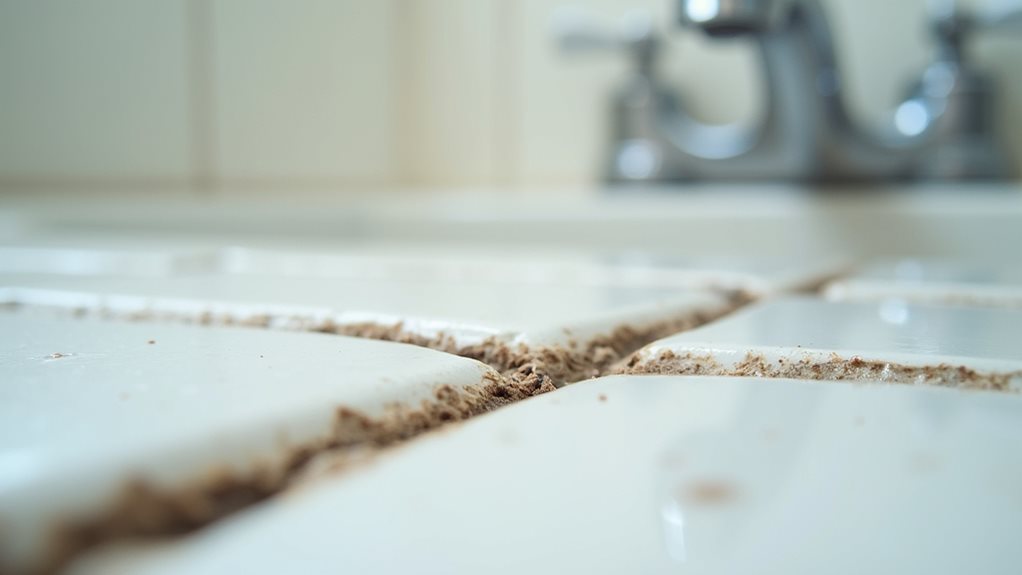
Start by moving furniture and sweeping away loose debris to prevent scratching.
Assess your grout’s condition, noting stains, mildew, and grout type to select appropriate cleaning solutions. It’s important to consider that different grout types require specific cleaning methods for optimal results.
Protect surrounding surfaces with plastic sheeting, confirm proper ventilation, and gather safety equipment including rubber gloves and knee pads for comfortable and safe cleaning.
Mastering Effective Grout Cleaning Techniques
Once you’ve prepared your grout for cleaning, perfecting the right techniques will determine how effectively you remove embedded dirt and stains.
You’ll need to focus on proper scrubbing methods that clean thoroughly without damaging the grout lines, using the appropriate tools and applying the right amount of pressure for ideal results. To prevent grout haze from forming, it’s essential to clean excess grout immediately after application.
A segmented cleaning approach allows you to work systematically through your project, ensuring consistent coverage while preventing cleaning solutions from drying out before you can complete the process. Different cleaning methods should be selected based on your specific tile type and the current condition of your grout.
Proper Scrubbing Methods
Four fundamental scrubbing techniques will determine whether your grout cleaning efforts succeed or fail, making the difference between pristine lines and damaged surfaces.
Use circular motions with light pressure to avoid pushing debris deeper into grout.
Select soft-bristle brushes to preserve grout integrity, rinse brushes frequently in warm water, and wipe away loosened residue with clean cloths.
Segmented Cleaning Approach
While many homeowners attempt to clean their entire tiled area at once, adopting a segmented cleaning approach dramatically improves your results by allowing you to focus on specific areas with appropriate techniques and cleaning agents.
You’ll maintain better control over contact times, prevent cleaning solutions from drying prematurely, and guarantee thorough rinsing of each section before proceeding.
Utilizing Specialized Tools and Cleaning Solutions
When choosing between natural and chemical cleaning solutions for grout, you’ll need to weigh effectiveness against safety considerations. Homemade mixtures like baking soda and hydrogen peroxide offer gentler alternatives to commercial cleaners while still providing adequate cleaning power. Additionally, utilizing specialized tools such as steam cleaners can enhance the cleaning process by effectively sanitizing and loosening dirt without harsh chemicals. Steam cleaning presents unique advantages by using high-temperature vapor to sanitize and loosen embedded dirt without requiring harsh chemicals. This makes it particularly effective for households with children or pets. Understanding these different approaches will help you select the most appropriate method based on your specific grout condition, safety preferences, and available equipment.
Natural Vs Chemical Solutions
As you weigh your options for grout cleaning, the choice between natural and chemical solutions depends largely on your specific cleaning needs, safety preferences, and the condition of your grout.
Natural cleaners like baking soda and vinegar work well for routine maintenance while improving indoor air quality, but chemical solutions tackle stubborn stains more effectively.
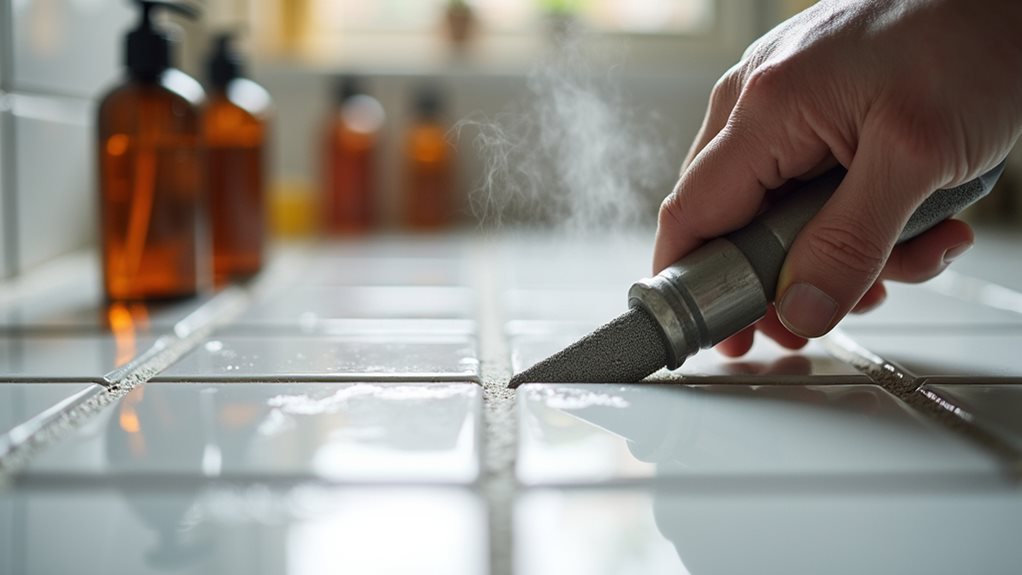
Steam Cleaning Benefits
One of the most effective methods for deep grout cleaning involves utilizing the power of high-temperature steam, which reaches over 200 degrees Fahrenheit to break down stubborn dirt, grease, and grime embedded within porous grout lines.
Steam penetrates deep into grout pores, sanitizes without chemicals, and eliminates mold, bacteria, and allergens while providing eco-friendly cleaning.
Tackling Stubborn Stains and Deep-Set Dirt
Why does grout seem to attract the most stubborn stains and deep-set dirt, even after regular cleaning?
You’ll need specialized techniques for these persistent problems. Apply baking soda and hydrogen peroxide paste, letting it sit 5-15 minutes before scrubbing with soft-bristle brushes.
For tough mold and mildew, steam cleaning effectively loosens deep-set dirt while killing bacteria in moisture-prone areas.
Properly Sealing Grout for Long-Term Protection
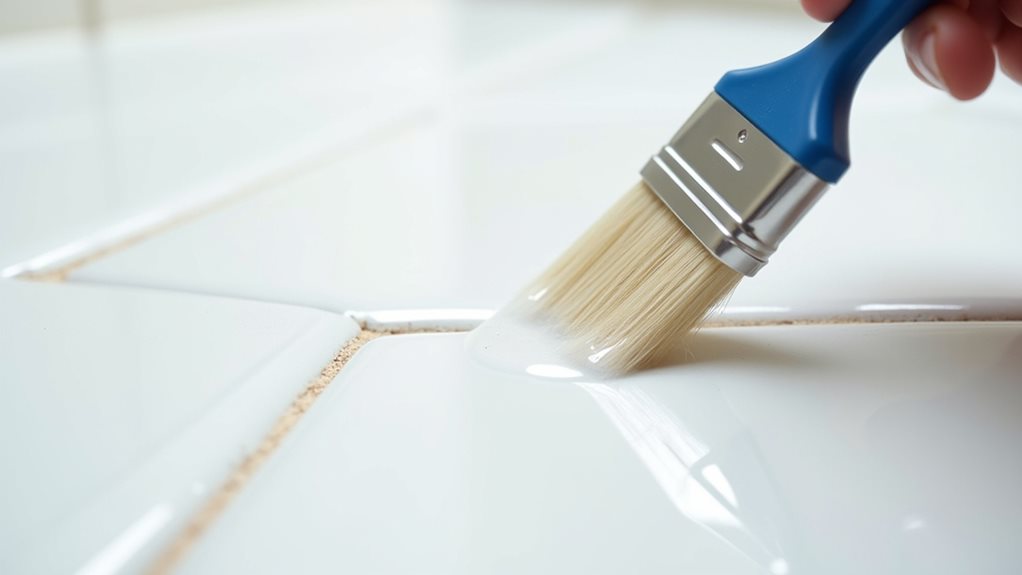
Once you’ve conquered those stubborn stains and deep-set dirt, sealing your grout becomes the critical next step that’ll protect your hard work and prevent future problems.
Wait 48 hours for complete drying, then choose between penetrating or surface sealers based on your needs.
Apply thin, even coats following manufacturer instructions, allowing proper curing time before exposure to moisture.
Maintaining Clean Grout Through Regular Upkeep
After sealing your grout, establishing a consistent maintenance routine becomes your best defense against future cleaning challenges and costly repairs.
Dedicate 10-15 minutes weekly to cleaning with mild detergent solutions, using soft brushes to avoid damage.
Address spills promptly, maintain proper ventilation in damp areas, and inspect high-traffic zones every three months for early detection of wear.
Final Note
You’ve now perfected the essential techniques for cleaning and resealing grout effectively, from proper preparation through long-term maintenance. By following these systematic steps, using appropriate tools and cleaning solutions, and applying quality sealant correctly, you’ll protect your investment while maintaining a professional appearance. Remember that consistent upkeep prevents costly repairs and extends your grout’s lifespan considerably. These proven methods guarantee your tiled surfaces remain both functional and visually appealing for years to come.