You can modify your laminate countertops by starting with detailed cleaning and light sanding to guarantee proper adhesion. Apply a high-quality primer designed for laminate surfaces, followed by specialized epoxy coatings or waterproof paint for durability and heat resistance. Fill any chips or scratches with laminate repair paste before priming. Complete the project with a polyurethane topcoat for enhanced protection. This DIY approach costs under $50 and takes 1-3 days, while the extensive process below reveals professional-grade techniques for stunning results.
TLDR
- Clean the surface with non-abrasive and degreasing cleaners, then sand the entire countertop for better paint adhesion.
- Choose between budget-friendly paint options or specialized epoxy coatings that offer superior heat and scratch resistance.
- Repair nicks, chips, and scratches using two-part epoxy or laminate repair paste before applying any coatings.
- Apply high-quality laminate primer, followed by thin coats of waterproof paint and a polyurethane topcoat for durability.
- DIY resurfacing costs under $50 and takes 1-3 days, while professional services cost $5-10 per square foot.
Preparing Your Laminate Surface for Resurfacing
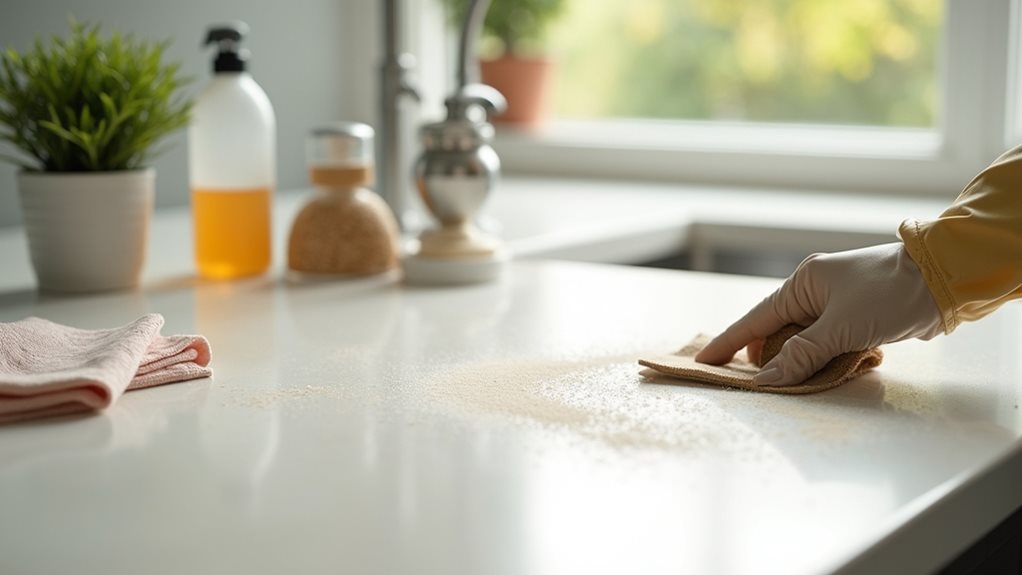
Before you can achieve a professional-looking resurfaced countertop, you’ll need to thoroughly prepare your laminate surface through a systematic cleaning and assessment process.
Start by using a non-abrasive cleaner to remove grease and grime, followed by a degreasing cleaner to eliminate oils and residues. Make sure to allow the surface to fully dry, as drying times can vary based on the cleaning products used.
Confirm the surface is completely dry before proceeding with further preparation steps. Once clean, sand the entire countertop and backsplash to create a rough surface for better paint adhesion.
Choosing the Right Resurfacing Materials and Methods
When selecting materials for your laminate countertop resurfacing project, you’ll need to weigh the trade-offs between budget-friendly paint options and specialized countertop coatings that offer superior durability.
Epoxy applications provide exceptional heat and scratch resistance with a stone-like appearance, but they require more skill and careful mixing compared to simpler paint-based solutions. Products like Envirotex Lite are designed to self-level, creating a smooth, professional finish that eliminates brush marks and imperfections. Additionally, using a proper primer selection can enhance the adhesion of your topcoat, ensuring a longer-lasting finish.
Your choice ultimately depends on balancing upfront costs with long-term performance expectations, as higher-quality materials like epoxy and resin coatings will outperform standard paint in kitchen environments where countertops face daily wear and heat exposure.
Paint Vs Coating Options
Which resurfacing method will deliver the best results for your laminate countertops depends largely on your budget, desired durability, and aesthetic goals.
Painting offers the most affordable option under $50, requiring primer and laminate-specific paint with sealant protection.
Coating options like polymer resin and epoxy-like kits provide superior durability and natural stone appearance but cost considerably more.
Epoxy Application Benefits
Although epoxy costs more than basic paint options, it delivers exceptional value through its superior durability and professional-grade finish quality.
You’ll benefit from a heat-resistant, scratch-proof surface that resists staining and bacterial growth.
The high-gloss finish creates a stone-like appearance while offering creative versatility through color customization and decorative elements like metallic powders.
Cost and Durability Comparison
Budget considerations play an essential role in selecting the most suitable resurfacing approach for your laminate countertops, as costs can vary dramatically between DIY solutions under $50 and professional services that range from $3 to $10 per square foot.
While laminate offers excellent cost-effectiveness, it’s less durable than stone materials like granite or marble.
Essential Tools and Supplies for the Project
Success in resurfacing laminate countertops depends heavily on gathering the right tools and materials before you begin the project.
You’ll need sandpaper in coarse and fine grits, countertop-specific paint, high-quality rollers, and foam brushes for smooth application.
Don’t forget protective equipment like respirators, painter’s tape, drop cloths, and cleaning supplies for proper surface preparation. Additionally, ensure the surface is clean and free of dust to achieve the best adhesion for your new finish.
Repairing Damage Before You Begin
Before you can successfully resurface your laminate countertops, you’ll need to carefully examine the surface and identify any existing damage that could compromise your finished results.
Common issues like nicks, chips, scratches, heat stains, and loose edges require specific repair techniques, with minor surface scratches needing light sanding and cleaning, while deeper damage must be filled using specialized products like two-part epoxy or laminate repair paste.
Taking time to properly assess and address these problems now will guarantee your new surface adheres correctly and provides a smooth, professional-looking finish.
Assess Existing Damage Types
Five common types of damage can affect laminate countertops, each requiring different assessment approaches and repair strategies.
You’ll encounter scratches ranging from superficial marks to deeper grooves, chips and cracks from impact damage, burns from hot cookware, stains and discoloration from spills, and uneven surfaces caused by moisture or poor installation affecting functionality.
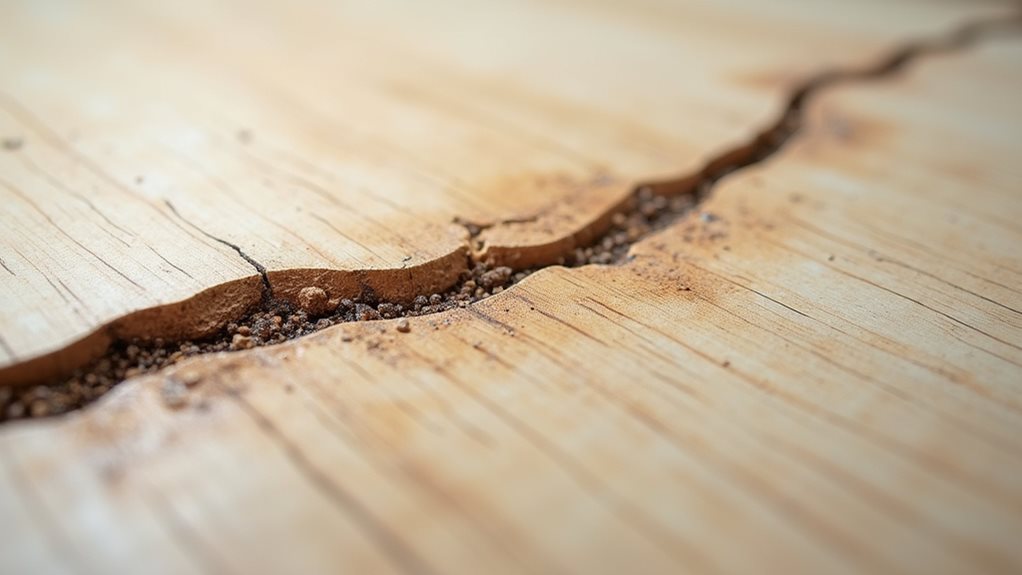
Fill Deep Scratches
Deep scratches that penetrate beyond the laminate’s surface layer require specialized fillers to restore your countertop’s smooth appearance and functionality.
Use colored laminate fillers like SeamFil or two-part epoxy repair kits for deeper gouges.
Clean the surface thoroughly, apply filler with a putty knife, and allow complete drying before sanding smooth and buffing to match surrounding areas.
Step-by-Step Application Process
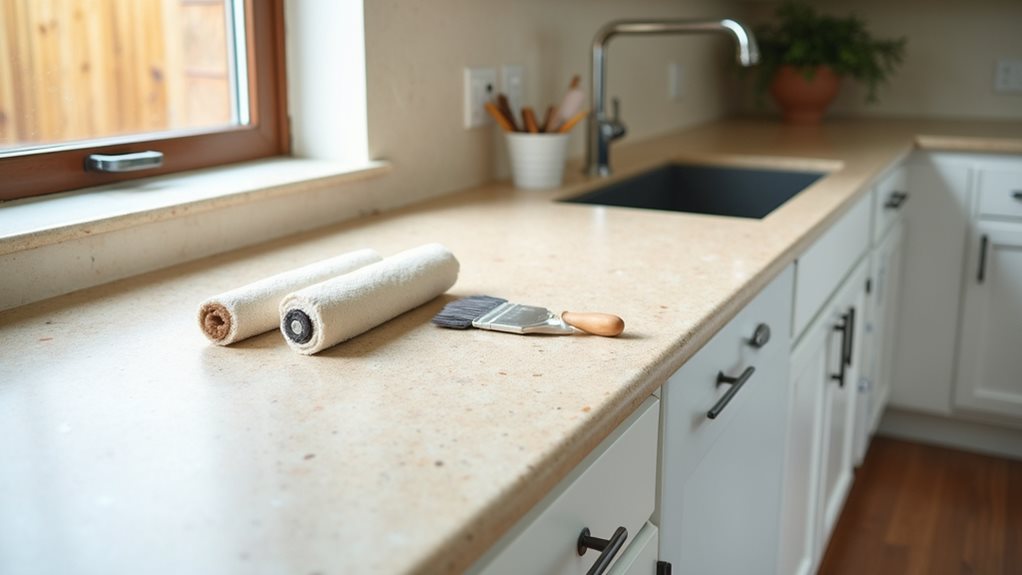
Successfully resurfacing laminate countertops requires following a systematic application process that builds upon proper preparation to achieve professional-looking results.
Apply high-quality primer designed for laminate surfaces using foam brushes, allowing adequate drying time.
Next, roll on thin, even coats of waterproof base paint, ensuring complete coverage.
Finally, seal with polyurethane topcoat for durability.
Adding Decorative Elements and Finishing Touches
Once you’ve completed the basic resurfacing process, adding decorative elements converts your laminate countertops from simple painted surfaces into eye-catching focal points that rival expensive stone or specialty materials.
Apply decorative flakes over wet adhesive base coats, use stencils for patterns, or spread concrete overlays for industrial appeal.
Seal everything with protective topcoats for durability.
Cost Breakdown and Time Requirements
Before diving into a laminate countertop resurfacing project, you’ll want to understand the financial investment and time commitment involved, as these factors greatly influence whether you choose professional installation or tackle the job yourself.
Professional resurfacing typically costs $5–$10 per square foot and takes 1–2 days, while DIY materials cost under $50 but require 1–3 days completion time.
Final Note
You’ve now altered your laminate countertops with professional-quality results while saving thousands compared to full replacement. The resurfacing process, though requiring patience and attention to detail, delivers a durable finish that’ll last for years. Remember to maintain your newly resurfaced counters with gentle cleaning products and avoid placing hot items directly on the surface. With proper care, you’ll enjoy your refreshed kitchen’s updated appearance and increased home value.