To remove paint from moldings, you’ll need to test for lead paint first if your home was built before 1978, then apply a paste or gel chemical stripper that clings to vertical surfaces. Let it dwell for 30 minutes to 24 hours, or use a heat gun positioned 1–2 inches away to bubble the paint before scraping with profile-matched tools. Clean residues with warm soapy water and mineral spirits, then sand progressively from 80-grit to 220-grit before refinishing. Following proper preparation and safety measures makes certain you’ll achieve professional results while protecting both the wood’s intricate details and your workspace.
TLDR
- Test for lead paint in pre-1978 homes and wear protective gear including respirator, gloves, and eyewear during removal.
- Apply gel or paste chemical stripper evenly, allow proper dwell time, then scrape off softened paint carefully.
- Use a heat gun held 1–2 inches away, moving continuously until paint bubbles, then scrape immediately at shallow angles.
- Employ profile scrapers and dental picks for intricate details to avoid gouging decorative molding surfaces.
- Clean with soapy water, neutralize residues, sand progressively to 220-grit, then seal and stain for refinishing.
Preparation and Safety Measures Before Starting
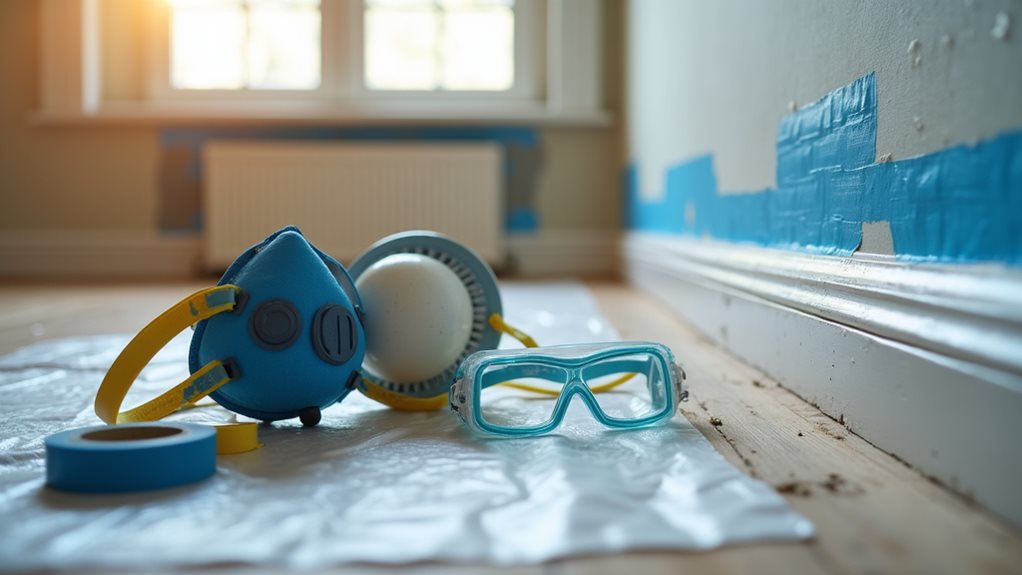
Before you begin removing paint from moldings, you’ll need to establish a safe work environment that protects both you and your home from potential hazards.
Test for lead paint in homes built before 1978, then cover furniture and fixtures with sealed plastic sheeting.
Make certain adequate ventilation by opening windows and positioning fans for cross-airflow, and keep a fire extinguisher accessible if using heat-based removal methods.
Wear protective eyewear, gloves, and a respirator mask to avoid inhaling dust or chemical fumes during the stripping process.
Also, take steps to control and remove fine dust by using proper cleanup methods such as a HEPA-equipped shop vac to protect your lungs and indoor air quality.
Gathering the Right Tools and Materials
With your workspace prepared and safety protocols in place, you’ll need to assemble the specific tools and materials that’ll make paint removal from moldings efficient and damage-free.
Essential items include pull-type scrapers with both flat and profile blades, a standard 5-in-1 tool, dental-style picks for intricate details, a heat gun with temperature control, and non-marring wedges for molding removal without surface damage. For professional-grade removal, consider a polypropylene wedge kit that includes wedges designed to prevent scratches, dents, or paint damage while saving body moldings and reducing the need for replacements. Also keep handy appropriate solvents and a heat gun technique to soften and remove stubborn coatings safely.
Using Chemical Paint Strippers Effectively
Chemical paint strippers offer a powerful solution for removing multiple layers of paint from moldings without the physical labor and potential damage that comes with aggressive scraping.
Choose paste or gel formulations that cling to vertical surfaces, reducing drips and improving application control.
Apply evenly with a brush, allowing 30 minutes to 24 hours dwell time depending on the product’s strength and paint type.
Use appropriate safety precautions and test a small area first to ensure compatibility with the molding material and the primer type.
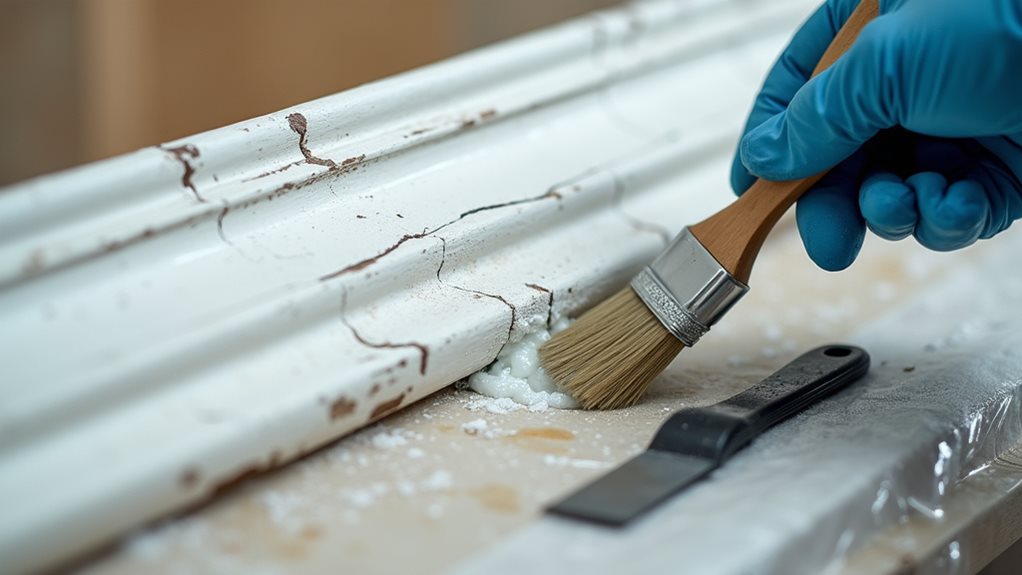
Removing Paint With Heat Guns and Scrapers
Heat guns provide an alternative method that works particularly well when you’re dealing with thick paint buildup or working on intricate molding details where chemicals might pool unevenly.
Position the gun 1-2 inches from the surface, moving it continuously to prevent scorching.
Once paint bubbles, scrape immediately with a putty knife held at a shallow angle, working in small sections for best results.
Cleaning and Neutralizing Stripped Surfaces
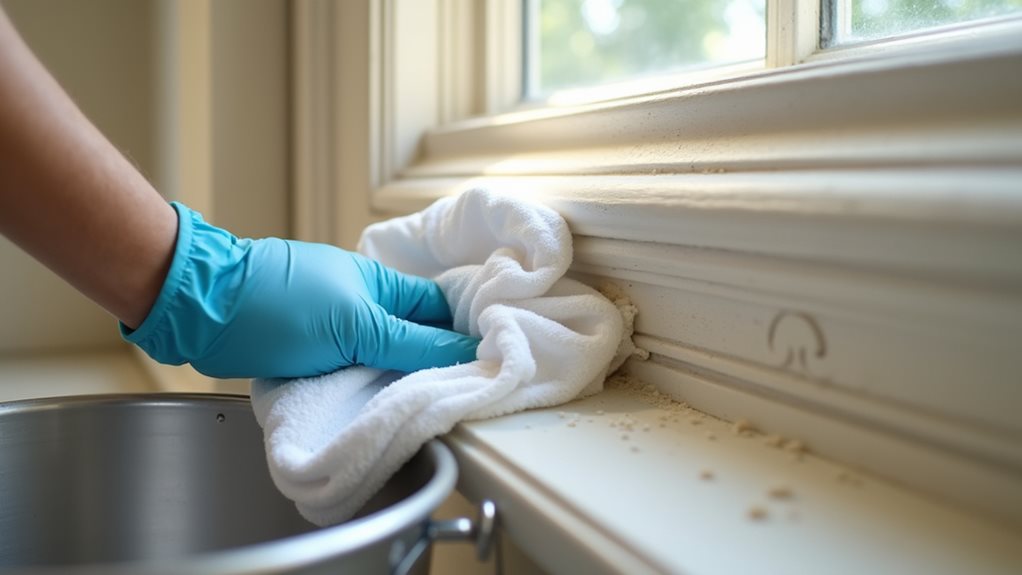
After successfully removing old paint from your moldings, you’ll face a critical yet often overlooked step: thoroughly cleaning and neutralizing the stripped surfaces.
Use warm, soapy water to remove residual stripper and debris, followed by a mineral spirits wipe-down for oily residues.
If you used lye-based strippers, neutralize alkaline residues with oxalic acid to prevent finish adhesion problems and long-term coating failure.
Refinishing and Restoring Your Moldings
Restoring moldings to their original beauty requires careful attention to surface preparation and finish application after you’ve stripped away old paint.
Sand progressively from 80-grit to 220-grit, following the wood grain to prevent scratching. Apply stainable wood filler to repair deep scratches and dents, then sand smooth. Seal the wood before staining to prevent uneven absorption, then apply oil-based stain using hand-rubbed rags for controlled, consistent color depth.
Final Note
Removing paint from moldings requires patience, proper tools, and attention to safety protocols. Whether you’ve chosen chemical strippers, heat guns, or manual scraping methods, you’ll achieve professional results by working methodically and protecting both yourself and the wood beneath. Once you’ve stripped and neutralized the surface, you’re ready to refinish your moldings, restoring their original beauty and adding lasting value to your home’s design details.