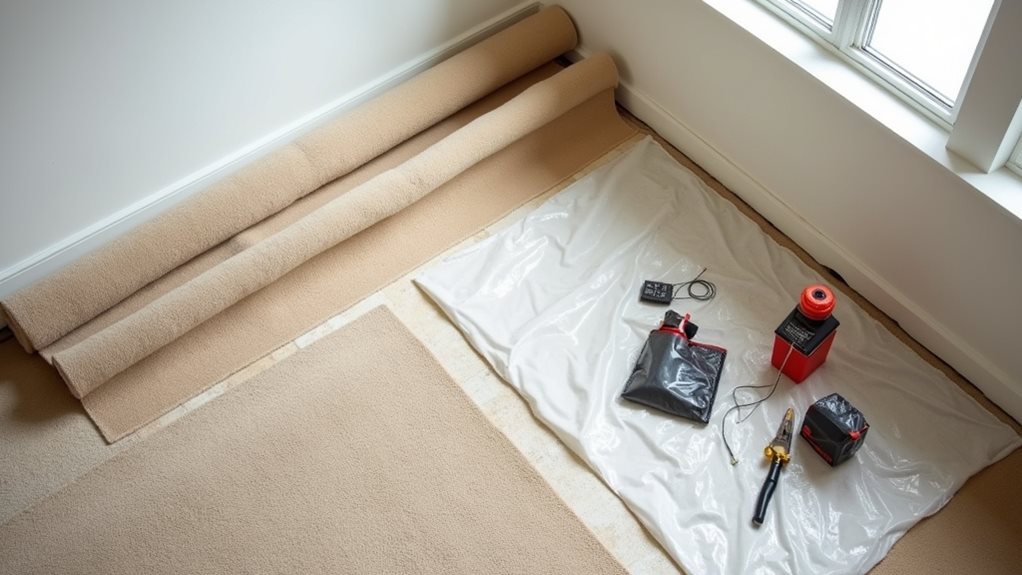
To remove carpet and padding with minimal mess, start by clearing the room and setting up proper ventilation. You’ll need basic tools like a utility knife, pry bar, and safety gear including gloves and a dust mask. Cut the carpet into manageable 3-foot strips, roll them tightly, and secure with duct tape. Use pliers to remove staples and tack strips methodically, then thoroughly clean the subfloor. Following a systematic approach guarantees the cleanest possible removal process.
TLDR
- Cut carpet into manageable 3-foot strips and roll tightly, securing with duct tape to contain loose fibers and debris.
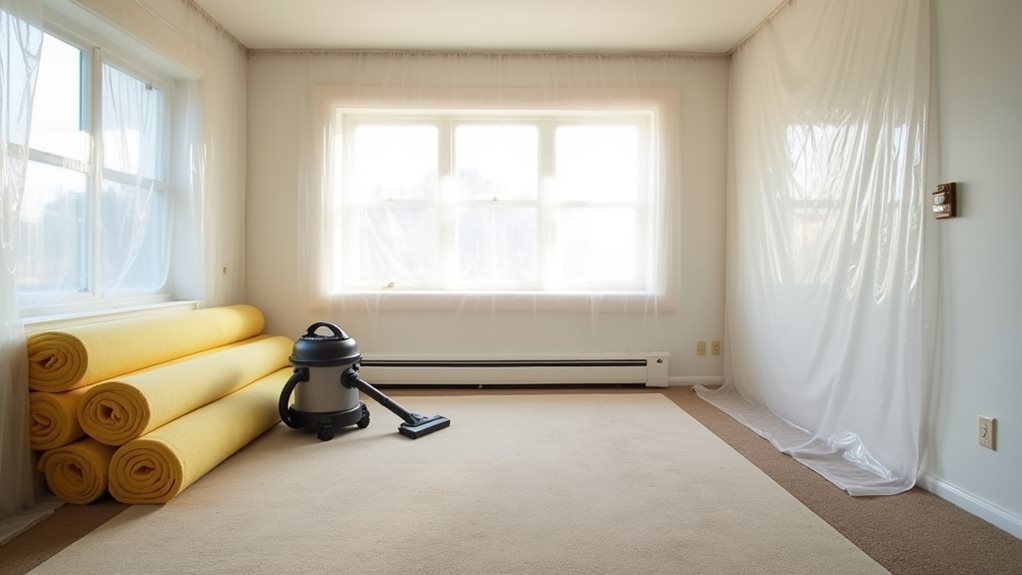
- Cover air vents with plastic sheeting and use HEPA vacuums to prevent dust from spreading throughout the house.
- Remove furniture completely and protect pathways with drop cloths before starting the carpet removal process.
- Work systematically from one corner, pulling up carpet and padding together while immediately disposing into contractor bags.
- Keep a cleaning station nearby with brooms and vacuum for immediate cleanup of debris as you work.
Essential Tools and Safety Equipment

Three essential categories of tools and safety equipment are necessary for successful carpet removal: cutting implements, protective gear, and specialized removal tools.
You’ll need a utility knife and carpet cutter for precise cuts, while safety glasses, gloves, knee pads, and a dust mask protect you during the process. Proper moisture prevention is crucial for maintaining the integrity of surfaces you may encounter during removal.
Don’t forget pliers, a pry bar, and floor scraper for efficiently removing staples and adhesive. Having contractor bags ready for disposal makes cleanup more manageable and organized.
Preparing Your Space for Minimal Mess
Before diving into the physical work of carpet removal, properly preparing your workspace will greatly reduce cleanup time and protect both you and your home from unnecessary mess.
Remove all furniture, open windows for ventilation, and protect remaining items with sheets. Increased ventilation is crucial for maintaining air quality and minimizing dust exposure during the removal process.
Cover pathways with protective materials, secure loose wires, and set up cleaning stations with brooms and dustpans for immediate debris management.
Put on safety equipment like protective gloves, safety goggles, and a dust mask to protect yourself during the removal process.
Planning Your Carpet Removal Strategy
Before you begin tearing up your carpet, you’ll need to gather essential safety equipment, including a dust mask, heavy-duty gloves, and protective eyewear.
You should carefully examine and map your room’s layout, noting any fixed obstacles, doorways, or built-in features that might complicate the removal process.
Taking time to create a removal plan, including identifying the carpet’s installation method and marking sections for systematic removal, will help you work more efficiently and safely through the project. Additionally, consider how patios increase outdoor living space value to enhance your home’s appeal after the carpet removal.
Gather Essential Safety Equipment
Protecting yourself during carpet removal requires specific safety equipment that’ll shield you from common hazards like sharp edges, airborne particles, and physical strain.
You’ll need thick protective gloves, high-density foam knee pads, a well-fitted dust mask, and safety glasses.
Don’t forget steel-toed shoes with thick socks, and make certain all gear fits properly before starting your project.
Map Room Layout First
Successful carpet removal starts with a thorough assessment and mapping of your room’s layout, which you’ll need to systematically plan your approach.
Begin by removing all furniture and décor, then locate the tack strips along your walls.
Measure the room’s dimensions and identify your subfloor type, whether it’s wood or concrete, to determine the most effective removal techniques you’ll use.
Efficient Carpet Cutting Techniques
When removing carpet, you’ll want to create manageable strips that are roughly 3 feet wide, which makes the removal process more controlled and less physically demanding.
To establish your cutting pattern, work from one corner of the room toward the opposite side, ensuring each strip runs parallel to the wall for consistent sizing.
You’ll find it easier to handle these uniform sections as you cut and roll them up, making the disposal process much more organized and efficient. Additionally, using adhesive removers can help clean up any sticky residue left behind on the floor after the carpet is removed.
Strip Sizing Strategy
Breaking down large sections of carpet into manageable strips forms the foundation of efficient carpet removal.
You’ll want to cut your carpet into 3-4 foot wide sections, starting from a corner or edge to maintain control.
Work horizontally along the room’s length to minimize waste, and pay special attention when cutting near walls and baseboards to prevent damage to surrounding surfaces.
Safe Cutting Patterns
Safe and efficient carpet cutting requires mastering specific patterns and techniques that’ll help you maintain control throughout the removal process.
Use a straightedge to guide your utility knife at a steady angle away from your body, making slow, controlled cuts.
When working with intricate patterns, test your technique on smaller samples first, and maintain even pressure while following your marked cutting lines.
Managing Dust and Debris During Removal
Effective dust and debris management stands as one of the most essential aspects of carpet removal, directly impacting both your health and the cleanliness of your home.
Use HEPA vacuums and air purifiers to capture airborne particles, while covering vents with plastic sheeting to prevent dust migration.
You’ll want to cut carpet into manageable sections and work methodically, using dampening techniques to minimize dust release.
Step-by-Step Padding Removal Process
Removing carpet padding follows a systematic process that requires proper preparation and attention to detail.
Start at one wall and cut the padding into manageable strips with a utility knife while wearing protective gloves.
Use pliers or a pry bar to remove staples, and insert a putty knife between tack strips and hardwood floors to prevent damage during removal.
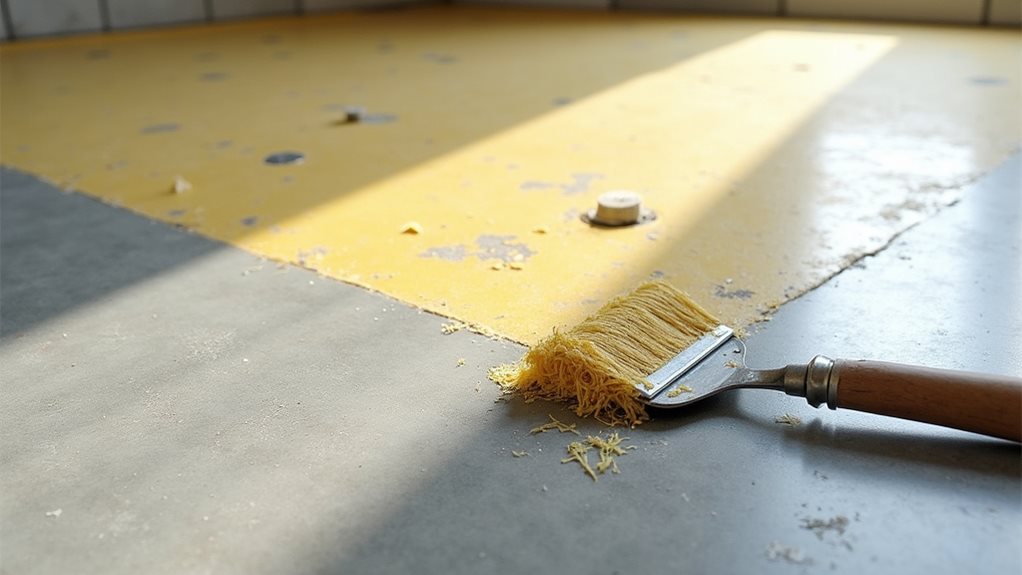
Dealing With Adhesives and Residue

When tackling adhesive removal, you’ll need to choose between chemical solutions like Goo Gone Pro Power and natural options like boiling water, depending on your flooring type and the specific adhesive you’re dealing with.
You can speed up the process by applying controlled heat to stubborn areas, which helps break down the adhesive’s molecular bonds and makes it easier to remove.
Working with proper tools like floor scrapers and plastic putty knives, you’ll want to maintain consistent pressure while scraping at a 45-degree angle, being careful not to damage the subfloor beneath.
Chemical Vs Natural Solutions
As you tackle the challenging task of removing carpet adhesives and residue, you’ll need to choose between chemical and natural cleaning solutions.
While chemical cleaners work faster on stubborn adhesives, they can leave harmful residues and fumes.
Natural alternatives, like vinegar-based solutions, work more slowly but offer safer, eco-friendly results, especially when combined with steam cleaning and manual scraping techniques.
Heat Treatment Methods
Heat treatment stands out as a powerful alternative to chemical solutions for tackling stubborn carpet adhesives.
You’ll find that a heat gun offers the most precise control, allowing you to soften adhesives effectively without damaging the subfloor.
When applying heat, maintain steady pressure while scraping, and you’ll achieve cleaner results with less effort than traditional chemical methods.
Scraping Techniques and Tools
Three essential scraping tools form the foundation of effective adhesive removal: long-handled floor scrapers, razor scrapers, and garden hoe-style implements.
Hold your scraper at a 45-degree angle while applying firm pressure to remove stubborn adhesives and padding residue.
You’ll want to supplement these main tools with pliers and chisels for tackling smaller areas and removing persistent staples from the subfloor.
Proper Disposal Methods and Guidelines
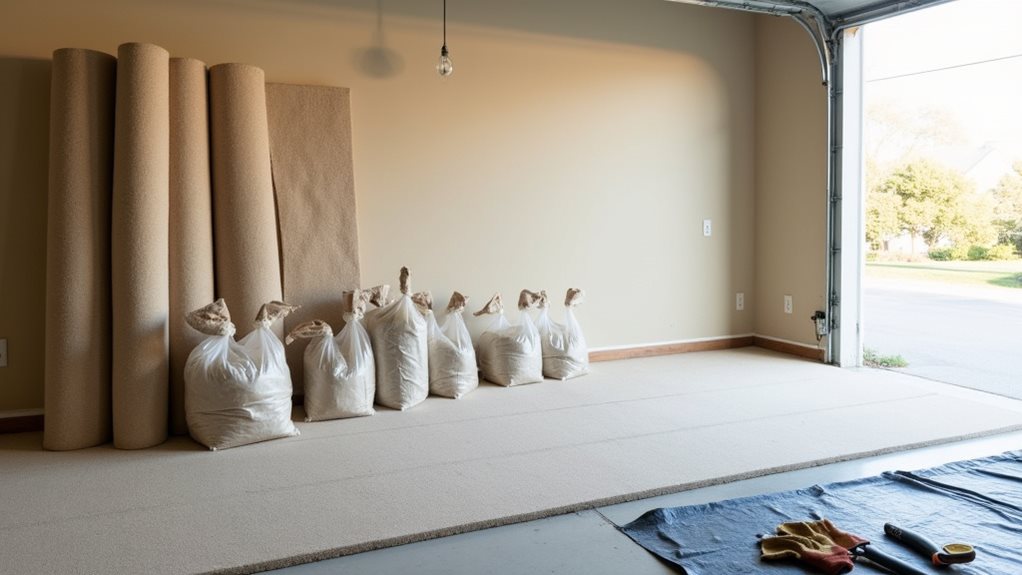
Disposing of old carpet and padding requires careful planning and adherence to local guidelines.
You’ll need to cut carpet into manageable 2-3 foot strips, roll them tightly, and secure with duct tape.
Contact your local waste management facility or CARE to find recycling centers in your area.
For large quantities, consider hiring a junk removal service or check if charitable organizations accept usable sections.
Removing Tack Strips and Staples
Tackling tack strips and staples requires careful preparation and the right set of tools to guarantee safe, efficient removal.
You’ll need pry bars, pliers, and a flathead screwdriver to effectively remove these materials.
Work methodically around the room’s perimeter, using a pry bar beneath tack strips near nails, and grip staples firmly with pliers, pulling straight up to prevent breakage.
Cleaning the Subfloor After Removal
Proper subfloor cleaning sets the foundation for your new flooring’s success and longevity.
Begin by thoroughly sweeping or vacuuming to remove loose debris, then assess your subfloor type to determine the appropriate cleaning method.
Use dry cleaning techniques for plywood and lumber subfloors, while concrete surfaces can handle damp mopping.
Don’t forget to remove all adhesive residue and guarantee complete drying before proceeding.
Common Challenges and Solutions
While removing carpet may seem straightforward, several challenges can complicate the process if you’re not prepared.
You’ll often encounter stubborn adhesives that resist removal, requiring solvents or heat application.
Damaged tack strips can splinter during removal, so use your pry bar carefully.
When faced with heavily stapled padding, work methodically with pliers to extract each staple without damaging the subfloor.
Preparing for New Flooring Installation

Before installing new flooring, you’ll need to thoroughly prepare your space to guarantee a successful installation process.
Start by clearing the room completely, moving furniture and belongings to temporary storage.
Next, inspect and repair your subfloor, ensuring it’s level and free of damage.
Don’t forget to maintain proper expansion gaps and calculate extra materials for waste during installation.
Final Note
By following these systematic steps and using the right tools, you’ll be well-equipped to tackle your carpet removal project efficiently and cleanly. Remember to prioritize safety, work methodically in sections, and properly dispose of all materials according to local guidelines. With proper preparation and attention to detail, you’ve now got the knowledge to alter your space while minimizing mess and avoiding common pitfalls that often plague DIY carpet removal projects.