You can cut glass backsplash tiles cleanly at home by choosing the right tool and using careful technique: use a manual scorer and running pliers for thin, straight cuts, or a wet saw with a continuous-rim diamond blade for thicker, beveled, or complex shapes. Measure and mark tiles precisely, score once with steady pressure, support pieces while snapping or feed slowly through the wet saw with full water flow, then smooth edges with diamond pads; follow safety gear and practice first to improve results, and keep going to learn step-by-step techniques.
TLDR
- Use a wet saw with a continuous-rim diamond blade and steady water flow for smooth, chip-free glass cuts.
- Measure twice and mark the glass face lightly with a fine-tip permanent marker and straightedge before cutting.
- For thin or straight small cuts, score once with a glass cutter and snap with running pliers, then refine with grozing pliers.
- Feed tiles slowly through the saw, stop at vibration or glazing, and support tiles fully to prevent breakage.
- Smooth edges with diamond-grit pads or a rubbing stone and seal exposed edges or use Schluter trim for durability.
Tools You’ll Need to Cut Glass Backsplash Tiles
Before you begin cutting glass backsplash tiles, gather the right tools so you can make accurate, clean cuts and avoid costly mistakes: a wet saw fitted with a diamond blade made for glass will give the smoothest straight cuts while keeping the tile cool and reducing chipping, but for smaller jobs you’ll also want a manual scoring wheel and running pliers to score and snap tiles precisely.
To ensure the best results, understand different types of masonry as it can impact how you approach cutting tiles for various surfaces. Use grozing pliers or mosaic nippers to trim curves or remove small sections, and keep a rubbing stone and cloth on hand to deburr and clean edges after cutting.
Also bring safety glasses, gloves, a straight edge, washable marker, and consider a quality wet saw blade, slow feed, and steady positioning to minimize breakage. For larger projects or many straight cuts, consider renting or using a wet saw to save time and get more consistent results.
Measuring and Marking Tiles Accurately
You’ve got the right tools in hand, now focus on measuring and marking with the same care—accurate measurements and clear marks determine whether cuts fit perfectly or leave gaps and wasted tile.
Use a reliable tape, note widths/heights for each section, label areas, then double-check. Mark tiles with a fine-tip permanent marker and straightedge on the visible face, avoiding heavy pressure to prevent scratches. It also helps to remember that accurate measurement is essential to determine the number of tiles needed. Additionally, using alkali-resistant fiberglass tape can help ensure a durable finish when working with cement board.
Choosing Between a Glass Cutter and a Wet Saw
When you’re balancing a handheld glass cutter against a wet saw, think about the scale of the job: a cutter can handle a few straight trim pieces cheaply and with minimal setup, but it won’t give the clean, precise edges you need for full sheets or intricate shapes.
For large layouts or harder, thicker tiles you’ll get far better cut quality and consistent finishes with a wet saw, though it comes with higher cost, setup, and a steeper learning curve. If budget or experience is limited, consider renting a wet saw for big runs, but for small patchwork a glass cutter will save time and money while keeping things simple. Additionally, always remember to wear safety goggles and protective gear to prevent injuries while cutting.
Small Jobs vs. Large
Picking the right tool comes down to scale and material: for small trim jobs or a handful of replacement tiles you can rely on a manual glass cutter or hand-held tile scorer because they’re cheap, portable, and easy to use, but for full backsplashes, large kitchens, or any job involving glass or very hard tiles you’ll want a wet saw with a diamond blade to keep pace and avoid breakage.
For small jobs, use a manual cutter; it’s simple and power-free, but for larger runs or hard materials, rent or buy a wet saw—it’s faster, more versatile, and prevents costly tile loss.
Cut Quality and Finish
Because cut quality directly affects both the appearance and durability of a glass backsplash, you’ll want to weigh the differences between a manual glass cutter and a wet saw before you start, especially if your project includes angled, beveled, or thick tiles.
Use a glass cutter for thin, straight cuts; choose a wet saw for precise, smooth edges, thick or hard tiles, and angled or beveled work.
Cost and Learning Curve
If you’re balancing budget, skill level, and the scope of your backsplash project, cost and the learning curve should guide your choice between a glass cutter and a wet saw; a tile cutter will keep upfront costs and setup minimal, while a wet saw demands a larger investment but pays off on precision and durability for glass or large jobs.
You’ll save money and hassle with a tile cutter for small, straight cuts, but rent or buy a wet saw—and practice—when cutting glass, thick tile, or complex shapes to avoid breakage and guarantee safe, accurate results.
Preparing Your Wet Saw and Diamond Blade

Start by preparing your wet saw and diamond blade with care, since proper setup is the single most important factor in achieving clean, chip-free cuts in glass backsplash tile.
Fit a fine, continuous-rim diamond blade labeled for glass, tighten the arbor, align the fence, confirm steady water flow and nozzle position, run the saw briefly to wet the blade, and test on scrap tile.
How to Score Glass Tiles With a Manual Cutter
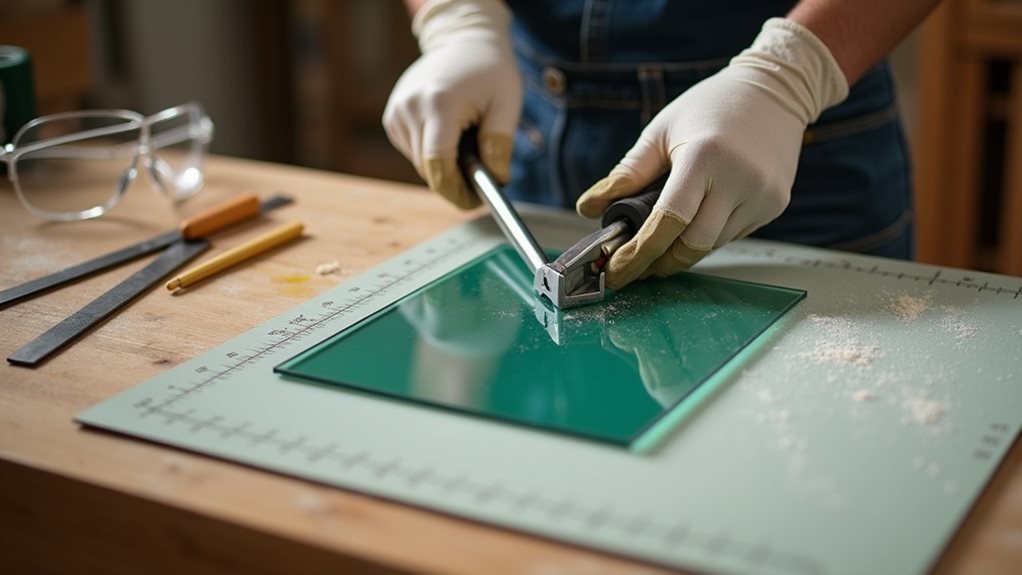
Grab your manual tile cutter and position the glass tile face-up on its flat base, then mark the cut line clearly with a washable marker and align the tungsten carbide scoring wheel to your guide rail; this setup guarantees you can apply a single, steady pass that etches a consistent score without overpressing and risking a crack.
Wear gloves, clean the tile, then score once with firm, even pressure, listening for the scratch, and confirm a visible, uniform line before proceeding.
Using Running Pliers and Grozing Pliers to Snap Tiles
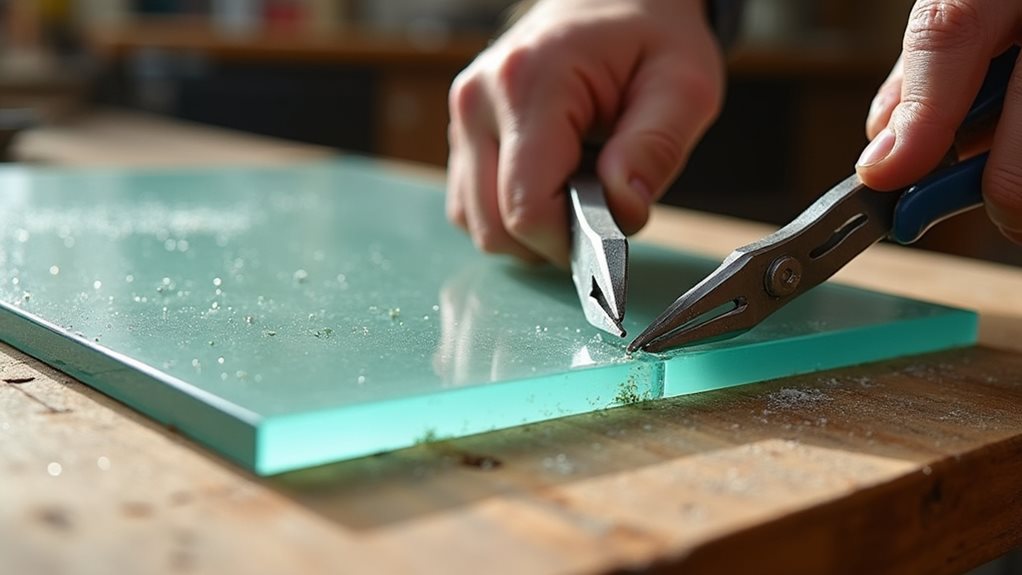
Choose running pliers for long, straight snaps on tiles two inches or wider, since their bowed jaws center over the score and apply even pressure to reduce uneven breaks.
For trimming, shaping, or removing small chips you’ll switch to grozing pliers, using their serrated jaws to nibble away glass incrementally and smooth the edge.
When snapping, align the jaws perpendicular to the score, apply steady, controlled pressure, and follow with grozing work as needed while always using safety gear.
Proper Pliers Selection
When cutting glass backsplash tiles, selecting the right pliers makes the difference between a clean, predictable snap and a jagged, wasteful break; you’ll want running pliers that deliver even, centered pressure along a score line and grozing pliers that let you nibble and refine edges afterward.
Choose lightweight, adjustable running pliers with smooth pads, and cushioned-handle grozing pliers for precise nibbling and edge shaping.
Snapping Technique Tips
Although a clean score sets the stage, perfecting the snap with running and grozing pliers is what turns a scored line into a usable edge, so you’ll want to focus on alignment, steady pressure, and proper support to avoid chips or unexpected breaks.
Center the score between rounded running jaws, squeeze evenly for a controlled bend, then use grozing pliers to nip and refine edges gently.
Cutting Mosaic Sheets and Separating Backing Material
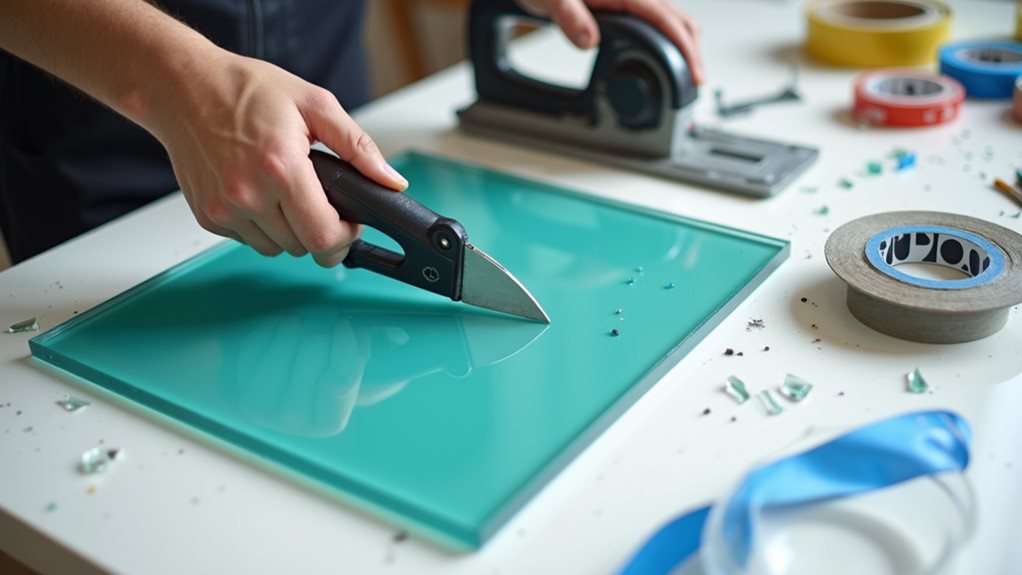
Cutting mosaic sheets and separating their backing takes a steady hand and the right approach, because glass mosaics are unforgiving of careless cuts and rough handling.
Mark and score lines lightly with a glass wheel or cutter, snap along the score, then flip the sheet and cut the mesh backing with a sharp utility knife.
Work slowly, adjust for embossed backings, and wear gloves.
Making Notch, Corner, and Complex Shape Cuts
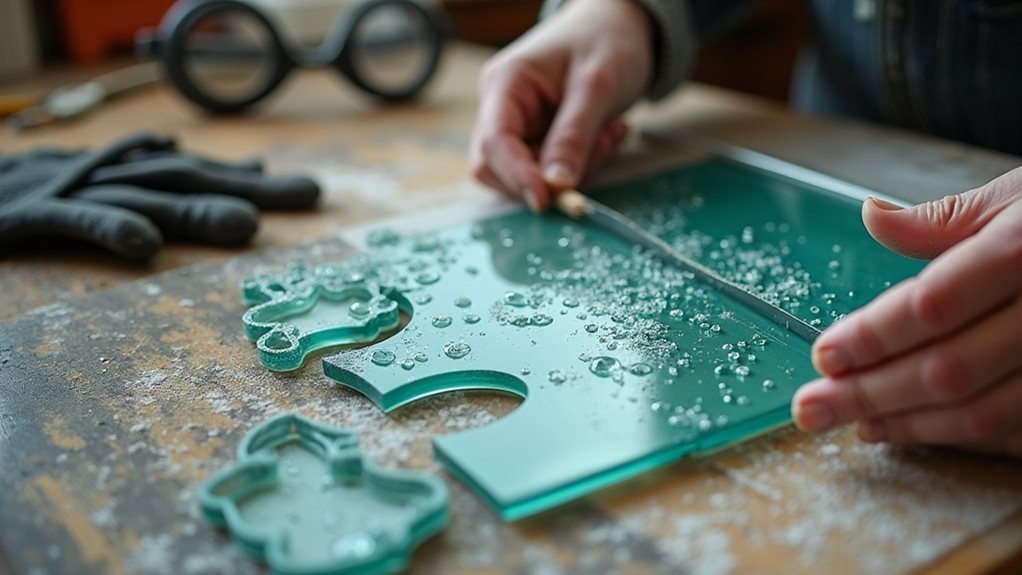
Because notches, corners, and intricate shapes demand more control than straight cuts, you’ll want to plan each cut sequence carefully and use the right tools—wet tile saws with glass diamond blades for larger or L-shaped removals, running or grozing pliers for controlled breaks along scored lines, and wheeled mosaic nippers for fine shaping.
Measure, score with a straight edge, break sequentially, then smooth edges with a rubbing stone.
Techniques to Prevent Chipping and Cracking
When you score and cut glass tiles, keep your pressure steady and even so you don’t introduce stress points that lead to chips or hairline cracks.
Use a quality diamond wet saw with a continuous rim blade and constant water flow to reduce heat and edge breakout, letting the tool set the pace rather than forcing it.
After cutting, smooth and inspect the edges with a fine diamond pad or sandpaper to remove micro‑chips and make certain each piece is sound before installation.
Steady Scoring Pressure
Consistently applying steady, uniform pressure as you run the scoring wheel across a glass backsplash tile is essential to get a clean, predictable fracture, so focus on a single, continuous stroke rather than multiple passes.
Secure the tile on a flat surface, use clamps or a fence for stability, and practice on scrap pieces so your single, even pull produces a full score without over- or under-scoring.
Use Diamond Wet Saw
Set up your diamond wet saw properly and you’ll cut glass backsplash tiles with far fewer chips and cracks, because the tool’s cooling water, the right blade choice, and controlled feed rate all work together to protect the material.
Use a continuous rim, fine-grit diamond blade, guarantee full water coverage, secure the tile, feed slowly, and stop if you see vibration or glazing.
Smooth Edges Afterward
Finish the cut edges carefully to prevent chips and cracks, because a smooth, reinforced edge not only looks professional but also reduces the chance of breakage during handling and installation.
Sand with glass-specific pads from coarse to fine, clamp tiles, use gentle back-and-forth pressure, or refine with rubbing stones and grozing pliers.
Seal exposed edges with 100% silicone or install metal trim for extra protection and a clean finish.
Smoothing and Finishing Cut Edges Safely
When you finish cutting glass backsplash tiles, don’t leave raw, sharp edges exposed—smooth and seal them to protect both the tiles and anyone who’ll touch them.
Use diamond-grit pads or polishing tools to grind and round edges, then choose 100% silicone caulk for glass or install metal Schluter trim or bullnose tiles for a polished, durable finish that resists water and chipping.
Safety Gear and Best Handling Practices
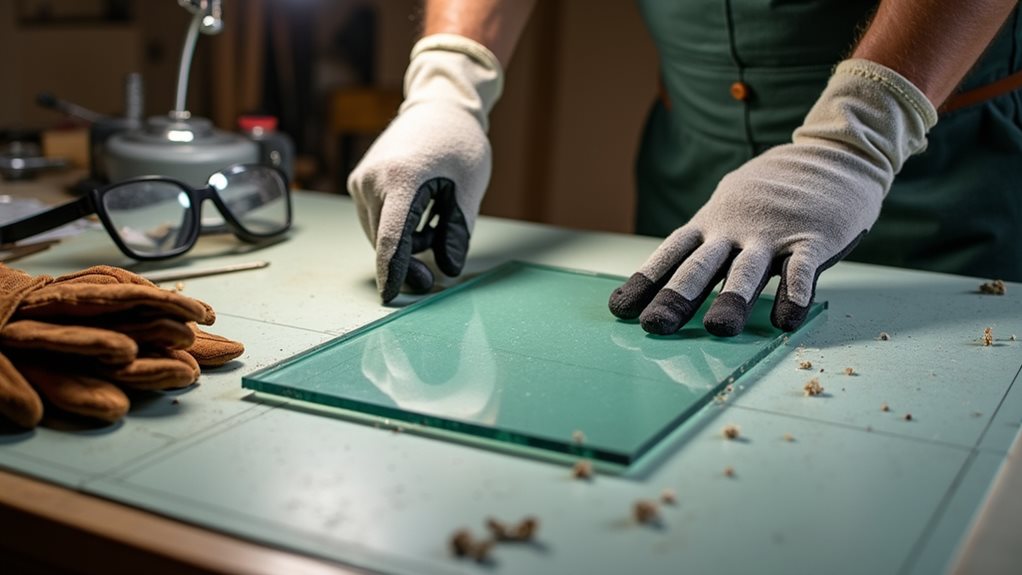
Because cutting glass tiles combines brittle material with sharp tools, you need the right personal protective equipment and handling habits to keep yourself and others safe.
Wear safety glasses, cut‑resistant gloves, a dust mask, hearing protection and sturdy shoes; avoid loose clothing.
Use a wet saw with a diamond blade or a glass scorer, support tiles fully, keep the area clean, and dispose of shards safely.
Practice Cuts and Troubleshooting Common Problems
Before you cut any of your actual backsplash tiles, spend time making practice cuts on spare pieces so you can dial in your technique, confirm tool settings, and see how your specific tiles respond to scoring and snapping.
Mark guidelines with a washable marker, score firmly and evenly, then snap with running or grozing pliers.
Smooth edges with a rubbing stone, adjust pressure to avoid chips.
Final Note
You’ve learned which tools to use, how to measure and mark accurately, and when to pick a glass cutter versus a wet saw, so you can plan each cut confidently. Prepare equipment and a diamond blade properly, score with steady pressure, and use proper supports to prevent chipping; finish edges with a diamond file or sanding wheel, and always wear eye and hand protection. Practice on scrap tiles, troubleshoot common issues, and proceed methodically.