To apply mud on drywall, you’ll start by using a 5- or 6-inch taping knife to spread joint compound over seams at a 25-degree angle, maintaining a thin, even layer. Next, embed paper tape into the wet compound and smooth it from the center outward to eliminate air bubbles. After the first coat dries completely, apply a second coat with a wider knife, feathering the edges outward. Most projects require three coats minimum, with each layer progressively wider and smoother, followed by careful sanding with 100–220 grit sandpaper to blend seams seamlessly into surrounding surfaces for best results.
TLDR
- Use a 5- or 6-inch taping knife at a 25-degree angle to apply a thin, even layer filling recessed joints completely.
- Embed paper tape into wet compound, pressing from center outward to expel air bubbles and prevent cracks.
- Apply at least three coats, allowing 24 hours drying time between each, using progressively wider knives for blending.
- Feather edges outward on each coat to blend joints seamlessly into surrounding drywall and minimize sanding needs.
- Sand between coats with 100–120 grit paper, finishing with 150–220 grit using circular motions and light pressure.
Gathering Your Tools and Mixing Joint Compound
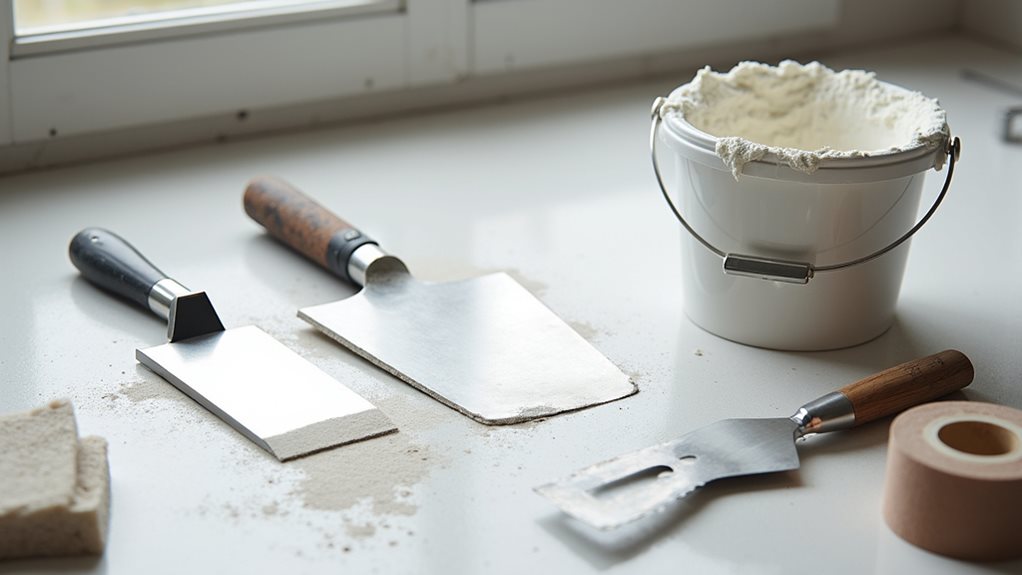
Several types of joint compound are available for drywall finishing, each offering distinct advantages depending on your project timeline and skill level.
Powdered compounds require mixing with water and provide extended working time through air drying, while setting-type varieties use chemical reactions for faster setup.
Ready-mix compounds arrive pre-mixed in buckets, needing only stirring or minor water adjustment before application. For larger projects, premixed compounds are common as they dry in approximately 24 hours and eliminate the mixing step entirely. Using a quality drywall primer after the compound dries helps ensure excellent paint adhesion and a uniform finish.
Applying the First Coat to Drywall Joints
The first coat of joint compound establishes the foundation for a seamless drywall finish, making proper technique essential even though this layer won’t be your last.
Using a 5-inch or 6-inch taping knife, apply compound at a 25-degree angle to fill recessed joints completely. Maintain a thin, even layer approximately 1/4-inch thick, feathering edges outward to minimize sanding later and guarantee subsequent coats adhere properly. Before you begin, clear loose debris from the drywall surface to prevent imperfections from being trapped in the compound. This initial layer also helps ensure fire resistance and wall integrity when finished properly.
Embedding Paper Tape Over Wet Mud
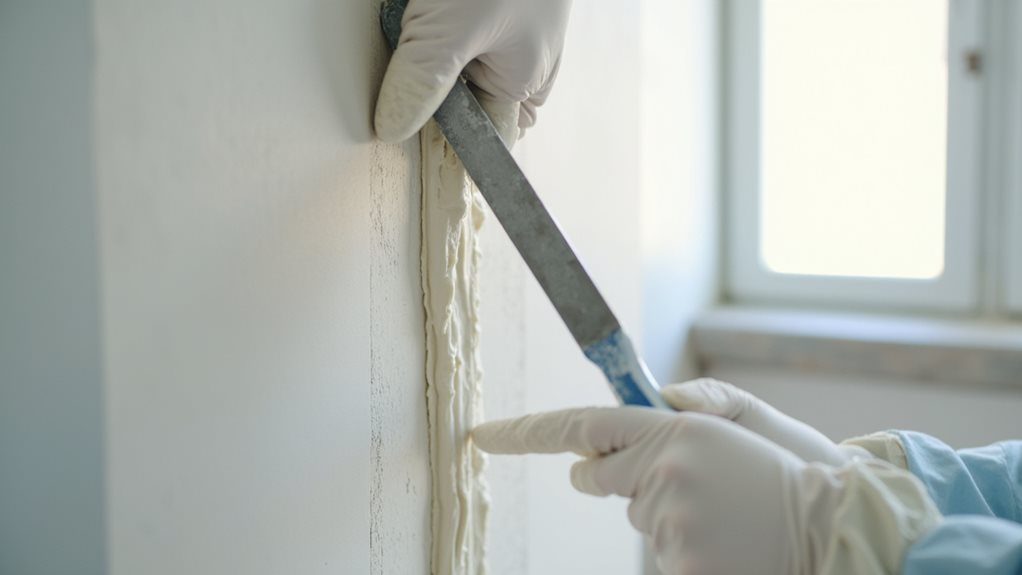
Once you’ve applied your first coat of compound to the joints, paper tape becomes the reinforcement that prevents cracks from forming along the seams.
Center the tape directly over the wet mud, then gently press it into the compound using your drywall knife, working from the middle outward to expel air bubbles and guarantee proper adhesion without creating starved joints.
Also make sure to feather edges of the tape into the surrounding mud so the seam can be smoothly covered with the next coat.
Building Up the Second Coat Layer
After your first coat has dried completely and you’ve sanded away any ridges or imperfections, you’re ready to build up the second layer of joint compound that’ll bring your seams closer to an invisible finish.
Mix your mud to a peanut butter consistency for peak control, then apply a thick but smooth layer using a 6- to 12-inch knife, feathering edges outward to blend the joint seamlessly into surrounding drywall.
Applying Additional Coats for a Smooth Finish

Achieving a flawless drywall finish typically requires at least three coats of joint compound, with each layer building upon the previous one to gradually eliminate visible seams, tape lines, and surface imperfections.
You’ll need to allow each coat to dry completely—at least 24 hours—before applying the next.
Use progressively wider knives, typically 10 to 14 inches, and apply thin, even layers with long strokes to feather edges seamlessly into surrounding surfaces.
Sanding and Feathering the Final Surface
The final coats of joint compound have dried completely, and now the surface needs careful refinement through sanding and feathering to eliminate any remaining imperfections.
Start with 100–120 grit sandpaper for manual sanding, then progress to 150–220 grit for finish work. Use circular motions with even pressure to blend seams seamlessly with surrounding drywall, applying lighter touch on edges to prevent over-removal of material.
Final Note
Commanding drywall mudding requires patience and consistent technique throughout each layer. You’ll achieve professional results by properly preparing your compound, maintaining even pressure while applying mud, and allowing adequate drying time between coats. The key lies in building thin, progressive layers rather than attempting thick applications that’ll crack or sag. Once you’ve sanded your final coat smooth, you’ll have a seamless surface ready for primer and paint, converting rough drywall into finished walls.